User research is a crucial foundation for design strategy. Designers need to understand the requirements of other people to produce a practical and ethical design. This is not always easy, but necessary since the designer is not the person who will be using the final system. This topic will explore:
- Research methods
- Research brief
- What a user journey is and how to create one
- Personas
It is important to emphasise that you need to take a human-centred approach to design. The first step is by taking into account human characteristics and activities. Designers use research methods to further understand and identify these.

Interviews
One of the most effective ways of finding out what people want and what problems they have at the moment is to talk to them. Interviews with all the various stakeholders in the domain are vital for gathering stories.

Designers enjoy a range of different styles of interviews, from a wholly structured survey to a general conversation.
- Structured interview
The structured interview uses questions that are developed beforehand. The interviewer follows the wording exactly.
Public opinion polls (for example, the type produced in great numbers before elections) are based on structured interviews.- They are easy to carry out due to pre-structuring.
- They limit people to restricted replies.
- It is difficult for the interviewer to follow-up on any unexpected responses.
- Semi-structured interview
Sometimes the interviewer is armed with prepared questions but can reword these as appropriate and explore new topics as they arise. Often an interviewer prepares a checklist with prompts.- This form of interview is slightly more demanding on the interviewer.
- The style of questions allows the interviewer to obtain specific data.
- Unexpected responses are able to be explored.
- Unstructured interview
Unstructured interviews are sometimes used where it is essential to minimise designers’ preconceptions or when there is very little background information available beforehand. There are no pre-set questions or topics beyond the general subject of the project in question.
Stories, scenarios and early prototyping interview
Scenarios and stories are helpful aids in understanding activities and avoiding people 'imagining' situations.
The first step is understanding what the new technology might do and discussing a scenario that will highlight many issues--from naming individual functions to changes in the work practice.
Prototypes: anything from paper sketches to semi-functioning products are often used to embody scenarios in possible technology.
Whether or not a prototype is used, the analyst and the customer ‘walk through’ the scenario while the analyst probes for comments, problems, possible alternatives and suggestions in general.
Observe the video below. The interviewer asks questions to a potential user for his new app development.
Observations
If asking users to perform in a website or app, for example, the following steps might be followed to allow observation:
- Give users some questions or ask them to find something on the website. For example, write down the business's working hours, phone number or email.
- Watch how many clicks users take to find the answer.
- Watch users' eyeball movements to feel how difficult or easy for them to find answers from the website/app.
- Note down how many seconds users take to read the question and find the answer.
- The observer would have another person assist by noting down details.

Your design activities and deliverables will be driven by these requirements and rationale, from UI design and copywriting to customer journeys and beyond.
The logic of the framework provided in the diagram below is to help you assess:
- What am I designing and why?
- What information am I not sure about that is holding me back from making informed design decisions?
- What questions can I ask that will help me find that information?
- Who do I need to ask these questions, and how do I do that?
After completing the 10 steps, you will have a document that can be used to brief your team, the project stakeholders, your research colleagues or a third-party agency on your research plan.

Project background
This step is about providing a contextual background to the research activities you want to carry out in terms of the scale and type of project the design activity you are researching for sits within.
What project does your research activity relate to?
Give a brief summary of the project, including the aims, objectives and teams involved. Provide links (or titles) to related design briefs if available.
What research or other design activities have already taken place within this project?
Having a project background helps give context to the work that has been done before and where the design activity is going.
Design objectives
This step articulates the motivation behind the design work you want to inform with research.
What is the design activity trying to achieve?
Be explicit and avoid non-specific expressions like ‘to make X better’.
Example:
The design activity is focused on updating the web UI to reduce confusion and cognitive load for first-time buyers during the online mortgage application process.
How does this align with current business objectives?
Explain whether this design activity is part of a larger collection of related design work or if it stands alone. Are there specific business Key Performance Indicators (KPIs) that the design activity is intended to achieve?
Research rationale
This step determines why research needs to happen to aid the design activity. How will it help you, and why are you doing it?
What do we NOT know that prevents us from making firm design decisions?
State the problems that are preventing you from making informed design choices.
How will undertaking research move the design process forward?
Explain your rationale for carrying out research. Is it required to explore and validate ideas with current customers, test design ideas for their ability to produce a desired or intended result, or something else?
Insight objectives
This step is about specifying the insights required from the data gathered to resolve uncertainties in the design decisions that stop the design activities from progressing.
What do you hope to know after the research that you do not know now?
What information do you need to move the design forward?
List the required insights this research needs to deliver to help fulfil the design objective. Be explicit.
Confirm the insight knowledge gap
This step confirms the unknown information that supports the insight objectives identified in Step 4. Also, that you are certain the information to fill the knowledge gap is not obtainable via desktop research methods (such as searching internal repositories or previous research studies).
Has relevant research been carried out before?
Include a reference to any previous related research (summary of author, date, project, output, findings) that is relevant or may help but does not close the knowledge gap. This research could have been carried out internally or externally. Also, include the resources you have searched for but failed to find relevant prior work.
Research questions
This step is about determining what high-level questions will bridge the knowledge gap and support the insight objectives outlined in Step 4.
What questions do we need to answer to bridge the knowledge gap and fulfil the insight objectives?
Be explicit and consider the format of data that answers the questions. These questions will lead to a list of sub-questions you will put to your research participants during the actual study (you don’t need to list those sub-questions here).
Participants

This step is about determining who may help you gather the data required to bridge your knowledge gap. Often, this will be existing customers or competitor customers, but remember, other people can help, such as subject experts.
Who do you need to recruit to take part in the research?
Focus on describing what demographic variables are important and which are unimportant (e.g. age, occupation, experience, income).
What needs to be included in a participant screener?
A 'participant screener' defines who should NOT participate in the study and why. It screens the study for participants who may not be appropriate for reasons like their background, job or experience.
Include specifics about any demographic variables that may bias the data gathered and skew the analysis, like ‘works in finance’ or ‘expert user of mobile technologies’.
Explain why you think this will impact the data.
Research materials
This step is about determining what research materials need to be given to your participants to help them provide the data that will answer your research questions.
What materials need to be provided to be able to gather the appropriate data?
Specify what materials you need to give the participant to help them answer the research questions and generate the required data (e.g. a slide deck introducing the project work, visual representations of design ideas, an interactive prototype).
What fidelity of research material is required and why?
Think along with the high, medium or low fidelity lines and provide your rationale. Do you need a fully realised design, or will more simple representations be enough to get the data you need?
Research data
This step specifies the anticipated data output that the research activities will generate.
What type of data is expected or needed?
Be clear about the data format you need to answer your research questions successfully. Is it qualitative, quantitative or a combination of both? For example, quotes from users (qualitative) and time to complete tasks (quantitative).
What is your rationale for this type of data?
Briefly assess the benefits of why you require this type of data to inform your research questions best and therefore support your insight objectives.
Research deliverables and outputs
This step is about making sure the agency or research team members are clear about:
- What data is needed.
- Why it is needed and how it is relevant to the design.
- How the data and analysis should be shared and curated.
- Who should receive the data, analysis and insights.
How should the data generated and the analysis carried out be reported?
Define the formats you will be sharing the information in. This helps manage and align expectations about what will be delivered and by whom.
Example: an analysis document plus a spreadsheet of raw data.
What is the research project timeline?
Establish and articulate a timeline for the research activity that includes the following milestones and anticipated durations:
- Participant recruitment (if needed)
- Data collection
- Data analysis
- Analysis reporting
- Analysis and insight distribution. 1

A persona is a document to help us design from another person’s point of view. They are controversial but are a standard tool to make sense of accumulated user insights. Ideally, they are a design tool to act as a point of focus, not an output in themselves.
Let’s begin by watching the video below on how to choose the scope of your persona.
To create a persona based on your research, you will be building up a profile of your user’s attitudes and behaviours.
Why create personas?
Personas are a way for you to share information about the people you have researched. Research must inform the creation of your persona because research will challenge your assumptions and biases about who your users are.
Preparation
As a user researcher, you will be applying the insights you have gained from user research. Invite any other team members who attended user research to join you in creating your persona.
How to create user profiles
Your persona will represent the shared experiences of a group of users.
You should bring together:
- user attitudes
- user behaviours
- demographic information.
You can present your user personas in various ways using content relevant to the project.
A user characteristics gauge (concerning the product or service)
Depending on the nature of the project you are working on, you may include a 'characteristics gauge'. This will allow you to easily see the variations between your different profiles. The gauge can be a simple line that rates a participant from low to high. You can add the characteristics depending on what is relevant to your project.
Here are a few examples:
- knowledge or expertise
- level of interest
- context of interest
- breadth of usage
- experience in related task
- digital literacy/format preference.
Build on your persona profile by answering questions about the following aspects.
Needs/tasks
What does the user need to do or find? What tasks do they do which are relevant to your project? The need will be goals that are aligned to an outcome.
Pain points
What are the obstacles that prevent them from being able to do the task? Are they being informed well enough? What other factors are preventing them from getting the task done?
Risks
What could go wrong if they can not do the task or find the information? What is the impact of any implication–personal, financial etc.?
Motivation
Why does the user want to complete the task? How is successful completion of the task going to affect them?
Communicate your user profiles with the team. Profiles are valuable to ensure that what you are building or designing meets a user need. They are a reminder to your team and to stakeholders of exactly who you are designing for.
Personas are one part of the toolkit that you can use to communicate your design. You should ensure that you research any design decisions you make based on your profiles. Also use other methods to do this, such as concept testing and usability testing.
Persona tools
There are many paid and free tools that can be used to build a persona. Here are the free persona builder tools. Click the names below to explore their offerings:
Adobe Creative Cloud gives access to persona templates that you can customise. To access:
- Login to Creative Cloud
- Click on Templates
- Type 'User Persona'
- For a more specific selection filter, type 'UX'.
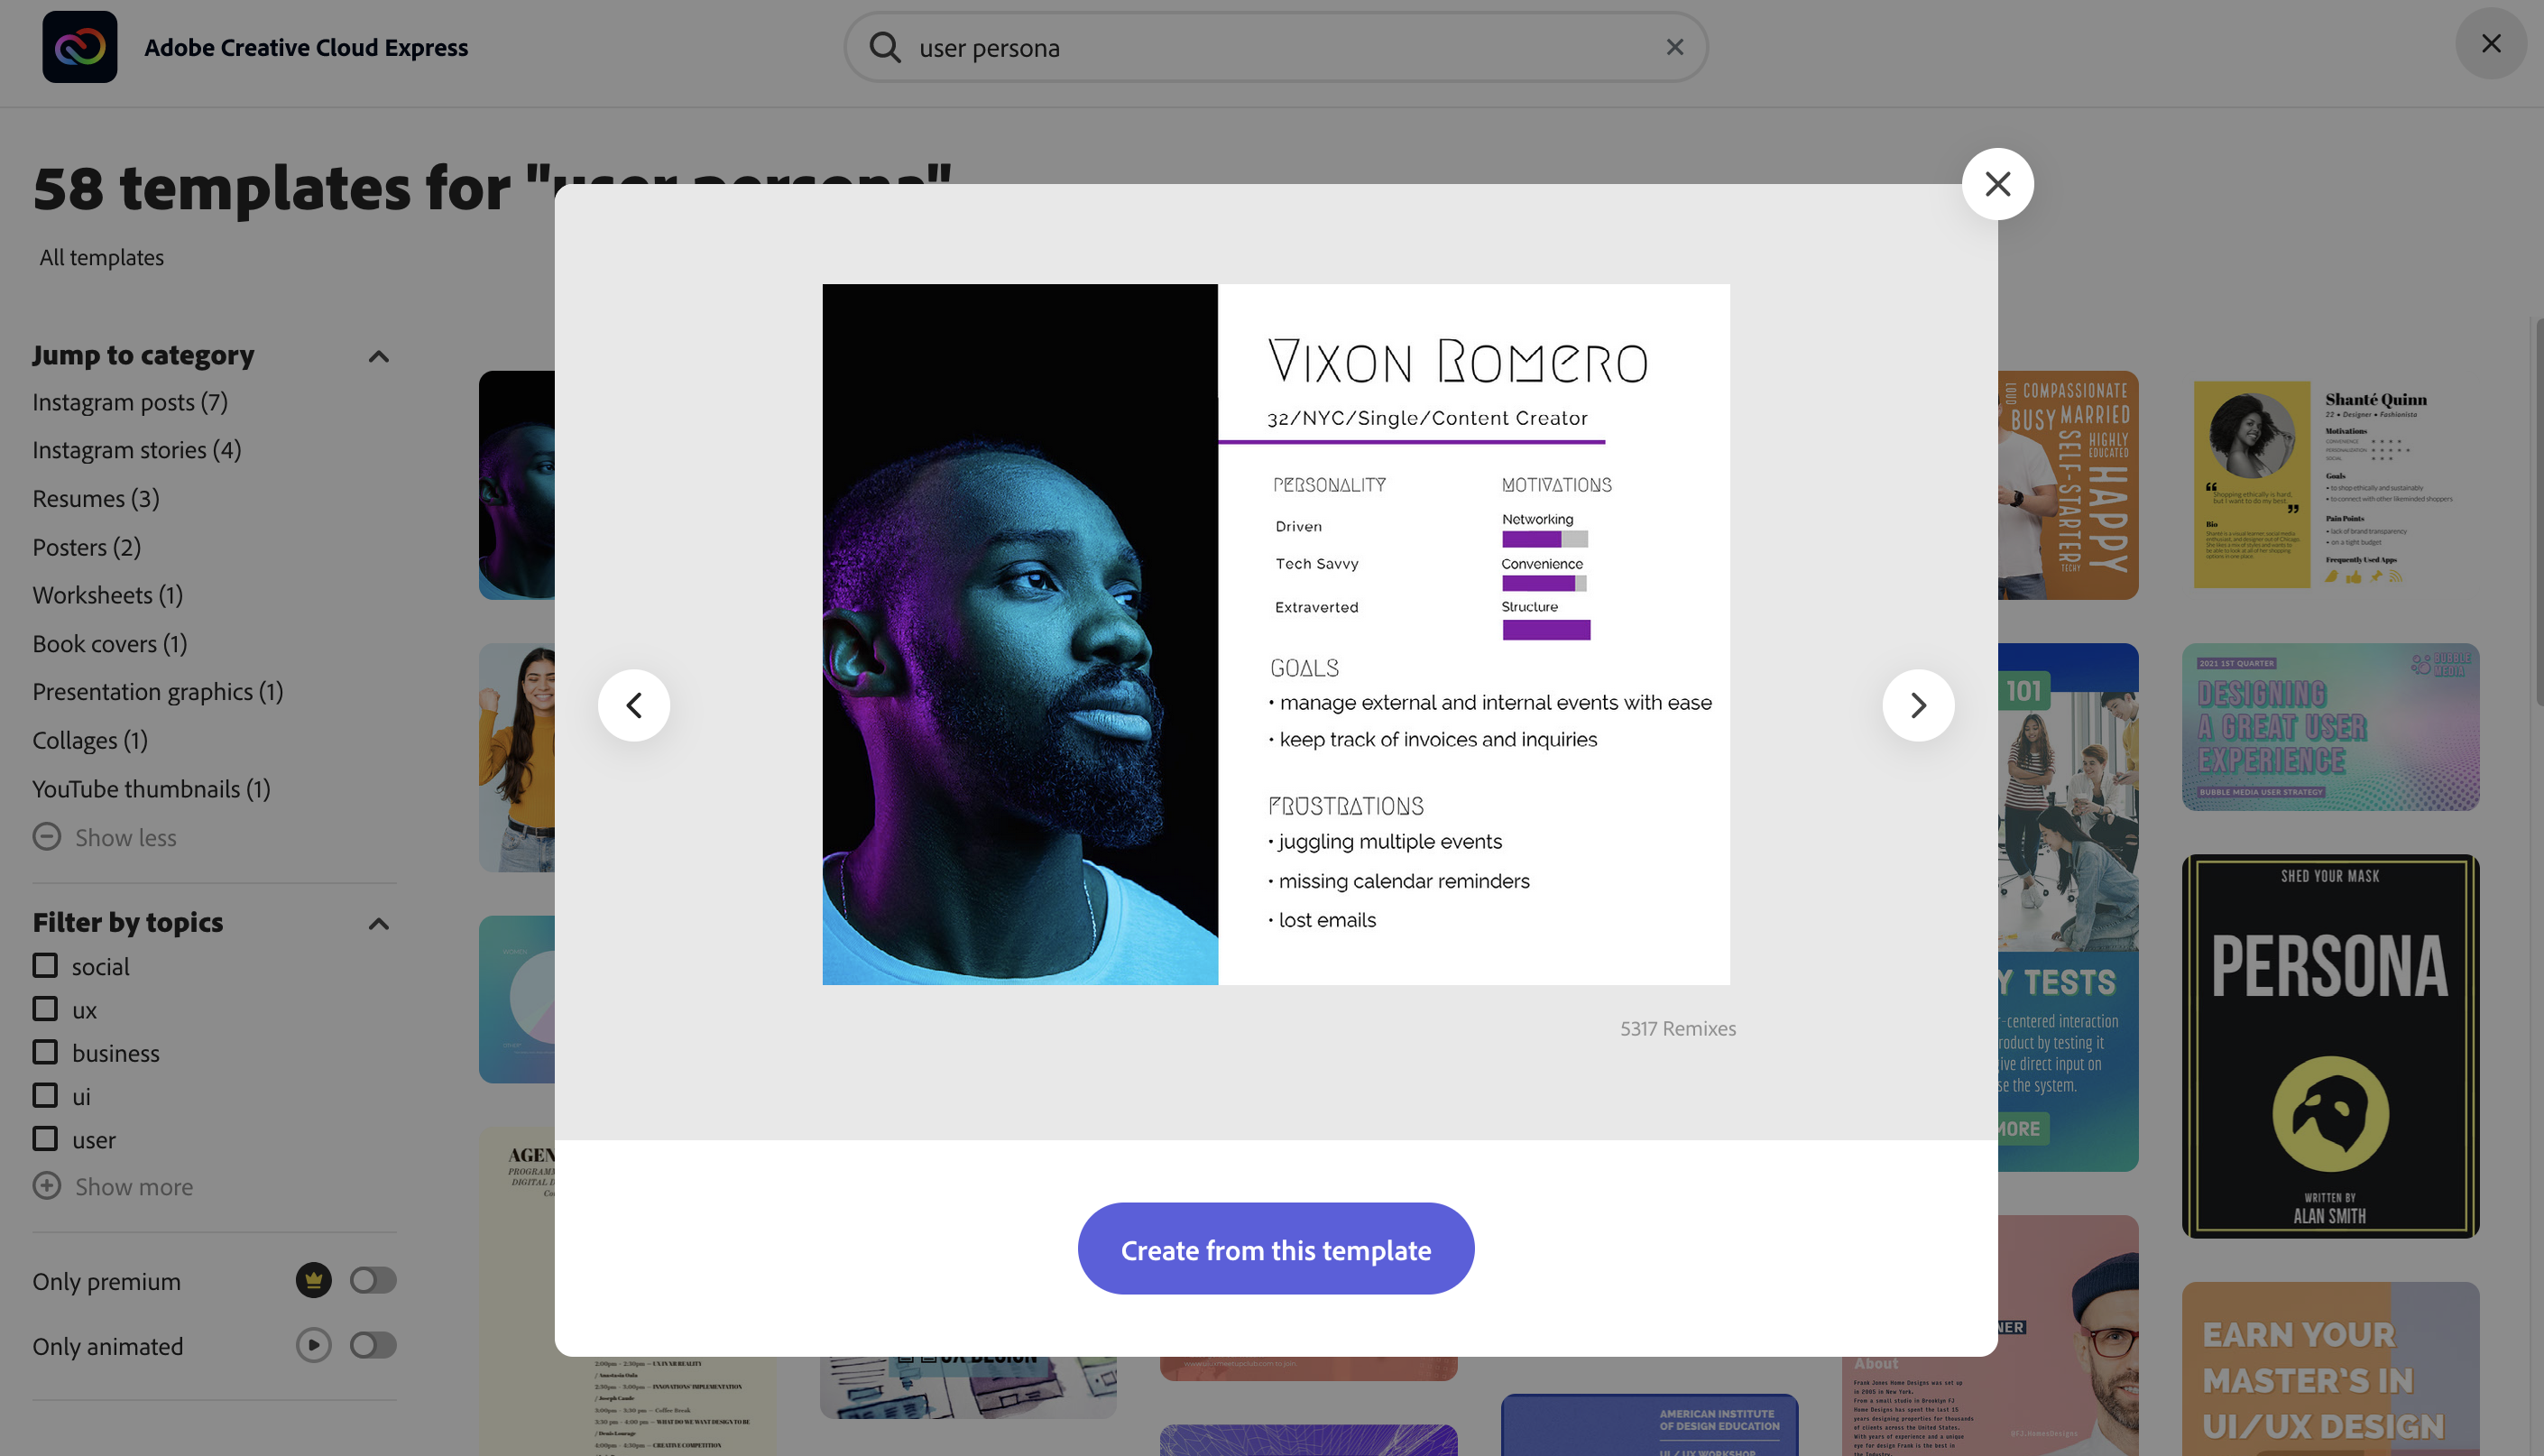
Here are some more example personas.
User journeys
"A 'user journey' is a path a user may take to reach their goal when using a particular website. User journeys are used in designing websites to identify the different ways to enable users to achieve their goals as quickly and easily as possible." 2
For user journeys we plan out, we will state the assumption in the form of a statement. We usually put them in a format like this (based on the assumption declaration used in the Lean UX methodology):
- We believe that [doing this/building this feature/creating this experience],
- for [these people/personas],
- will achieve [this outcome],
- because [this assumption].
- We will know this to be true when we see [this feedback/quantitative measure/qualitative insight].
Journey map
Designers use a 'journey map' to document a user journey. There are 8 steps to creating a journey map.

- Choose a scope
The level of detail in a user journey map depends on the project's scope. You can make it a high-level map that shows end-to-end experience or a more detailed map focusing on only one interaction. - Create a user persona
The journey map is focused on the user persona who experiences the journey. This step is influenced by the research you gathered about your target audience in the user research step. - Define scenario and user expectations
This section describes the situation that the journey map addresses. It can be real or anticipated and it defines the expectations the user persona has about the interaction. For example, a scenario can be–ordering a taxi using a mobile app with expectations to get the car in 5 minutes or less. - Create a list of touchpoints
'Touchpoints' are user actions and interactions with the product/business.- Identify all channels and touchpoints associated with each touchpoint.
- Take user intention into account
There is a difference between a browsing user and a user who came to accomplish a specific task (for example, purchasing a product).
For each user journey, you must understand:- motivation
- channels
- actions
- pain points.
- Sketch the journey
Here you put together all the information you have and sketch a journey in a format of step-by-step interaction.
Each step demonstrates the persona's experience with a service/product or another person.
There are storyboard software options that help you put together the user's journey; such as:- FrameForge
- Storyboarder
- Boords
- Plot
- MakeStoryboard
- StudioBinder
- Visme.
- Consider a user’s emotional state during each step of interaction
The product you are designing needs to mirror the user's state of mind.
Being aware of the user's emotional state helps connect with the user on a human level.
An 'empathy map' is an essential tool to help you understand how the users feel.
- Validate and refine user journey
The user journey needs to be literal, not 'what you would like it to be'.
Use information from the research phase, usability testing and analytics to be sure that the information in your user journey is accurate.
This process is an ongoing one that needs to be reviewed and tweaked.3

Types of journey maps
Katryna Balboni from userinterviews.com, provides examples of journey maps.4 They can be as simple or as detailed as you choose.
There are different types of journey maps that you can create based on the information you need to find from your user.
| Current state customer journey map | This map helps you visualise a user’s experience as it is today. These journey maps are fact-based, creating an accurate demonstration of the current state. This map is used when your goal is to identify existing pain points. |
| Future state customer journey maps | This map focuses on what customers' future state can and should look like. These maps also focus on what your customer or user would hope and want to feel in the future. This map is helpful if your objective is to explore possible customer expectations and to create new experiences and value. |
| Day in the life customer journey map | This map creates a visualisation of your current customer's/user's daily routine. This includes interactions, travel methods, meetings when lunch is scheduled etc. This map is for when you need context and insights into customer/user pain points. |
| Circular customer journey maps | SaaS companies and other businesses may find it useful to view the journey as a circle. This reinforces the importance of retention and advocacy for companies that rely strongly on recurring revenue. |
| Empathy map | An empathy map is a standard UX map used to create a shared understanding of a particular type of user's wants, needs, thoughts and actions. |
| Customer experience map | This map is used to understand human behaviour in relation to a certain topic or experience. This is without the expectation of a specific business or product in mind. Customer experience maps provide contextual, anthropological insights. |
Let’s recap what user research covers in the video below.