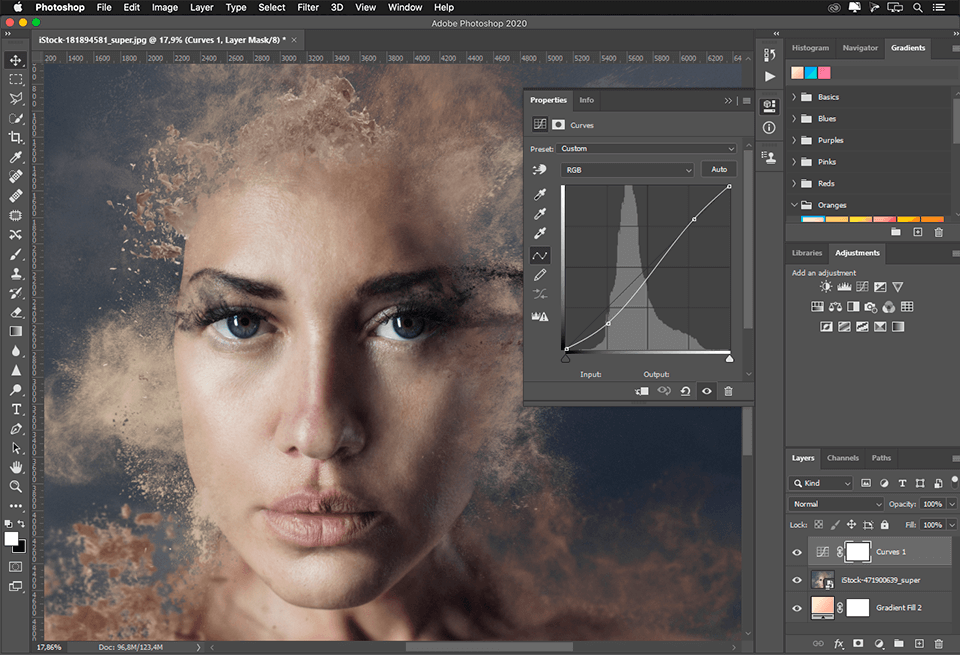
Adobe Photoshop is a core piece of software that will be used throughout the programme. It is a cornerstone of the Adobe Creative Cloud suite and a staple app for creatives around the world.
Important
Before embarking on the activities in this course, you'll need to spend time learning how to use the tools of the creative trade.
Please go through all of the tutorials and activities in Design Principles and Tools > Photoshop Tutorials.
When you are done, return here and flex your new Photoshop skills!
Let's check in to ensure you understand when Photoshop or Illustrator might be the better tool. We'll go over Illustrator in more detail in the next topic. For now, we want to reinforce the differences by watching this video (at least until 3:12m) and completing the activity that follows. If you feel confident that you understand the difference, feel free to skip straight to the activity.
It's important to understand the difference between raster/bitmap and vector-based images, so don't move on until you have correctly completed the activity or studied the solution.
Welcome back
Now you have done your tutorials — do you feel like a Photoshop pro yet? We'll get you doing some activities with your new skills, but first, we'll start with pen/pencil and paper to prepare for our first digital activity. If you like, dedicate a notebook to use for this programme to jot down notes, create character concepts, and draw ideas — a visual diary for your creative activities. Otherwise, just grab some plain sheets of paper and get creating.
Put yourself at the centre of your world
The following multi-level activity is a great way to learn about design, people, shapes, colours, and how they impact feelings.
Novice Activity – Mind mapping my mind
🕔 About an hour
We'll start with a type of mind-mapping activity.
- Draw a box in the centre of a page in your visual diary or a blank sheet of paper.
- Draw a detailed picture of yourself in the middle of the box.
- Draw lines outwards around it so it looks like this:
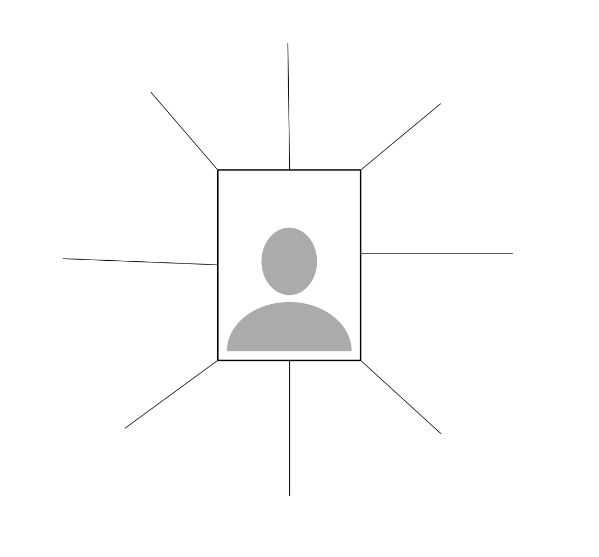
- Add words representing as many social/cultural groups you belong to and identify with.
- Add drawings and find images to cut out and tape or paste onto your page/paper from magazines, newspapers, junk mail, etc., that represent those same cultural connections and interests, such as TV shows, food, music, etc.
- Add more: Take another look and see what else you can add so that it's really filled with images, drawings, language, and even colours that, when viewed all together, could represent who you are.
When you are happy with your work, move on to the next activity, where we'll start by opening Photoshop.
Practising Activity – Introductions
🕔 5 - 6 hours
Using your self-portrait drawing as the basis, use Photoshop to create a presentation introducing yourself to your class and tutors by revealing layers that you have created using the layering tool. Start the presentation with only the bottom layer visible and reveal layers as you progress through your presentation.
After you have created your work, record yourself giving a presentation by recording your screen and voice. You will then upload this file to a forum post.
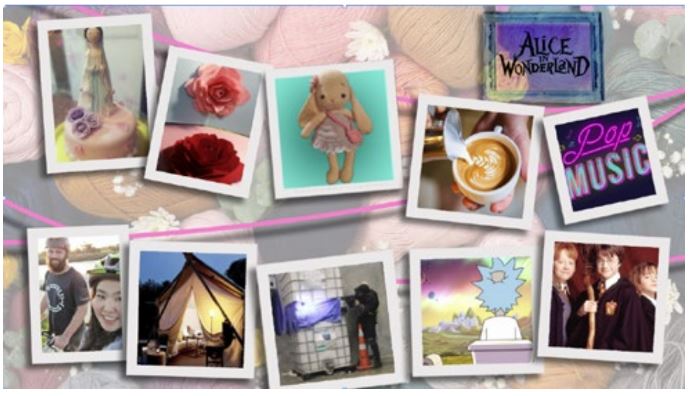
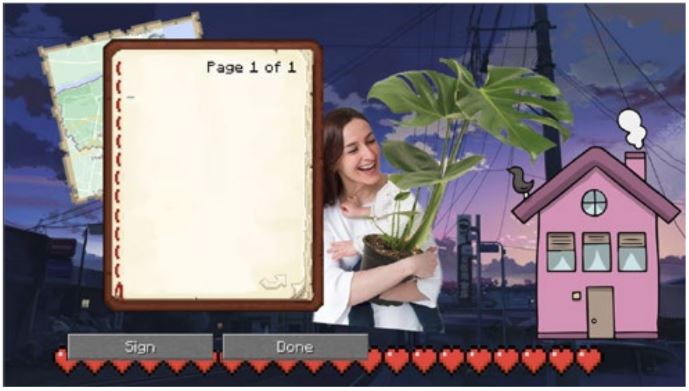
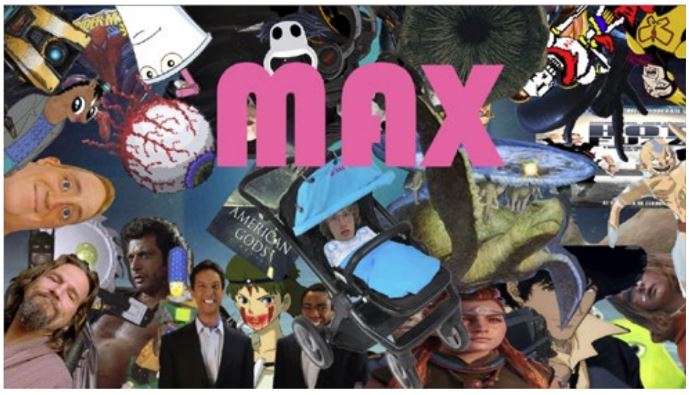
For inspiration, here is the final scene from four past students, where all layers are visible.
 |
 |
 |
 |
How to do this:
Task:
- Create a new Photoshop document with the following specifications: w1920 x h1080 pixels, Landscape.
- Paste a photo of your mindmap drawing into your new document.
- Add new layers to the composition that show something about yourself: background, culture, likes, hobbies, etc.
- The mind-mapping exercise would have provided you with lots of assets and ideas for this task.
- Add more images, and now you can include digital images.
- See if you already have assets or can create art you can use rather than using other people's work.
- Can you create an abstract shape and colour that describes some aspect of your personality?
Note: Using your own work as much as possible is recommended for all of the activities in this programme.
- Can you create an abstract shape and colour that describes some aspect of your personality?
- See if you already have assets or can create art you can use rather than using other people's work.
- Using the skills learned in the tutorials you completed (selections and masks, brush and type, fx, adjustments), build up your layers to illustrate your story.
- Using a screen recording program of your choice, create a movie of you giving your presentation.
- We recommend Open Broadcaster Software, a free and open-source software tool for video recording. It works with Windows and Mac.
- Here is a link to their tutorials page to learn how to use this helpful software.
- If you have never used a screen recording program, or if that sounds daunting, you can set up your phone to record your screen, then record a video on your phone while you talk us through your work and reveal layers. If you have someone to help, they can record you talking and your screen for you.
- Your video cannot exceed 900 MB, so keep it around 2 minutes or less. To check the size of your video file, right-click the file in your Explorer and select Properties on a PC, or hold the apple + "i" keys together to see the 'information' about the file.
Remember to:
- flatten/rasterise text layers.
- name your layers
Share it in a Forum Post!
- Upload your work into this Forum.
- View the submissions of your peers so you start to get to know them - these are the people who will be reviewing your work and whose work you will provide feedback. Practice that skill by leaving supportive comments for the creators.
- Have fun getting to know the other people in your programme.