Adobe Animate is a vector-based 2D animation software that we can use to create animations suitable for use across all types of media, such as film, television, online, and interactive content, like gaming. Animate includes a number of tools that will be familiar from other Adobe applications and a few new options.
Feel free to work through the activities we've laid out for you below if you have some familiarity with Adobe Animate already, or head straight over to Adobe Animate Tutorials and set your course for Adobe Animate. Just pace yourself to ensure you keep on having fun.
Tutorial Activities
🕔 About an hour
Complete all of the learning activities in the following sections.
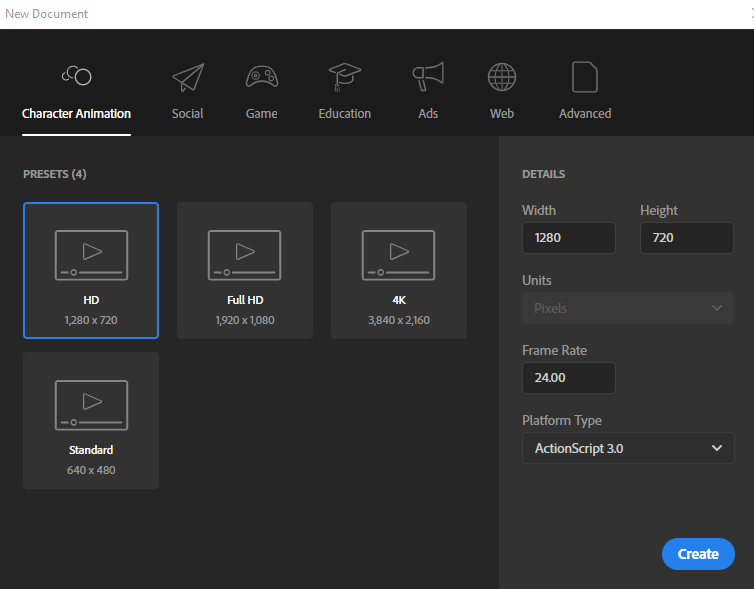
- Open Animate and start by clicking Create New.
- Note that many of the presets (i.e., Character Animation, Social, Game, Education, etc.) are useful for specific purposes, though for simplicity, we will be using our own settings as follows.
- We'll set the size of the stage to only HD (720P), which reduces processing time for the full HD.
- Read more about these delineations.
- The frame rate will be set to 24fps to reflect traditional filmmaking specifications.
- Select HD and 24fps before clicking Create.
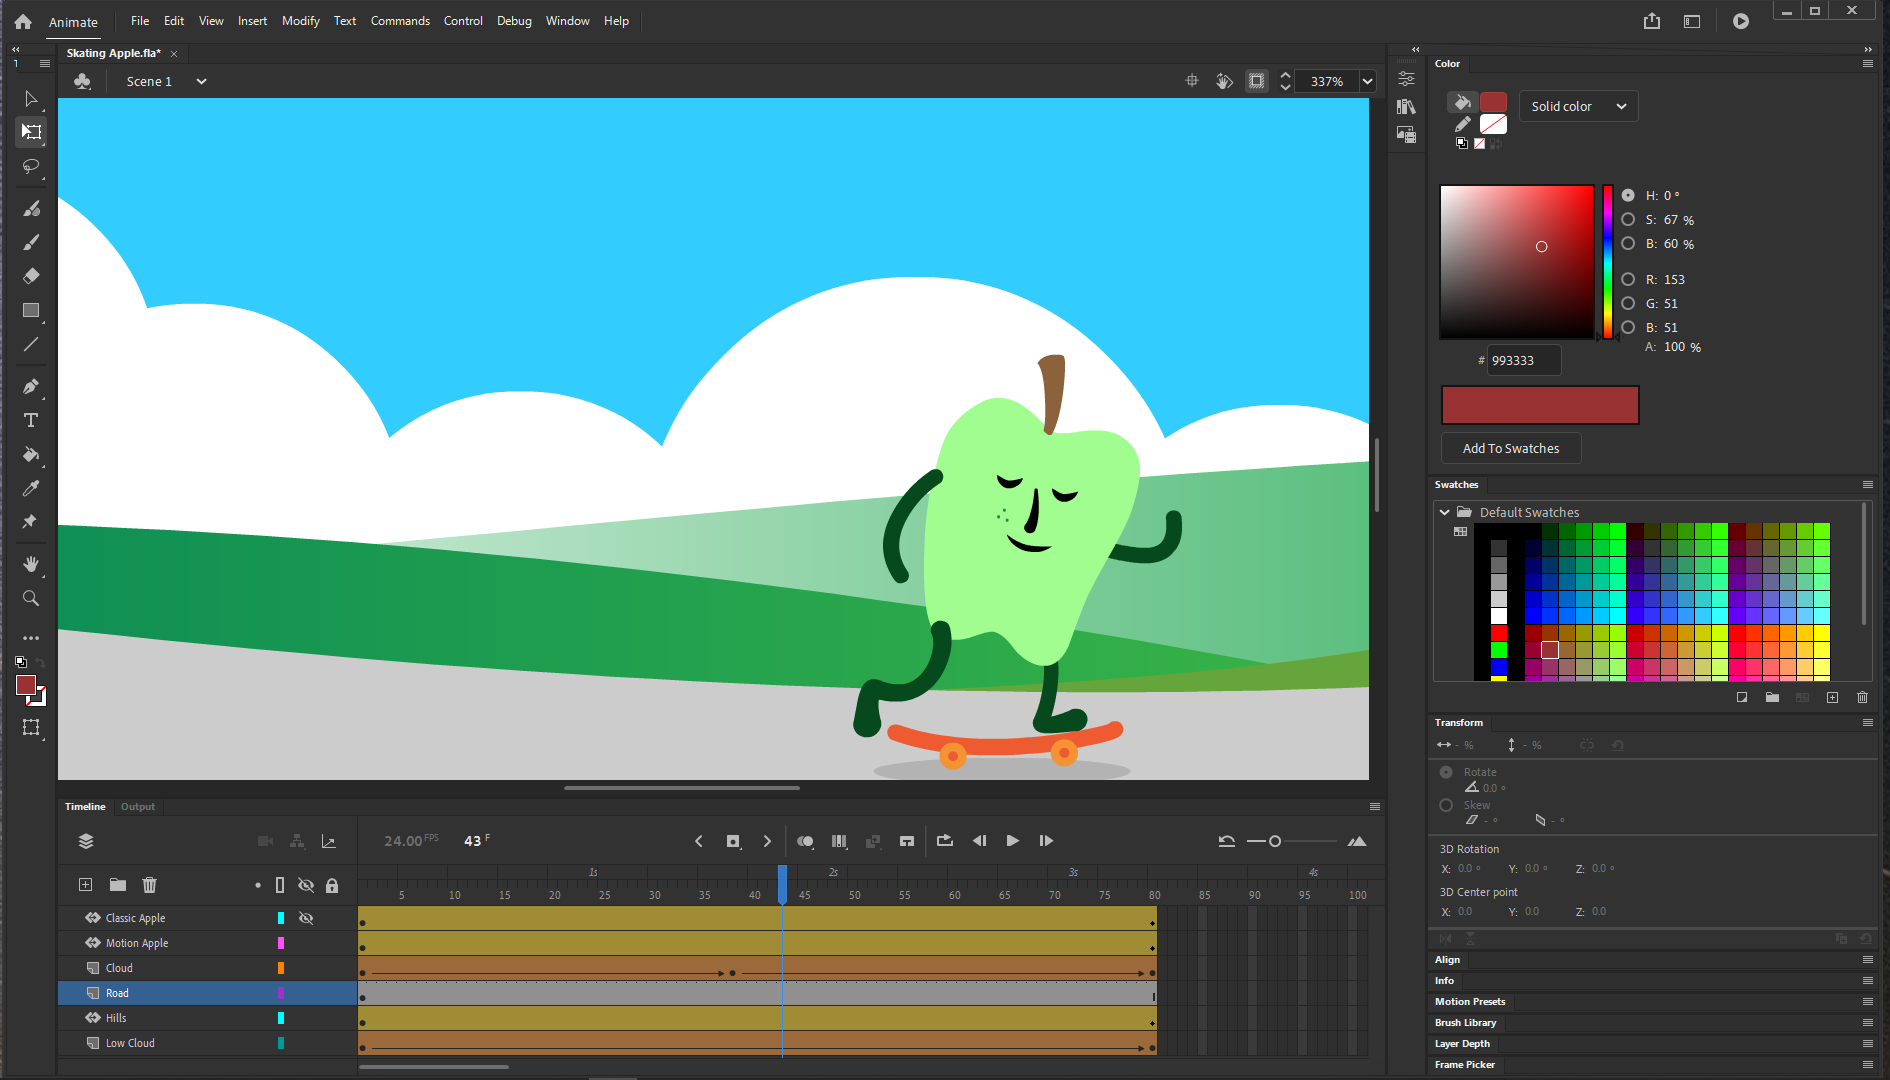
- A new stage will be created, and the Animate Interface will be opened.
- The white area in the centre is the 'Stage'. The Stage is the same as an Artboard in Illustrator or Canvas in Photoshop, and it’s where our animation will happen.
- The white area in the centre is the 'Stage'. The Stage is the same as an Artboard in Illustrator or Canvas in Photoshop, and it’s where our animation will happen.
- Reset the workspace to Essential by selecting Workspaces/Essentials from Window in the Menu Bar. The Essentials workspace will keep the Properties panel open while we’re working.

The Timeline will be visible at the bottom of the interface and will have indications for seconds and frames. There will also be a new layer present on the left of the timeline.

The Toolbar is on the left-hand side of the interface and contains the selection and drawing tools.
In the next section, we'll do some drawing.
Let's start by watching this video about drawing in Animate.
Drawing in Animate is similar to the way we draw in Illustrator. One crucial difference is the ability to select object-drawing and merged-drawing modes. Let's explore that now.
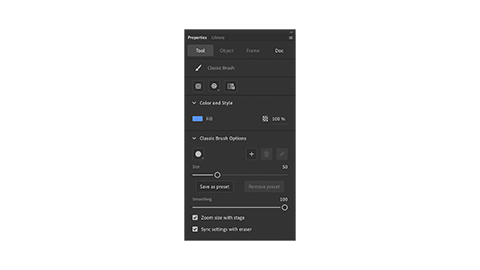
- Select the Brush Tool from the toolbar, select a colour and set its size to 50 in the Properties panel.
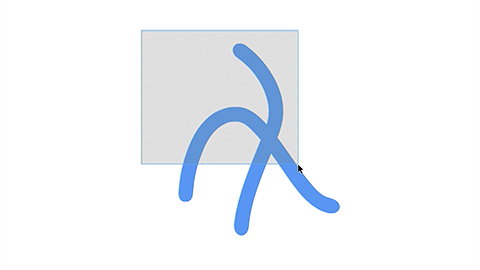
- Draw two overlapping strokes on the Stage.

- Use the selection tool to click one of the strokes. You should see that both of the overlapping strokes are selected and can be moved together.
- Drag a selection over part of the strokes. You’ll notice that you can move only the area you selected. This is Merged Drawing mode. Each shape and stroke is merged with what is already on the stage.
- Clear the stage by selecting All and pressing Delete.
- Select the Brush tool again and click the Object Drawing icon at the bottom of the toolbar.

- Draw the two strokes again. This time, using the selection tool, you should find that each stroke can be selected and moved independently for the other. In Object Drawing mode, shapes and strokes behave more like they do in Illustrator.

- Try the same experiment using the Shape drawing tool before moving on to Symbols in the next section.


We use symbols to group our drawings into meaningful pieces that we can reuse in our animation. Each symbol can have its own animation.
We need to convert elements to symbols if we want to use the tweening features in Animate.
- Try drawing a simple face. Make sure the Object Drawing mode is active.
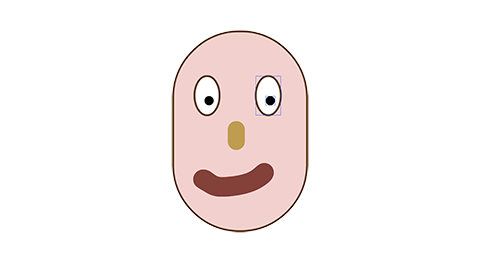
- Select the objects that make one of the eyes. Then click the Convert to symbol icon in the Properties panel.

- Give the symbol a name and click OK.
- Repeat for the nose, mouth and face.
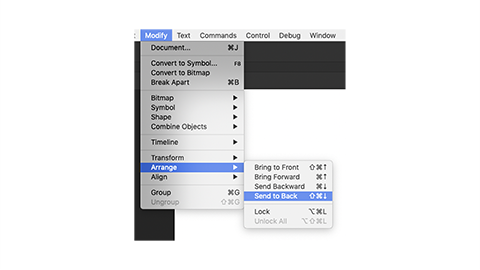
- Instead of creating another symbol for the other eye, copy and paste the first eye. Each time you create a symbol, it is brought to the front of the object stack. If you create the face symbol after the others, you will find it covers the eyes, nose, and mouth. You can use Modify/Arrange in the menu bar to send it to the back.
- Double-click one of the eyes to edit the symbol.
- Move the pupil up. Because both the left and right eyes are using the same symbol, both pupils will move.


Whakamanahau. Well done! You have created another character - and this one is ready for action!