What is a storyboard?
Storyboards are the blueprints of a film — from advertisements to animations. They are used to plan out each major scene and camera shot of a film — a tool for a director to visualise the layout and sequence of the entire movie before spending a lot of time and money shooting it.
Storyboards are especially important on big productions with large, long or complicated shoots. This 'blueprint tool' helps keep everyone aware of their true vision of the story and what they are trying to achieve, from the initial concept to when it is finally released in cinemas.
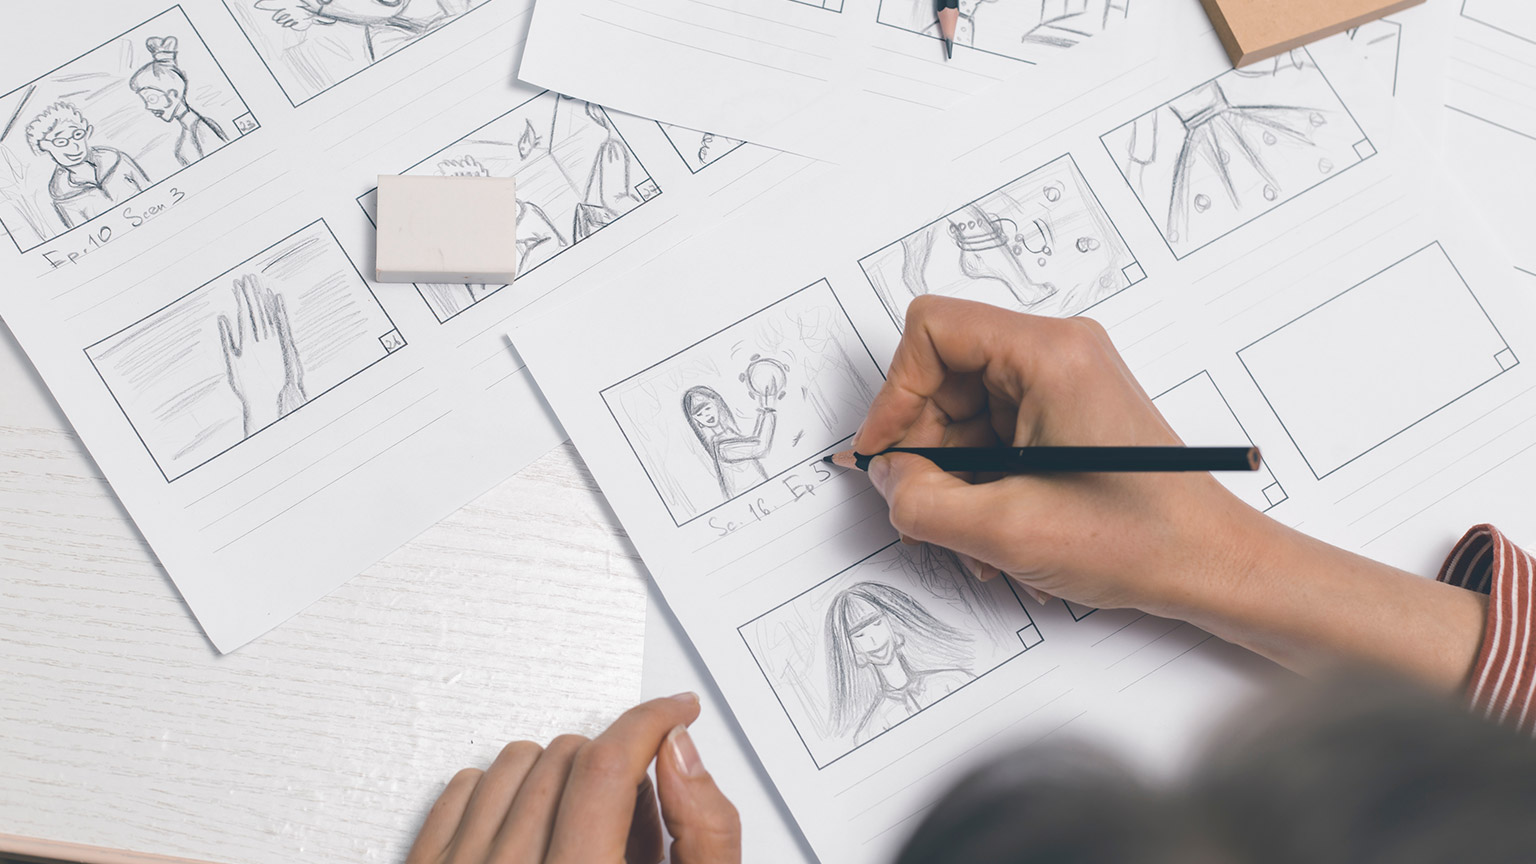
The example below shows what a storyboard template often looks like.

Download this zip file with two blank storyboard templates (PDF and InDesign) and save it on your computer so you can start new projects with a fresh, blank storyboard document each time in your software of preference. You don't have to use one of these; there are lots of options online, or you can simply create your own. Just remember that it is not only a tool to lay out a story, but it is also used to communicate that layout to others on the production team. The document has to work for you and be clear enough so that others can see exactly what was in your mind when you wrote it.
Parts of a storyboard
Storyboards illustrate pictures of each scene of a film, as well as key production information like the types of shots used, audio, timing of shots and any scene directions.
You don’t need to write your whole script on the storyboard, but you do need to make sure enough information is there so that when you are shooting on set, you can look at the storyboard and know what to do.
Drawing a storyboard
Drawing a storyboard is different from drawing a comic strip or another visual story. A storyboard communicates a very special view: how a story or scene looks through a camera lens. You can imagine that this is quite different from a normal view through human eyes.
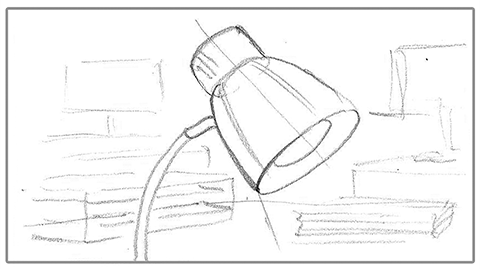
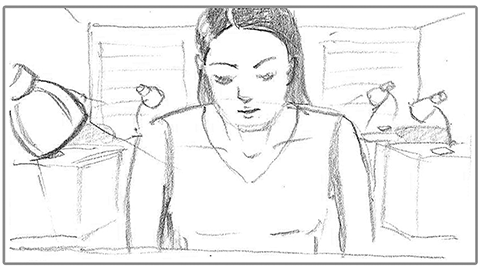
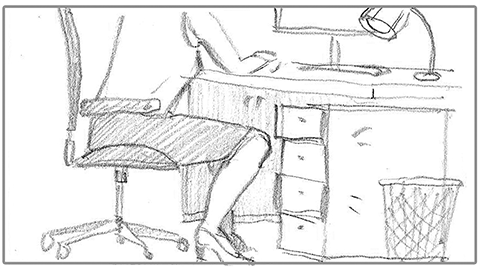
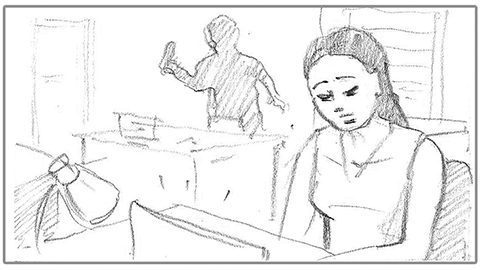
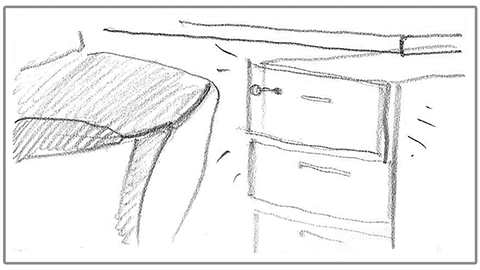
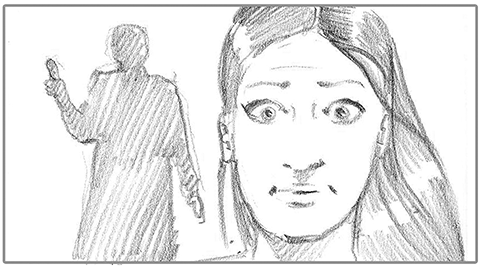
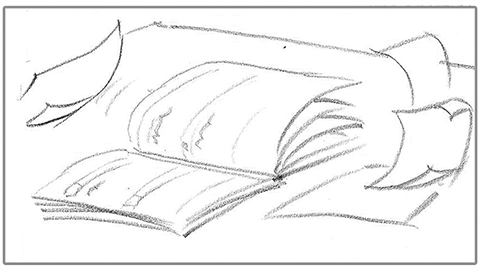
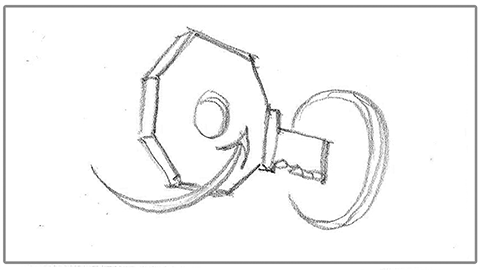
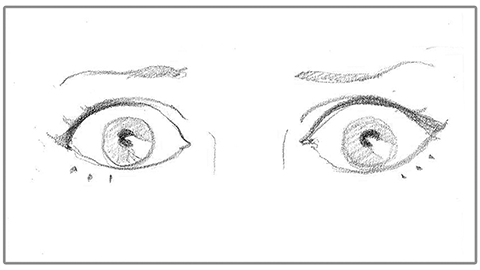
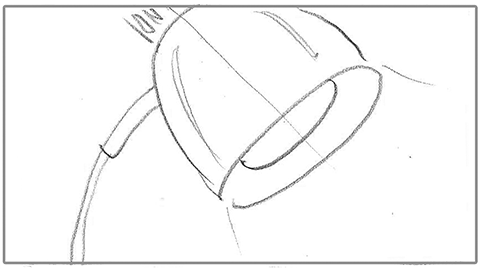
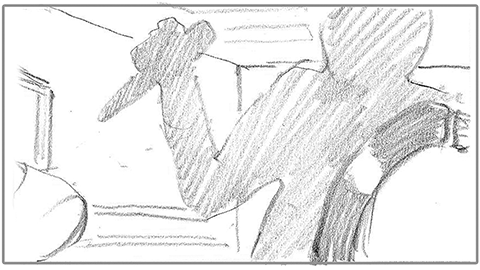
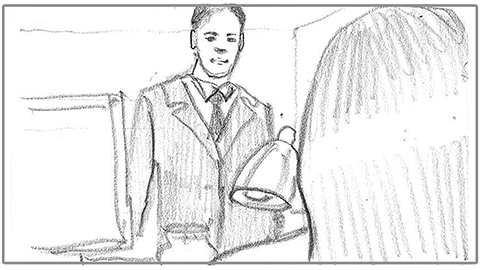
The following examples show the first part of the process, sketching out the action on screen:
The differences between storyboard writing and comic writing
Professional film productions hire storyboard artists: someone who is skilled in the special art of storyboarding. Not only are they good at drawing, but they are also fast! They need to draw many versions of ideas, scenes, and shots to find the ones that work the best.
Even though they are fast, storyboard artists may still spend years developing the look and feel of a movie.
They may even experiment with style, colour, lighting and shot types in an effort to communicate the storyline.
You do not have to be a great artist to create a storyboard. Stick figures (or blocks and a circle for a human head and torso) can also tell the story clearly, as long as the storyboard shows your major shots and other key scene information. Spending too much time drawing means your focus is in the wrong place — it slows you down, meaning that you have less time to experiment with different shots and scene ideas.
How to draw a storyboard
Keep it simple
Keep your storyboard simple so that you can finish it and move on to the next part of your project. Stick to clear ideas and show them using simple shapes. Draw only what you need to: think of a stick figure for a person or a car drawn as a block with two circles for wheels. A storyboard is purely functional. It is not meant to be beautiful and admired.
Start your storyboard with light pencil marks. Fill up the frame first with shape. Add details later.
Once you are happy with how the shapes fit within the frame, then add more as needed. Otherwise, keep sketching until you have drawn what you think is enough. Don’t be afraid to keep trying until you have nailed the shot.
Often, what looks good in your mind will look completely different on the page. This is one of the reasons storyboards exist in the first place!
The most important thing to remember is that you are trying to show how the script will look inside the camera’s lens. When the storyboard looks solid, you can be confident that you will be able to shoot what you intended.
For more details regarding storyboards, check out the video below and see how the movie Jurassic Park started as a storyboard.
By now, we have visited storytelling, shot types and storyboarding.
The next step is to explore how they work together in building a film that is effective and emotionally pulling to capture the audience and the essence of the message to be conveyed.
Storyboards help prepare and visualise a film through images and are most effective in helping to create a story that marries character dialogue with their actions and anything else that needs to be shown in the scene.
It can be difficult to capture emotions and the overall camera shots that directors want to create for each scene. This is why shot lists are beneficial. They help keep the shooting organised and detail the shot types and composition that will be used in each scene, so that's all predetermined on the day and location of the shoot. They also help the director organise what actors need to be involved in each shot and track equipment and props that may be needed to execute the scene. Storyboards and shotlists allow the production to be efficient and organised at the shoot.
Storyboarding is used for nearly all creative endeavours. Even this course started as a storyboard!
Film projects will require different specifications than other forms of media. For your first storyboard project, you'll want to be sure you are familiar with the shot types so that you can keep them in mind as you compose your scenes. You may like to have a quick refresh on the topic.
Watch this movie to take a deeper dive into storyboarding:
To complete the next activity, you will watch a scene we have selected and then reverse engineer the storyboard and shot list, creating documents that support the action on screen.
Novice Activity – Frosty and the BMX Kid
🕔 About two hours
- Watch this scene from Frosty and the BMX Kid:
- Using one of the storyboard templates you downloaded above (in the introduction section), sketch out the panels in the storyboard that would lead a filmmaker to create this scene.
- Think about:
- Shot types
- Camera actions
- Action descriptions
- Note this activity can be time-consuming if you get extremely detailed. Once you understand the concepts and feel you have had some experience writing the storyboard, go as deep or shallow into this activity as you feel comfortable and your time allows.
Forum Post
First, head over to the Forum for this activity and check out the work of your peers.
Then, upload your storyboard to the Forum, along with any comments or reflections you would like to share about the work of your peers as well as thoughts about your own work. When you looked at their storyboards, did you learn anything you can incorporate into your own work? The planning phase of any project is crucial to time savings during production.
Newbie Activity – Pick your own script to storyboard
🕔 About two hours (you don't need to complete this unless you want to.)
Start with a blank storyboard template.
- Go to The Internet Movie Script Database (IMSDb) and select a movie script, then select a scene from that script to use.
- Highlight five key shots that you feel are most important to the action or stand out to you for some reason.
- Think of using a variety of shots that can work in creating different meanings and evoking various emotions. An example may include an extreme close-up shot to help the audience see the emotion in a character's eyes.
- Once you have illustrated your storyboard panels, document your notes under each panel with a description of the action that is occurring and the shot type you are using. You may do this while you are illustrating the panels if you prefer to work that way.
-
Using your new storyboard, create a shot list to detail the shot types you have used.
Forum Post
Upload your work to this Forum post along with your reflections about this activity, and, as always check out the work of your peers.
Have fun, and let your creative juices flow!
For these activities, we'll combine our knowledge of storyboards, shot types and lists and add in filming and editing your footage. We'll introduce you to some filming techniques you are encouraged to try in your work.
Important
Before continuing, head over to Design Principles and Tools > Premiere Pro and ensure you have completed all of the tutorials and activities. When you are done, come back here and put your new skills into play!
Film techniques and tricks
Kuleshov Effect
This activity requires the use of a filmmaking technique called the Kuleshov Effect. Watch this movie to learn about it:
Filmmaking tricks
Showing off Activity – Looks and glances
🕔 2 or 3 days in 3-4 hour sessions per day

Can you tell how this couple feels about reading the results of this pregnancy test? It isn't exactly elation, and we know that just by looking at their faces.
This activity focuses on communicating actors' expressions that give the audience vital information about their mindset. You did some work with that in The Handover project, where you cut different scenes together to alter the narrative, using different facial expressions to drive the narrative. In this activity, we'll take that further and give you a chance to show off your growing skills!
Getting started:
Select one of these two scenarios:
The Game:
Film a high-pressure card or board game between two players.
- Try to capture key moments in the game, such as:
- opening moves
- strategic play
- cautious play
- worried/ hesitant move
- a twist of fate
- a poor move
- a small victory.
- Finally, it ends in utter defeat when there is a winning move.
~OR~
The Meeting:
Film a chance meeting on a park bench or similar location.
- Character One is sitting on a park bench, reading/eating.
- Character Two enters the scene and notices Character One.
- Character Two signals that they would like to sit on the bench as well.
- After a brief exchange of mutual acceptance, character One nods approval that character Two is welcome to sit down.
- Once seated, Character One smiles towards Character Two.
- Character Two appears flattered and smiles back.
- Character Two then notices the wedding ring on their own hand and covers it with their other hand.
- There is another exchange with more flirtatious looks.
- Character Two tries to take their ring off subtly.
- Character Two gets the ring off but then drops it, and it bounces on the ground in front of both characters.
- Character One responds to Character Two’s act of deception.
Things to remember for both scenarios:
- Props
- Costumes
- Sound effects and background music
Planning:
Before getting started, you'll want to do some preparation. Jot down notes about how you will approach this activity. When you have given it some time to consider, check out our list below by expanding the label or clicking the (+) sign.
After selecting your scenario, you'll want to:
- Write up a storyboard with shot types.
- Create your shot list.
- Pick a location where you can film your project.
- Review your storyboard and shot list to see if you need to make any refinements now that you have chosen a location.
- Make a health and safety report to ensure you and your talent remain safe.
- Go out and shoot the footage — it may take a few sessions, or you may get it in one.
- Bring your footage into Premiere Pro.
- Edit it using some of the techniques we provided at the beginning of this section.
- Add sound effects and background music to set a tone, if necessary, and export your work.
Optional extra challenge for this activity: Collab Challenge
Remember that the ability to collaborate with people within the design process is a good skill to have for a professional creative.
Do one or both of the tasks below. From here on out, we encourage you to add this challenge to any of your activities as it will provide you with more opportunities to participate in the feedback aspect of the design process. Add this process into your own design process as you progress in this industry. Don't feel compelled to do this now if you aren't comfortable with it.
Task 1: Feedback that informs the design process: Get feedback on your work before you have finished it. Explain your brief clearly and show your storyboard to at least three people (in person if you can), asking questions about your work. Take notes. Think about what you learned from those sessions and decide if you want to edit your storyboard. Ka pai if you do or if you don't. It's about learning how to have conversations with people about your creative work.
Task 2: Feedback on the final project: Show your final output to 3-5 people in person. You may wish to share the brief with them before or after they watch it. You can ask anyone you like, i.e., whānau, friends, and co-workers. After you have received feedback from them (don't accept just - "It's great, mate!"), see what resonates with you and decide if you want to redo any part of your project.
Forum Post
Create a Forum post with your project attached as a link. Include answers to these questions, giving you a chance to reflect on your project:
- Do you understand why this activity was assigned to you?
- Did you struggle with any aspects of it?
- Were you able to accomplish what you wanted to do at the shoot within the time you planned?
- Did your storyboard help keep you on track?
- What would you do differently about your process?
- What would you do differently about your finished material?
- If you took on the collaboration challenge, share your thoughts about it here.
Ka pai tō mahi. Great job completing a project combining many of the tools and techniques you have learned so far.
Showing off Activity – Compositing
🕔 3 - 4 hours
Combining different pieces of video together to make a more interesting clip is a technique that has been used for many years. Digital technology has simplified this process — you can now achieve high-quality results with minimal planning.
To view an example of compositing taken to a very high level, watch the innovative work of Zach King in this video:
We're not expecting output like this from you yet! We encourage you to get curious about how the author achieved these results as you learn more about and try your hand at the filmmaking techniques we've introduced to you.
If you haven't already, go to the Design Principles and Tools > Premiere Pro > Compositing. Learn how to create an image like this:

How did you go? Ready to create and use your own assets to create your own composited video?
Getting started
- Capture some footage in front of a plain coloured background to be able to isolate the subject and put it onto another piece of footage.
- We are emulating a green screen here, but you don't need:
- for the colour to be green
- for you to organise a set or do anything other than find a wall or other single-coloured solid background.
- Use a tripod and capture two or more different pieces of action in the same scene to be spliced together in the editing stage.
- We are emulating a green screen here, but you don't need:
Forum Post
Export your final piece and post it in a Forum post with a link to where you have placed it online. Include answers to these questions:
- Did you find this activity useful in learning about Premiere Pro techniques?
- Do you feel your final work reflects what you hoped to achieve when you got started?
- Would you do anything differently if you were asked to do the same assignment again?
Things to remember:
- Layers
- Spill
Do you want more inspiration, or are you just curious about how another student completed this activity? Dan selected this video from a student to show a very simple idea done really well.