Overview of Webflow
Webflow is an online software service that provides an easy-to-use web design, content management, and hosting platform. The design tools allow us to build engaging and responsive websites while the platform creates clean, semantically meaningful code.
Webflow is free to use for up to two projects and is based on real HTML elements and CSS selectors.
Getting started
Before you begin, you will need to sign up for a free account at https://webflow.com/.
If this is your first time, you will be routed through a tutorial. Please do not skip this part! It's a great introduction to the User Interface of Webflow.
The following additional tutorials will increase your ability to work with this tool. Please go through them as well:
Webflow University
For additional learning, spend as much time as you enjoy at the Webflow University homepage.
When you are done with those introductory tutorials, return here to continue your learning.
Ready to get stuck in? Let's go!
Webflow learning activities
🕔 2-3 hours
You can work alongside our video walkthrough or use the steps below to learn Webflow.
Start by creating a new project using the Blank Site template.

- Download the assets in Webflow.zip and let’s name our project 'Rollei'.
- The interface is divided into what will now be familiar areas. The left-hand side has a toolbar and element panels. The right-hand side has properties. The top bar has some view-switching buttons to simulate smaller devices. The white area in the middle is our canvas that will become the webpage.
- Click the Add Elements icon in the toolbar. Scroll down to Components and drag the Navbar components onto the canvas. A navbar will be added to the top of the canvas, with a space to add a brand or logo and three links for Home, About and Contact.
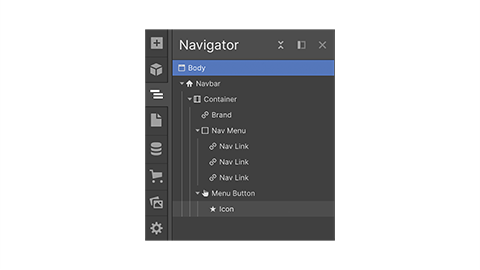
- Selecting the Navigator panel from the toolbar will show you how the elements are ordered and nested on the page.
- Notice how, if you select the Menu Button, nothing appears to be selected on the webpage? Try switching the view to Tablet or Mobile.
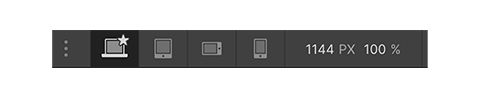
- A hamburger menu will appear for sizes below Desktop.
- Use the Add Element panel and drag a Section onto the page.
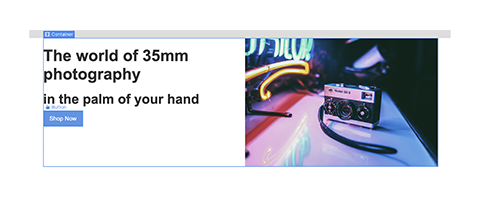
- Adding a Section creates a div block that fits 100% of the width of the viewport. We’ll use this section as a large landing image with text.
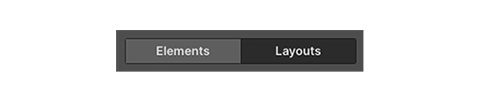
- Use the Add Element panel and switch to Layouts using the button at the top of the panel.
- Drag a Footer onto the page.
- Use the Add Element panel and drag a Container into the section. A container is another type of div that will keep content centred on the page or within its parent element.
- Drag a Columns element into the container element. Select the two even columns in the column settings.
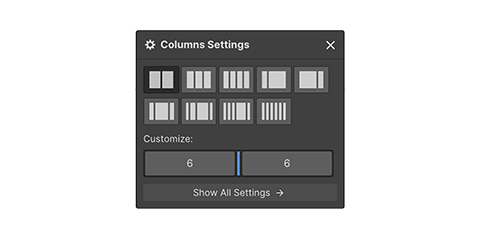
- We can use columns to divide an element’s space into two or more areas.
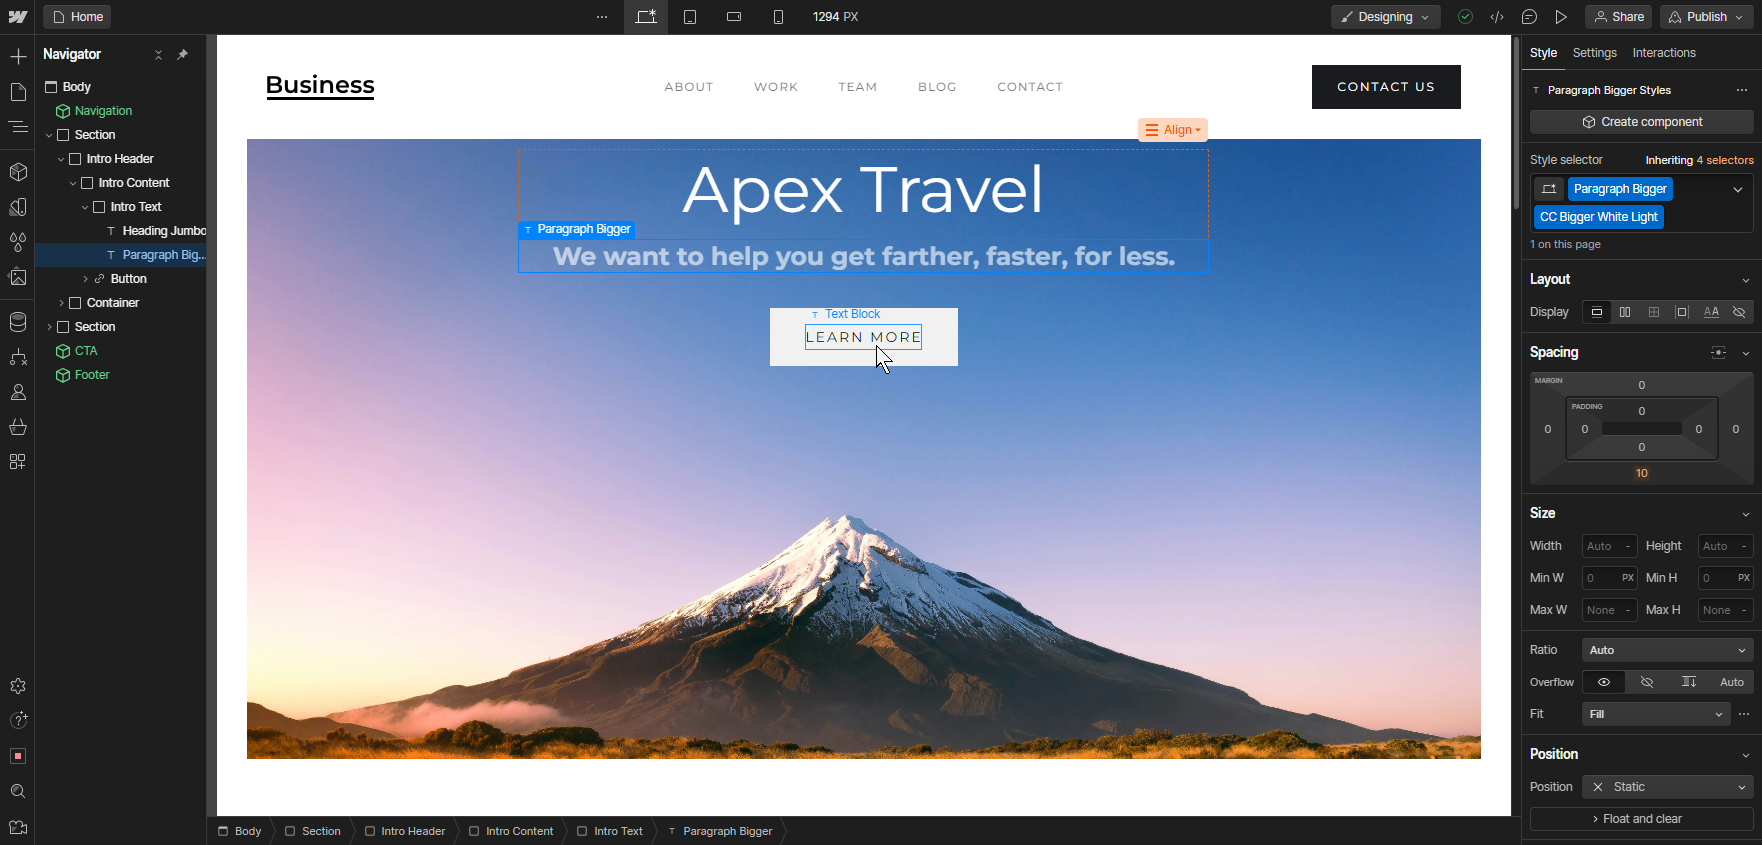
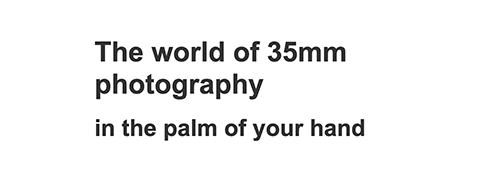
- Drag Heading elements into the left-hand column. Use two heading elements (H1 and H2) to create the text.
- Drag an Image element into the right-hand column and follow the instructions to upload and add an image.
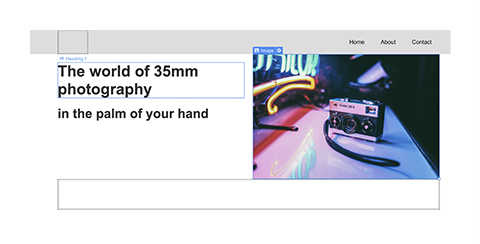
- Drag a Button element into the left-hand column below the text. Double-click the button’s text to edit.
- Add another Section, Container and three Columns to recreate the 'Our Users' section of the page.
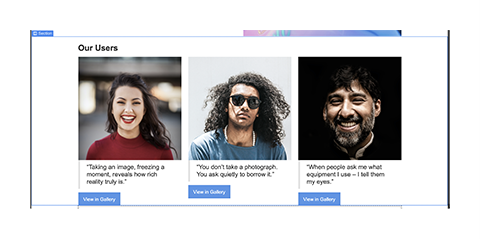
- Use H3 for the heading, Block Quote for the quote and a Button for the button.
- The structure will look like this in the Navigator panel:

- Edit the placeholder images in the navbar by adding an image element and adjust the footer to add branding to the page.
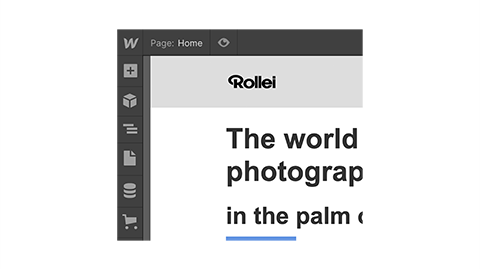
- Use the component panel to create a component for the navbar and footer by selecting the element and then clicking Create New component in the panel. Components are reusable elements that will remain consistent between pages.
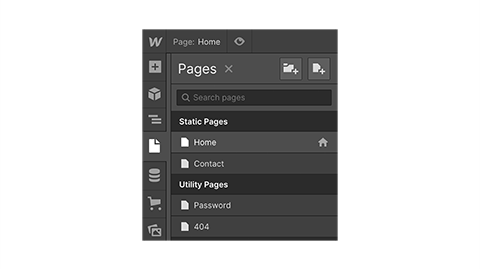
- Create a new page using the New Page icon in the Pages panel and name it 'Contact'.
- Open the Contact page for editing and drag the header and footer from the component panel to the page.
- Drag a Form from Layout in the Add Element panel onto the page.
- Edit the Nav Links in the navbar to go to the appropriate pages.


You’ll need to change the type to 'Page' in the Nav Link Settings panel.
Because the free version of Webflow only allows for two pages, we’ll need to add the rest of our content to either of the pages we’ve already created. Try creating a gallery and product section by adding the appropriate elements from the Add Element panel.
Edit the button links to go to the appropriate page section.
Styling
Styling in Webflow allows you to edit and apply properties to elements using CSS selectors. Editing an element’s style will create a new selector.
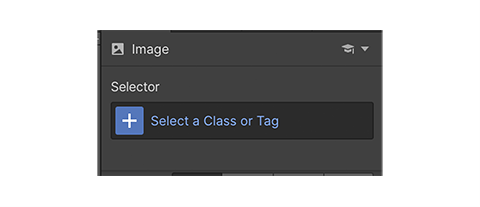
- Select the first image in the Our Users section.
- Scroll down to the Borders section in the Properties panel.
- Notice that under Selector at the top of the panel, there are no selectors currently applied.
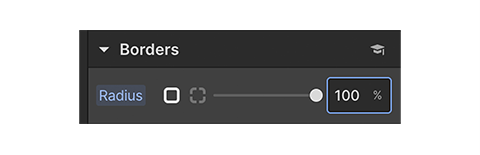
- Edit the radius value to 100% to give the image a circular frame.
- The Selector section should now include a new selector.
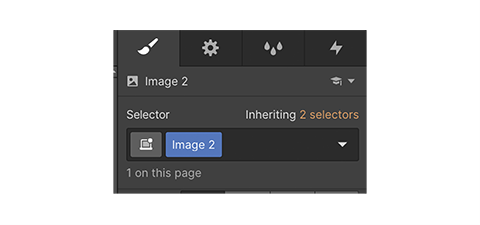
- We could edit each of the user images, but it would be better to apply the newly created selector to each of the images.
- Rename the selector to 'userimg'.
- Select the second image and apply the new selector by starting to type its name in the Selector field, then selecting it from the existing classes.
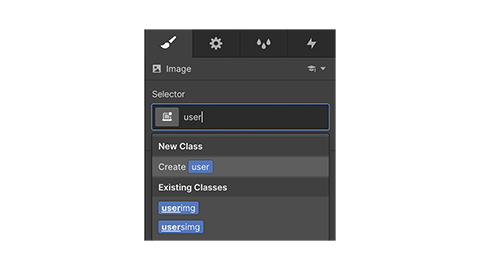
- Repeat for the third image.
- Select the Gallery section and change its background colour to a light grey in the backgrounds section of the styles panels.
- Select the section that contains Our Users and apply a 10px bottom margin to stop the buttons from touching the section below.
- Try changing the splash image section to look like the XD prototype by using a background image.
- Try using a slider component as a splash image.


A partially completed version of this project is available here.


Overview of Visual Studio Code
According to Microsoft's VisualStudio.com it is:
...a streamlined code editor with support for development operations like debugging, task running, and version control. It aims to provide just the tools a developer needs for a quick code-build-debug cycle...
Learn
Start by learning how and for what projects this program is used at Visual Studio Learn.
After reading that page to get a framework, get stuck into the tutorials by using the navigation on the left of that page.
- Get started
- Student Lessons
- Collaboration