Introduction
In this topic we’ll cover the equipment and skills needed to measure up a site, including:
- preparing for the site visit
- deciding what to measure
- drawing a survey plan
- measuring buildings
- measuring the position of other objects.
By the end of this topic you’ll be able to:
- Identify which landscape features you need to measure.
- Explain what is meant by the terms running measurements, trilateration, and offset.
You should plan to visit the site once during this stage of the landscaping process and during that visit complete all of the following tasks:
- measure up (site survey)
- conduct a site inventory (and take plenty of photos)
- conduct an environmental analysis.
With that in mind, work through this topic, and the next two before your site visit.
Before you go to site:
- Arrange a date and time with the client and make sure your helper is available.
- Get hold of all equipment you’ll need.
You should measure everything that may influence your landscape design. Only ignore the things you absolutely will not keep. For example, if there is a dead tree in the middle of the lawn you wouldn’t measure it if you are going to specify that the tree is removed and the stump ground down. On the other hand, if it looks too large to have the stump ground down you should measure it and factor it into your design.
When you’re doing your site inventory and environmental analysis you’ll want to record the location of poorly draining areas, but this can be an approximate location. There is no need to measure them.
When you arrive on site, take a good look around before you start drawing. Pace the boundary to get an idea of the size of the area. See what buildings and other features will need to be included in your plan. Take photographs as you walk around, and throughout your visit, that you can refer to later as needed.
Decide on a scale for your initial rough plan; for example one large square on your grid paper could represent one metre, if the site is very large then a metre for each small square may be more appropriate.
Your first sketch doesn’t have to be perfectly to scale, although the more accurate it is, the more useful you may find it later. The purpose of the initial sketch is to give you a guide as to how the different features relate to each other in terms of size and position.
Activity - calibrate your legs
Pacing is a quick way of approximating distances if you know how long your pace is.
- Go to an open space outdoors that is large enough for you to pull your surveyor’s tape out straight. Stand at one end and walk to the other using your normal walking stride. Count the number of steps it takes to get to the other end.
- Divide the length of the tape measure by the number of steps to get your stride length. For example: 50m / 55 steps = 0.9m.
- Now pace out a landscape feature such as the length of a building, boundary fence or pathway. Multiply the number of steps by your stride length. For example 68 steps x 0.9m each = 61.2m. Our boundary fence is roughly 61m.
When sketching your rough plan, you should be able to use a scale of one pace equals one large grid square. It won’t be a true scale like 1:100, but at least everything will be in proportion.
Record the number of paces (or length in metres or millimetres) of the boundaries. This will help you quickly work out what size piece of paper you’ll need to draw up your base plan at a later stage.
For the most part, buildings are rectilinear (have 90 degree corners). Where this is the case, measuring up is fairly easy. On the odd occasion where a building is not rectilinear it will probably have 45 degree angles, which you should be able to work out just by looking at the building. If it is a different angle, you will need to use the trilateration method (see below).
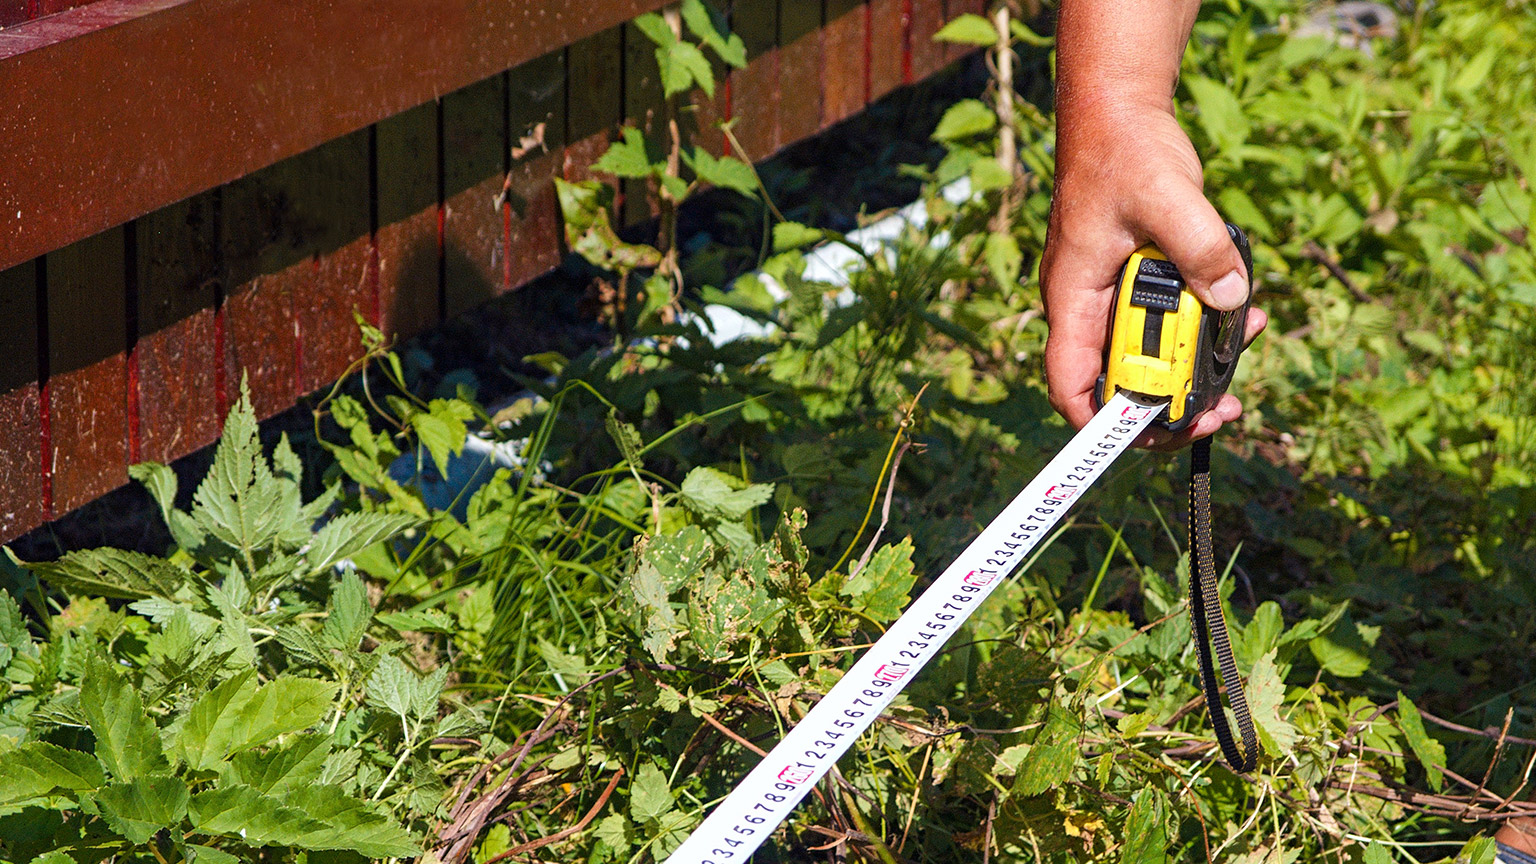
When measuring, pull the tape measure tight and make sure it is horizontal.
Running measurements
If you are measuring alone, or even with a helper, you will find it easiest to take running measurements.
Running measurements are where you pull the tape measure tight from one end of the object to the other and then read out what it says on the tape at each point of interest. For instance if you are measuring a building your measurements might be:
- 0mm start point at the western end of the wall
- 1300mm start of window
- 2500mm end of window
- 3200mm start of door
- 4060mm end of door
- 5800mm eastern end of wall.

Example of running measurements taken at Genevieve’s house.
Tips for taking running measurements:
- Hook the end of the tape measure onto the building or feature, or alternatively use a surveyor’s tape with a loop end and a metal tent peg to hold it in place.
- If you have an assistant, have them run out the tape measure and call out the measurements to you as they unwind. When they’ve finished they can wind it back in and move on to measure the next feature.
- If you’re working alone and have a phone with a voice memo app and some headphones with a built-in microphone, you can record your voice as you wind out the tape, keeping it tight as you go, for example: “On the eastern side of the building, starting from the south, 1300mm to the start of the window, 2500mm to the end, wall till the start of the next window at 3200mm” and so on. If you use this approach, check your phone periodically to make sure it’s still recording and that the recording is easy to listen to.
It’s also a good idea to sit down at the end of the measure up, play the recording back, and add the measurements to your drawing. This will help identify if you’ve forgotten to measure anything. Your voice memo app will probably allow you to change the playback speed and/or remove silence, so it shouldn’t take too long.
Taking other building measurements
As well as measuring horizontally, you will also need to measure some vertical features. This will help you create accurate perspective drawings later on. If you measure the height of a single weatherboard on the house, for example, you can work out the height of the wall to the eaves by multiplying the height of one board with the number of boards (as seen in the photographs you took).
Measure the height from the ground to the bottom of any windows. This will guide you later when you are making planting selections. You don’t want to choose species that will block the windows when the plants are fully grown.
Trilateration is a way of plotting the location of an object based on the position of two known locations and the distance between them and the object. You might hear people in the landscaping industry refer to triangulation, but they probably mean trilateration.
Here’s how trilateration works:

If we already know the positions of A and B we can find the location of X by simply measuring from A to X and from B to X. In this situation A and B might be the end points of a side of a house and X might be the post of a rotary clothesline. All we need is a tape measure.
When we come to draw this on paper we’ll use a drawing compass to create two arcs and where they cross is the location of X.
The key point for measuring up is that we need to measure from two known points to each unknown point.
Trilaterate:
- the boundaries from your main building then measure the length of each boundary
- the position of other buildings in relation to the main building (as shown in the following diagram)
- the location of other site features such as trees, the end points of paths and driveways.

Taking trilateration measurements
In this scenario we are finding the location of one side of the garage, by measuring from our known points (A and B) to our unknown points (C and D). The most efficient way to do this is:
- Hold the end of the tape at point A and ask your assistant to go to point C. Get them to pull the tape measure tight and then read out the measurement to you. Write it down.
- Ask them to move to point D and call out that measurement so you can write it down.
- Next move to point B and hold the end of the tape measure there. Get your assistant to wind up the slack from the tape measure, pull it tight to point D and call out the measurement.
- Finally get them to move back to point C and call out that measurement.
Wherever possible, have a wide angle between your known points and the unknown point as is the case in the diagram above, between the angle ACB and the angle ADB.
Recording trilaterations
As you can see in the diagram above, if you draw in all the trilateration dimensions on the plan it will quickly become messy. An alternative is to label the points on your drawing (such as A, B, C and D) and then use a separate sheet of paper to create a table like this:
| From | To | Distance |
|---|---|---|
| A | B | 10000 |
| A | C (garage) | 3630 |
| D | D (garage) | 6360 |
| B | C | 10590 |
| B | D | 5310 |
Notes
- The length of a straight wall, like AB, is a distance that can be used for triangulation.
- See that we don’t need an entry for From B To A, because we already have From A To B.
- We’ve entered the distance in millimetres (mm) rather than metres (m) as this is the common convention for landscaping.
- Be as accurate as you can with trilateration measurements. Remember to keep the tape tight and horizontal and record the results to the nearest 10mm.
- If measuring to a tree trunk, work out the approximate radius of the trunk and add that to your measurements, so that they will give you the position of the centre of the trunk.
- Double-check your table before you leave to make sure you’ve got two measurements to each unknown point.
So what is triangulation then?
Triangulation is a way of plotting the location of an object based on the position of two known locations and the angles from them to the object.

Using triangulation we would find X by standing at A and using a magnetic compass to measure the bearing from A to B and then from A to X and subtracting one from the other to get the difference (48 degrees). We’d repeat the process at point B (73 degrees). Then we can project two imaginary lines A:X and B:X and where they meet is the location of X.
As you can see this is far more complex than trilateration, so it is rarely used for landscape design and construction.
Watch: How to survey a garden (2:26 minutes)
This video demonstrates the key points you’ve read about so far.
Benchmarks and trilateration
On occasion, you might not be able to find straight lines from two points to an unknown point because other things are in the way. In this situation you can create a benchmark by finding a point on a soft surface such as a lawn or garden bed that is visible from your known points and your unknown points, and:
- Hammer in your tent peg.
- Measure the distance from two known points to this benchmark.
- Measure from this benchmark to the unknown point that was previously blocked from view.
Click on each heading below to display information on using benchmarks.


It is worth noting though that the more complexity you introduce, such as adding your own benchmarks, the more room there is for error, so only use this approach if really needed.
An offset is the distance from a baseline to a landscape feature.
Offsets are commonly used to measure curved features in the garden, such as a garden bed or curved path. Remember we want to include all features on our base plan that may affect our garden design. Measuring offsets is relatively straightforward:
- Run your surveyors tape along a known straight line, like a fence, if one exists, or use the tape to form a straight line. This is known as the baseline. The baseline needs to extend the whole length of the curved feature you’re measuring.
- Next use your builders tape to take measurements perpendicular to the baseline at regular intervals, measuring to the edges of the curved path. Once you have enough measurements, you will be able to join up the points on your sketch creating a curve that matches what is on the ground.
Offsets taken from a known baseline (right edge of drawing) at regular intervals of 2m:

Tips for measuring offsets:
- The smaller the spacing (intervals) between offset measurements the more accurately you will be able to plot the curve, but the longer it will take to measure. Work out how important it is that this feature is measured accurately. If it’s not very important, use a small number of offsets.
- You can adjust the spacing of the offsets to make the most of your time. Use a few offsets where the curve doesn’t change much, and lots of measurements where it changes sharply.
Irregular offsets still require a known baseline but the spacing of the intervals can be adjusted to focus on the most important points of the curve:

Practice
Now that you know how to do a site survey, practise the skills in your own garden. Work out what you’re going to measure before you start and draw a rough plan of that area on graph paper.
Measure up:
- a small building or one side of your house, using running measurements
- three points that require trilateration
- a feature that requires you to measure offsets (if you have one).
Record your trilateration measurements on the plan or in a separate table.
Activity
Check your understanding by answering the following questions then move onto the next topic.
Ka rawe, excellent! You’ve made it through this topic on site surveying.