In this topic we’ll work through the first stages of the proposal plan development which include:
- incorporating feedback from the client
- selecting and specifying landscaping materials for surfaces and structures
- refining the design in response to material selection
- drawing up the hard landscaping.
Remember that the proposal plan itself is mainly about hard landscaping and ground surfaces. We’ll get on to plant selection and arrangement in the next topic and then come back to finalise the proposal plan after that.
By the end of this topic you’ll be able to:
- Describe what we mean when we talk about specifying materials and identify appropriate specifications.
- Identify reasons why a design may need to be revised once materials have been selected.
- Draw up the hard landscaping aspects of the proposal plan.
Hopefully, your client loved the garden concept you designed for them. Perhaps there were a few things they have asked you to add or change.
The first task when moving on to the proposal is to make changes to the design which respond to the client’s feedback.
Try to understand the underlying reason for their feedback. One approach to this is to ask “why” to get a broader reason. Or more politely “what is it you like about…” or “what is the problem this tries to solve?”
For example, if the client says, “I love this design, but I want a fence here.” You could say “Great! Can you explain what the fence needs to do?” This will probably get them to explain their thinking. They might reply “I’ve noticed that the wind comes in from this direction too, so I want to block that out.”
Now that you know the reason, you could discuss some options, including some that might not involve a fence at all. Taking this approach helps keep you in control of the design, leading to a more cohesive plan in the end.
Case Study: Genevieve’s feedback on the concept plan
Genevieve loved the rectilinear garden concept we designed for her. Her specific feedback was:
- “It ticks all the boxes” – it does everything that the client brief covered.
- She likes:
- the idea of the outdoor dining area being slightly sunken.
- the convenience of having the raised planter boxes on the deck.
- the idea of planting horoeka (lancewood, Pseudopanax crassifolius) between her house and the main house
- She would like the steps from the house to the main deck to be larger – big enough to stand on comfortably but not so big it takes up too much space as she wants to be able to put a BBQ on the lower level.
- She questioned whether the deck and planter boxes would be brown, as shown in the concept plan. She feels that it isn’t in keeping with the house. We explained that the intention was to stain or paint both to better match the house. She agreed with this approach.
She gave approval to move on to the proposal and looks forward to seeing the revised design and the planting plan.
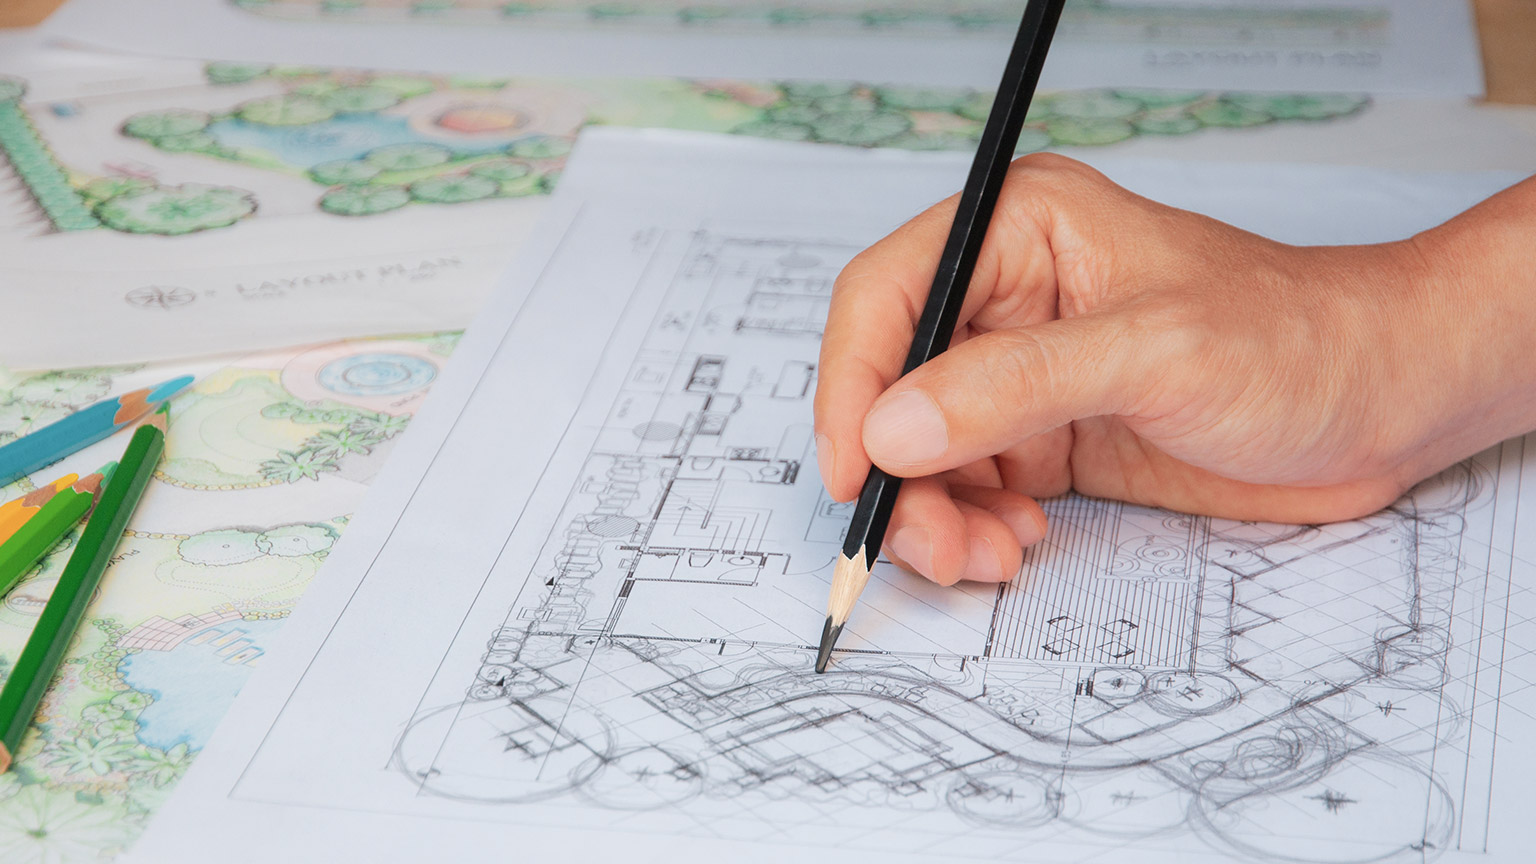
The next step is to select the best materials for each ground surface and for all garden structures. When we list these materials on our plan we say we are specifying it.
Your new knowledge of landscaping materials will come in handy here.
The idea is to specify each surface with enough details that a landscaping contractor could, with a little bit of planning, install it. Where your concept plan might have simply said “lawn,” now it should say something like “secondary lawn: regenerative pasture blend.” Or instead of “dark grey concrete pavers,” “concrete pavers: charcoal, 400x200x50mm, stack bond”.
For landscape structures, be as descriptive as you can in a few words. For example “louvre roof gazebo: 3x3m, charcoal”. These specifications are going to be added to your proposal plan as annotations so they shouldn’t be too long.
Material transitions
One aspect of material selection that is worth discussing further is the transition from one ground surface material to another.
Often this will take the form of edging, but in some cases one material may push out into the other. ![]()
This stacked bond row of bricks between the paved area and the lawn (left) makes it clear that a change of surface is approaching. Different types of ground surface provide cues as to what is more important, that you stay for a while (middle) or that you keep walking through the area (right).
Whatever the approach you take, material transitions should be of appropriate proportion to nearby landscape elements to give a sense of confidence. If in doubt, make the edging or transition material larger, rather than smaller, than you think it needs to be. For example, in the Martin Garden, we specified the edging between the lawn and sunken outdoor dining area to be two boards (180mm) wide, instead of one.
Focal points
During the concept design phase you will have identified where focal points are needed to help guide people through the garden. Now is your chance to recommend or specify what exactly each focal point will be.
How you do this will depend on the relationship you have with your client. If they trust you to make all design decisions you can go ahead and specify the objects and supply photos of these as an attachment or as a Pinterest board. If not, it may be more appropriate to provide general guidance, such as “modernist rectilinear art affixed to fence” or “renaissance concrete bird bath.”

This painted bench seat is an effective focal point, enticing the viewer to move through the garden to sit for a while.
Activity
Revise your material palette
Go back to the material palette you created earlier and add and remove images of materials, as necessary. You should be able to find images on supplier websites.
Again, remember that the principle of simplicity is about using the fewest materials possible.
Add images of focal points if you are specifying these as part of your design.
The materials you’ve specified may make you rethink the size of some of your garden elements.
For instance, your concept design calls for a 900mm wide path and you’ve decided that it would look good if this was built from 200x100mm concrete pavers in a basket weave pattern, a full course will be either 800mm or 1000mm wide. If you were to stick to 900mm you would need to cut many of the pavers. It would also increase the time it takes to build (and therefore cost) and would result in a visually confusing pattern.
When deciding which way to go, make sure you consider the access needs of the client. If they need to move along this path using an electric mobility scooter or ride-on mower, it would be a better idea to go for the wider option.
Also remember that if you make big changes to the width of a path it may change how it feels. If you change a 3m long 1m wide path into a 1200m wide path to accommodate 400mm wide pavers, it may feel less like a path and more like a small patio.
If you’re not sure what the impact will be, make some sketches or use CAD to explore and refine the design. Where you need to make adjustments, consider which edges you’ll move – choose the ones that are least connected to your original grid lines.
Stick to the design principles
As you’re making these changes keep in mind the five principles of garden design that we applied to our concept plan:
- Proportion and scale
- Balance
- Emphasis
- Unity
- Simplicity.
The aim is to come up with a final design that responds to the materials you’ve chosen but still follows these design principles. At this stage in the design process, the main things to focus on are:
- The materials chosen link to the house and buildings on site. (Unity)
- You’ve used the fewest types of hard surface and structure materials that still create interest. (Simplicity)
- The design has enough focal points or areas of emphasis to draw people through to the desirable spaces, without being overwhelming. (Emphasis)
Case Study: Hard landscaping changes
Here is a list of the changes we’ve made to the Martin Garden design so far:
- Created a larger “step” on the deck, at the client’s request.
- Specified materials for decking, planter boxes, fences and paving, including “confident transitions” in the form of edging around the outdoor dining area.
- Adjusted the size of the planters to make them a standard width (800mm) and changed the length of the one closest to the house to create symmetry.
- Adjusted the size of the outdoor living areas to better accommodate the larger planter boxes and the paving units.
- Specified a focal point that is consistent with the design theme of the garden.
Before we move on to planting design, we need to “lock in” the hard landscaping and ground surfaces.
We are going to start on our proposal plan by drawing in the site buildings, hard landscaping, and any lawns. We’re not going to draw any plants yet – we’ll come back to that after we’ve done the planting plan.
For the proposal plan we are going to use the same graphic symbols we used for the concept plan, but add more detail to the materials we’ve specified, such as:
- the direction the pavers will be laid in
- decking boards showing joins and nail/screw holes.
We draw up our proposal plan in a similar order as our concept plan, except here we’ll leave the annotations and rendering for later.
Go ahead and draw up your proposal plan to include only the site buildings, hard landscaping, and lawns, following these steps:
- Add the pencil linework.
- Add ink lines using the correctly sized pens and appropriate graphic symbols for hard landscaping. You might like to include entourage, but it's not a requirement for the assessment.
- Add the title block.
Important: Take a scan or photocopy of your drawing before you go any further. This way, if you make a mistake you can come back to the copy and use that for your second attempt.
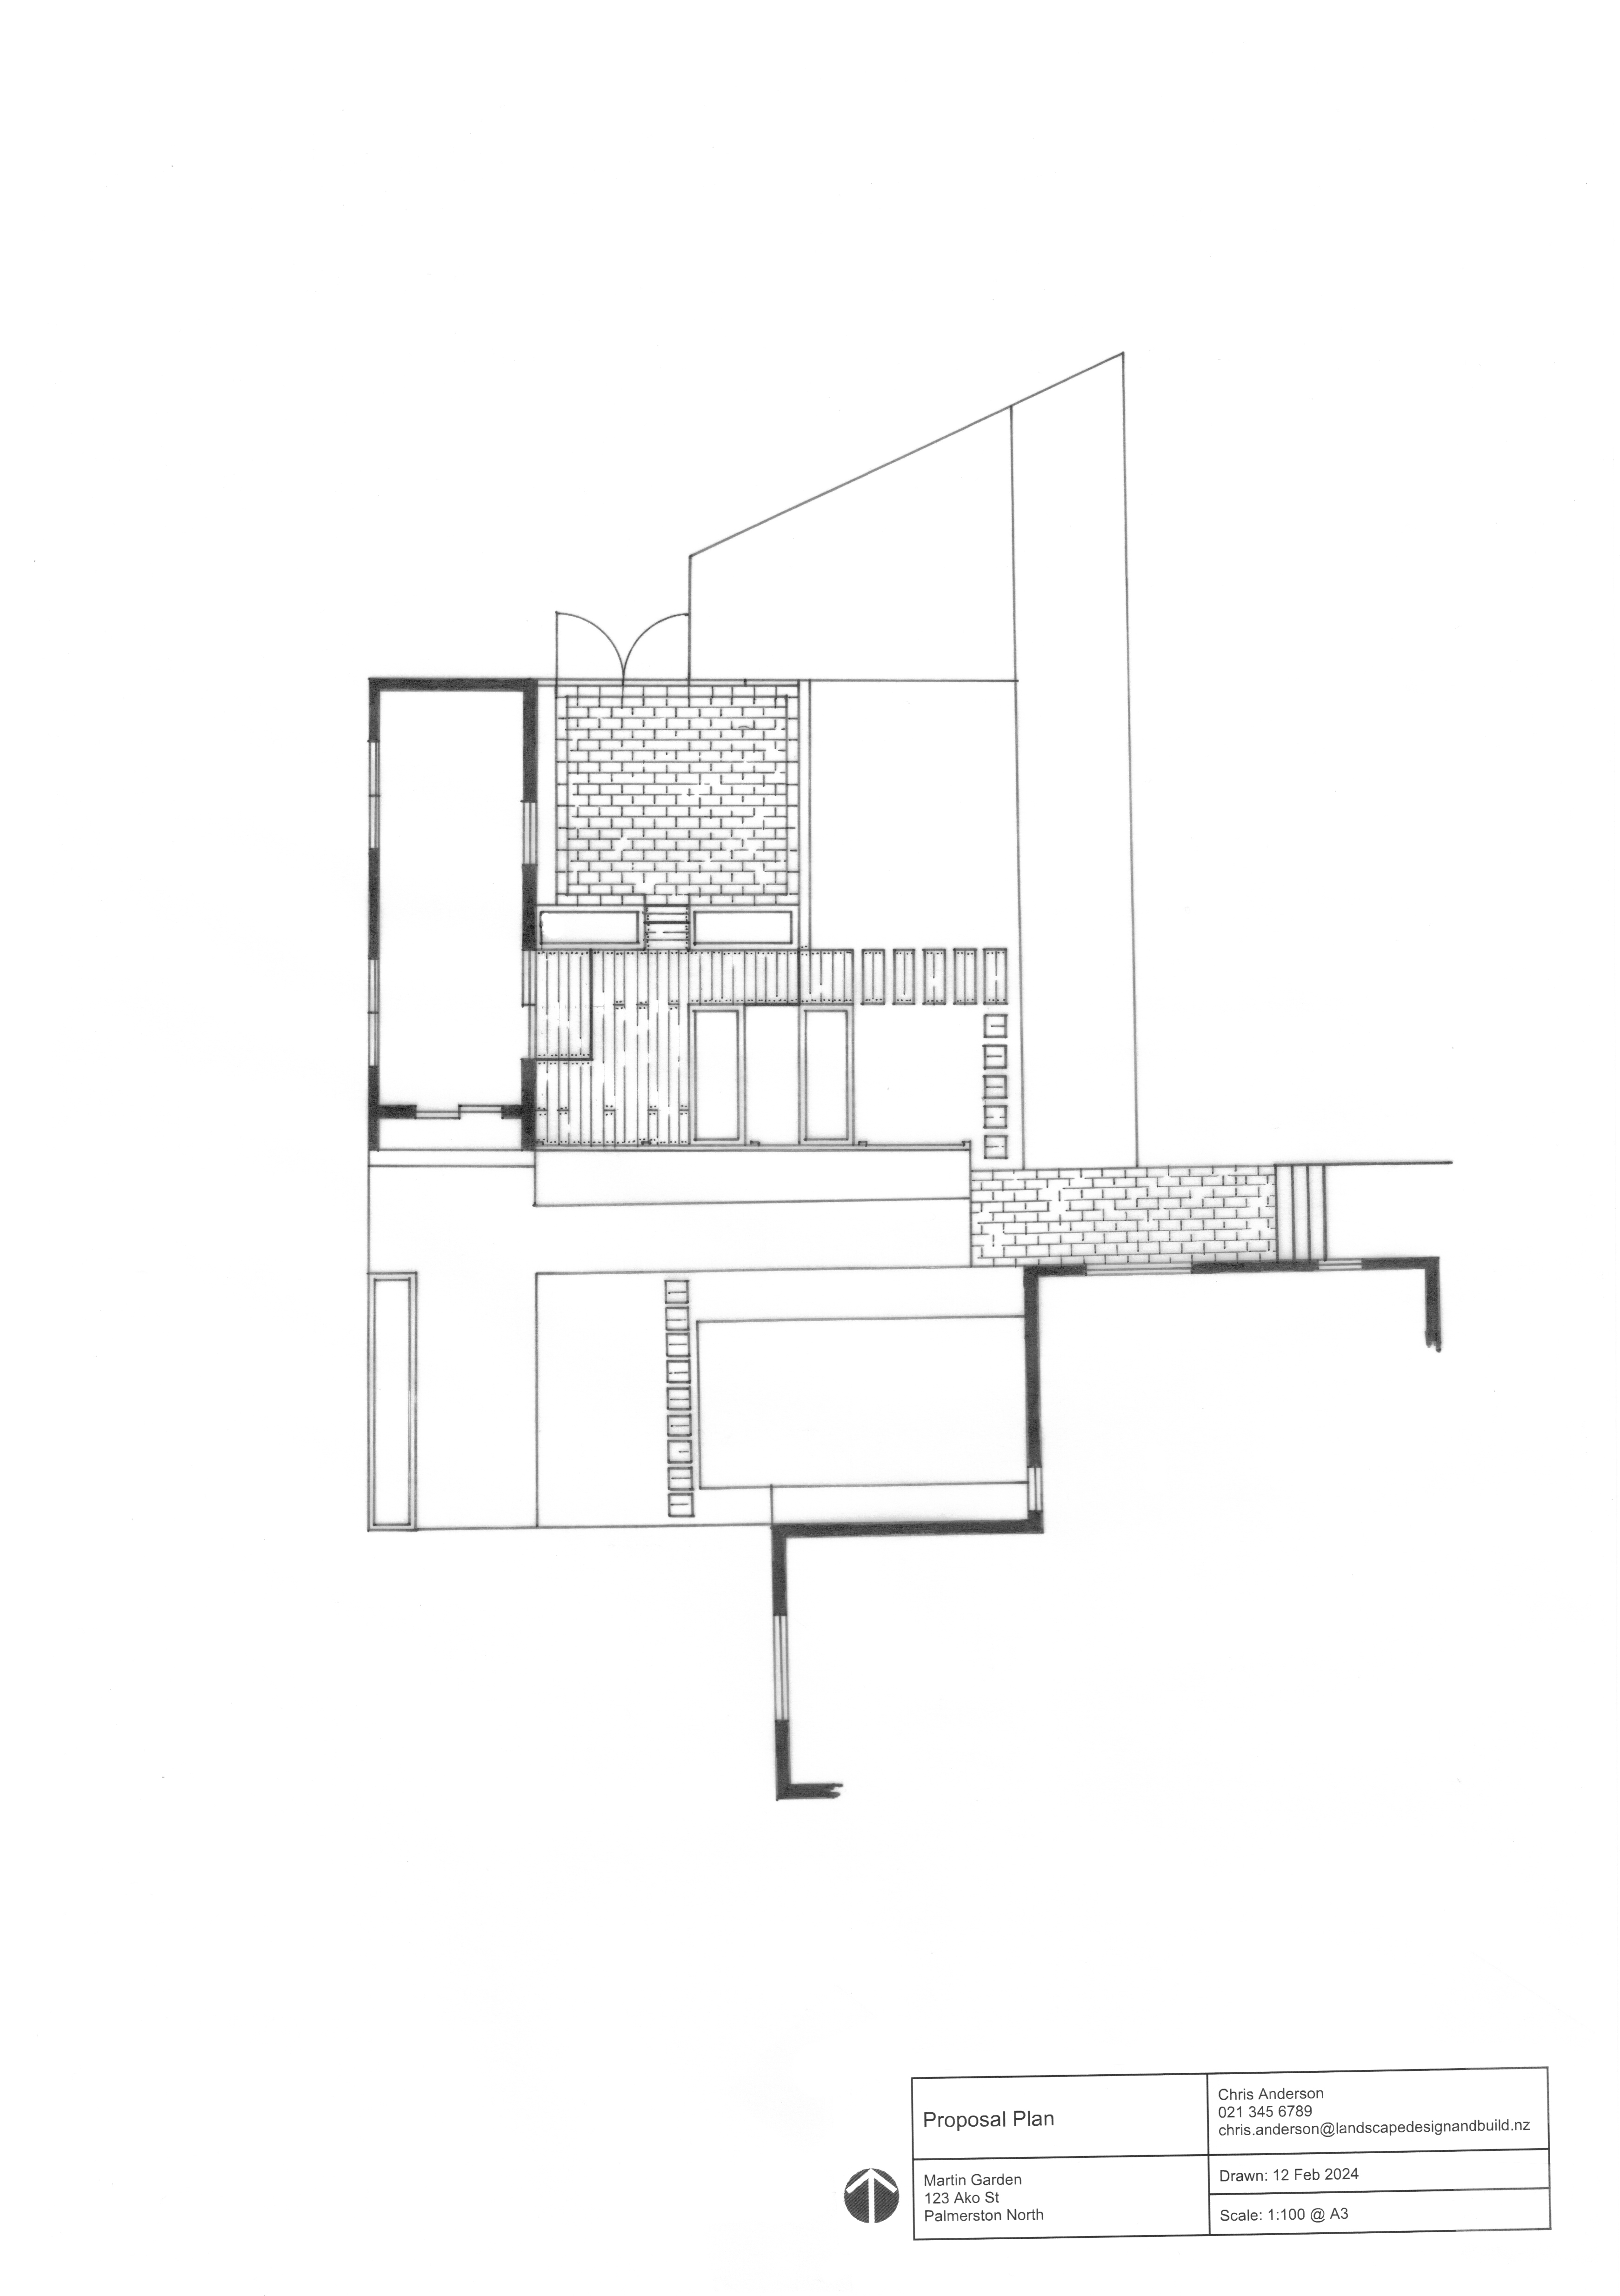
First stage of the proposal plan for the Martin Garden.
Answer the following three questions to check your understanding.
Ka rawe! Well done.
In the next topic we are going to learn about plants – their growth needs, and how to select and arrange to create lush, appealing gardens.