Now that you have your set-out plan, it’s time to use it to mark out the location of the features on the ground.
In this topic we’ll:
- Introduce the tools and equipment used during setting-out.
- Explain what an initial set-out is and how to do it.
By the end of this topic you’ll be able to:
- do an initial set-out of point, line, and shape features.
The main tools you’ll need to set out the location of landscape features are:
- builder’s tape measure
- surveyor’s tape measure
- level, also known as a spirit level
- sledge hammer
- stringline
- pegs
- profile boards
- spray paint
- 3-4-5 square.
Some of these have already been described, such as the tape measures, but we’ll have a quick look at the others now.
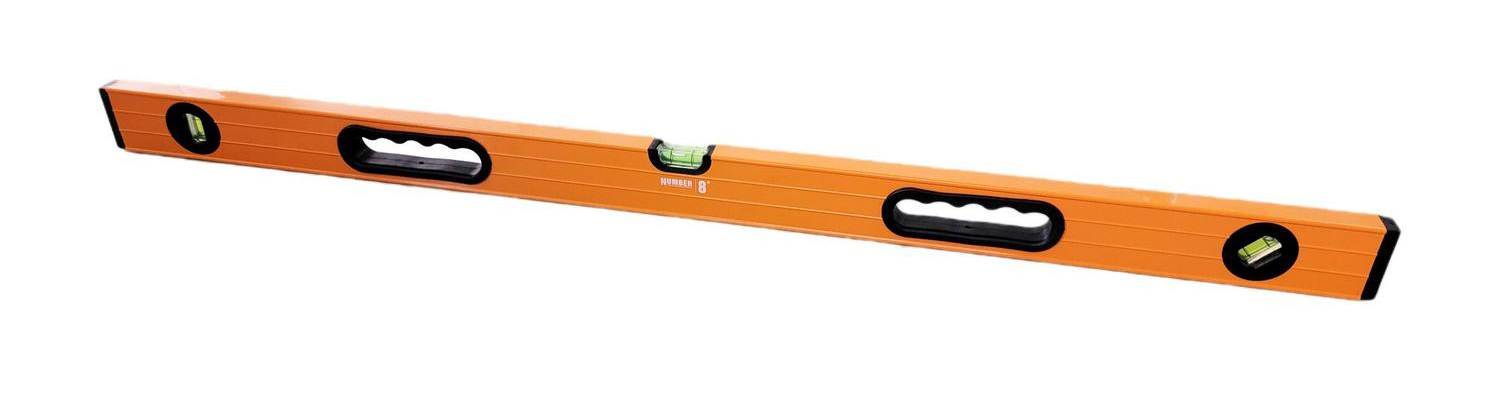
Level
A straight edge with a spirit level bubble to indicate when the level is perfectly horizontal. When selecting a level, the longer the better.
The bubble in the spirit level always moves to the high end.
If your set out is going to need you to get a lot of components to the right level, such as a sizable deck or boardwalk, you might find it easier to hire a rotary laser level, receiver, and level staff.
Watch
Setup STRING LINES AND LASER LEVELS quickly and accurately! The insider tricks only the Pro's know!
In this video Kevin Wilson gives a good overview of how to use stringlines and a rotary laser level to do initial set-out. He also shows how to tie basic knots in stringlines.
Expected Duration: 4:41 minutes
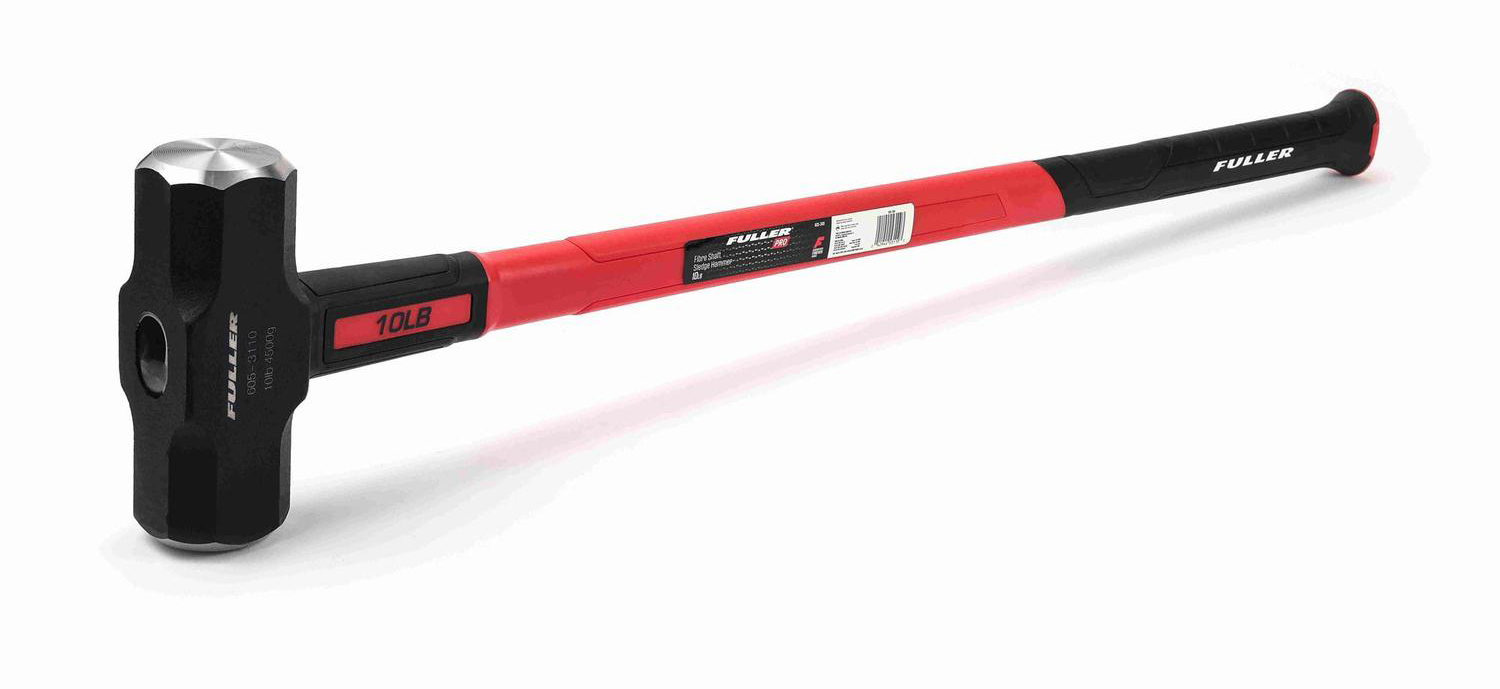
Sledge hammer
A sledge hammer is a large mallet used for driving pegs into the ground. They are available in different weights (different size heads), such as 8lb or 10lb.
Make sure you use one that you can lift and swing without causing injury. If you can’t, ask someone else to do the hammering for you.
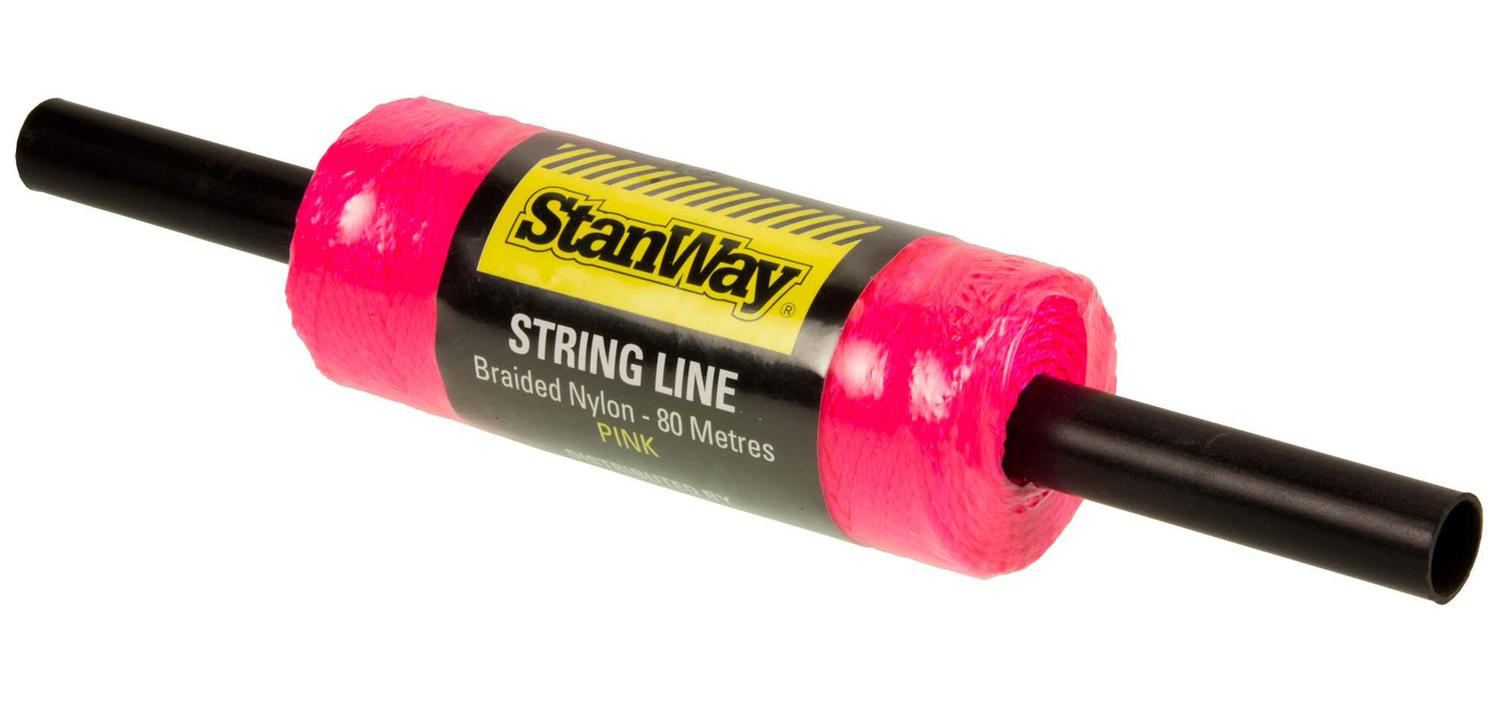
Stringline
Stringline is a strong and somewhat stretchy length of string or cord that is used to accurately mark the edges of landscape features or position internal components, such as piles or posts.
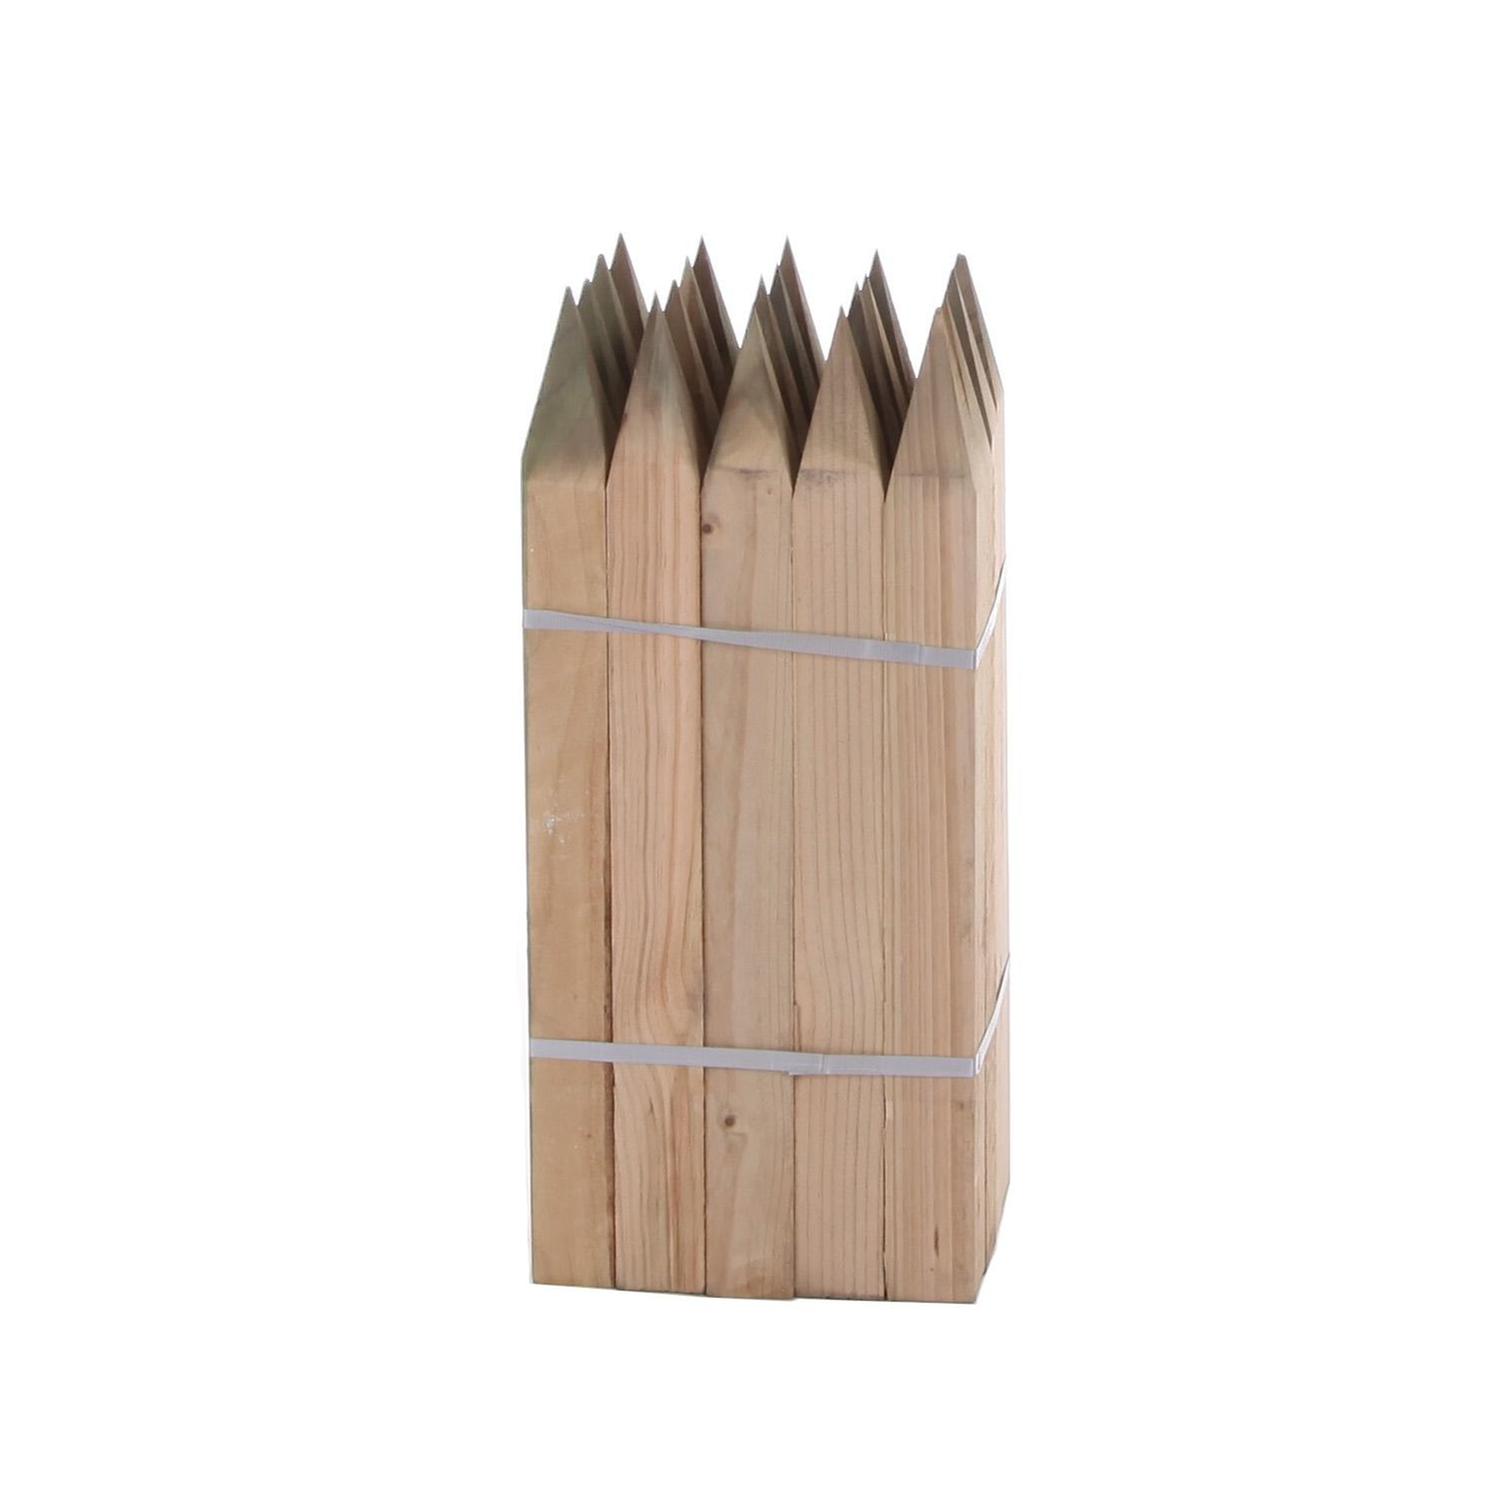
Pegs
Are short lengths of timber, usually 50x50mm which have been cut to have a point on one end. These are driven into the ground with a sledge hammer to construct profiles. You can buy these in packs or individually.
Profile boards
In setting-out language, a profile board is a straight length of timber that is screwed into pegs to form a horizontal level at the correct height. Stringlines can then be fixed to the profile boards at the correct distances to set out features more accurately.
Spray paint
Spray paint is used to mark the ground surface, and occasionally the top of pegs and profile boards to make them more visible.
Spray paint used for marking out is specially designed for this purpose. Mark out paint usually comes in fluorescent colours and is designed to be sprayed upside down.

3-4-5 square
If you have several rectilinear features to set out and construct, it is a good idea to build a 3-4-5 square.
A 3-4-5 square is based on the 3-4-5 triangle rule which says that if a triangle has sides that are 3, 4, and 5 units long, then it must be a right angle triangle.
The square we are going to make is the two right angled sides – the 3 and 4 unit sides. We don’t need to have the third side, as long as it has been built strong enough that it won’t go out of shape if it gets knocked around.
And the lengths don’t need to be 3m, 4m and 5m, but we do need to stick to this ratio. For instance, the one we used for the Martin Garden was half the size: 1.5m by 2m with a diagonal dimension of 2.5m.
![[ADD IMAGE'S ALT TEXT]](/sites/default/files/3-4-5%20Square_0.jpg)
Generally, there are two stages involved in setting out:
- initial set-out
- detailed set-out.
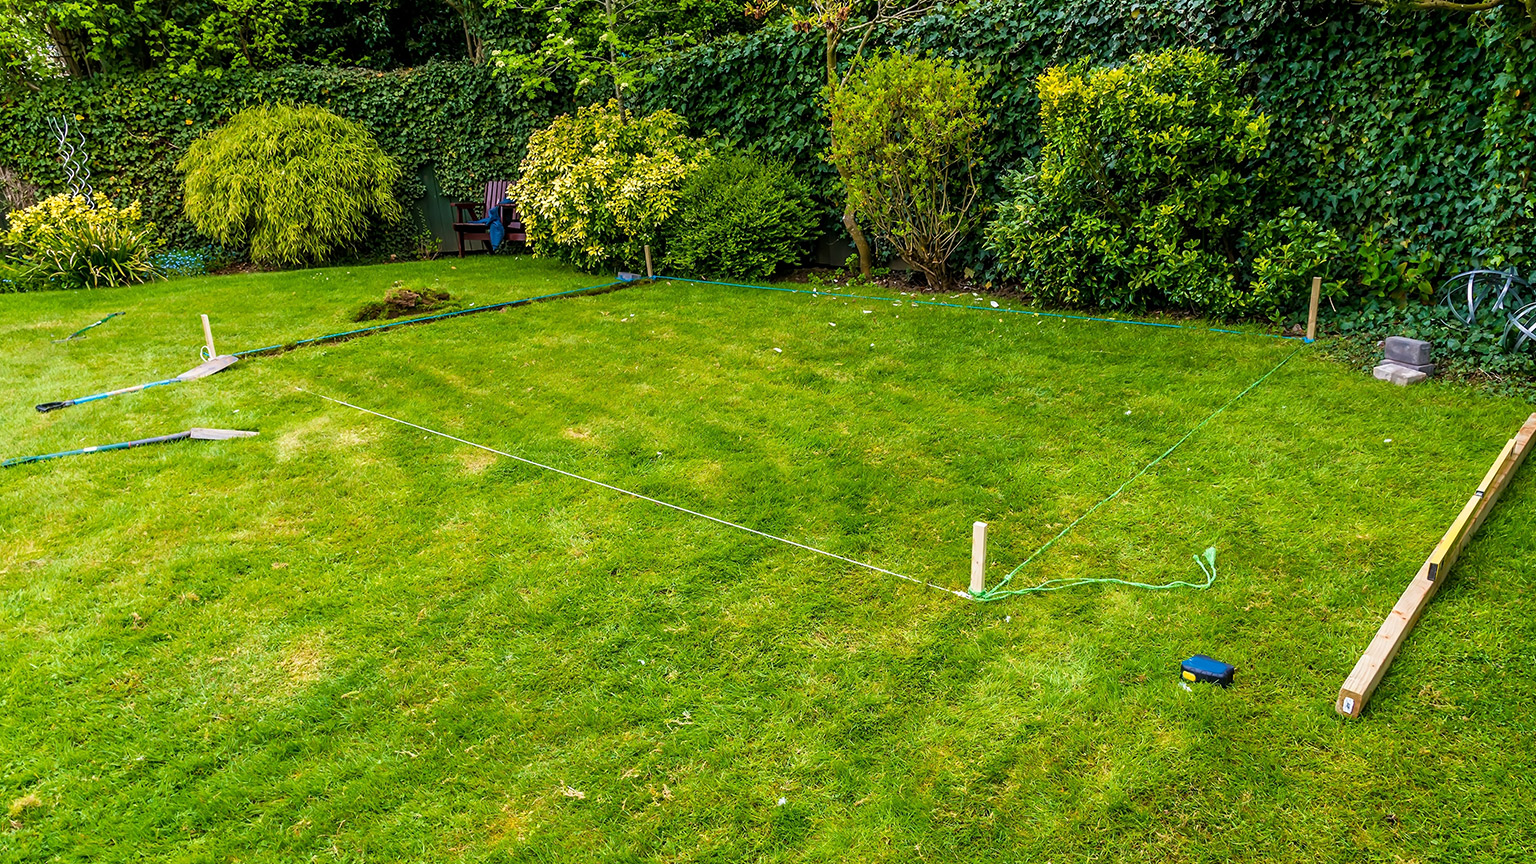
The initial set-out is where we mark the rough location of our features. The purpose is to see the space each of the landscape features that are going to be installed will occupy. Things like the position of key trees and shrubs usually only require an initial set out.
The detailed set-out is part of the landscape construction process and involves ensuring the hard landscaping is constructed to the correct level (height) and piles and posts are in the correct locations.
In the next module we’ll learn how to do detailed set-outs, but for the second assessment of this module, you only need to do the initial set-out.
![[ADD IMAGE'S ALT TEXT]](/sites/default/files/Set-Out.jpg)
Setting out point and line features
Point features are quite easy to set out:
- Identify the known points and trilateration dimensions for this feature on the plan.
- From the first known point run a tape measure out in the general direction of the feature you want to locate and stop when you get to the correct length. Pull it tight. You will most likely need a helper to hold the tape at the other end.
- Provided you are pulling the tape tight, the only way you can move is in an arc.
- Use the spray paint to mark a dot where you are and then, moving in an arc, spay dots every metre or so. Do this back in the other direction along the arc too.
- Repeat the process from the other known point, but this time you should be able to see approximately where the second arc will intersect the first one.
- Holding the spray paint at the end of the tape measure, spray a continuous line on the ground as you move to intersect the first arc.
- If needed, go back and repeat the first arc so as to mark the point where the two arcs cross accurately.
As mentioned earlier, setting out line features is just a case of repeating these steps for the other end point. Then all you need to do is:
- Hammer a peg in at each end point.
- Set up a stringline between the two points.
- Use spray paint to mark the line.
When hammering pegs in, make sure you drive them far enough so that they do not wobble and won’t be pulled out of alignment when you pull stringlines tight.
Fence posts
If setting out a fence, we suggest installing a stake at the location of each fence post to give a visual representation of the fence. If your client is uncertain about how high the fence will be, use stakes that, one pressed into the ground, are the correct height. This will give them a chance to get an appreciation for what they will be able to see when it’s completed.
The stakes don’t need to be particularly strong; bamboo garden stakes work just fine.
Setting out shape features
There are three common approaches to the initial set out of shape features.
Rectilinear and adjacent to a building
For ones that are rectilinear and have one or more sides that touch the house or other site building, the easiest way to do an initial set out is to measure directly off the building.
Use your 3-4-5 square as needed.
Watch
Initial set-out
This video introduces one of the landscape features that will be constructed at the Martin Garden (a section of paving adjacent to the main house) and shows the initial set-out.
Expected Duration: 1:28 minutes
Rectilinear but not adjacent to a building
For features that are rectilinear but do not touch the building, use trilateration to locate two corner points that form one side of the shape. Then use your 3-4-5 square to make sure that the other sides are at right angles.
Watch
Trilateration set out
This video shows the process of setting out a landscape feature using trilateration and a 3-4-5 triangle.
Expected Duration: 2:55 minutes
Not rectilinear
For features that are not rectilinear, trilaterate each corner point of the feature.
Remember that this initial set does not need to be highly accurate.
Excavating spoil and other debris
In some cases it may not be possible to run your tape measures and stringlines low to the ground because there is spoil (excavated material) or other debris in the way.
You may need to dig out the spoil and debris and move it out of the way using a wheel barrow. If you move it to another part of the site, do not pile it up against buildings, fences or other structures as this can cause them to rot.
Getting it checked
It’s a good idea to have someone else check your set-out against the plan. This could be another member of your team, or in our case, by submitting the second assessment, your tutor will check your work.
The person checking your initial set-out should compare it to the set-out plan to see that the features are in the correct place.
Assessment 2
Now you’re ready to complete Assessment 2: LDB05A2: Set out a site.
Go to the assessment now to read the full requirements. Please pay particular attention to the fact that you need to do the mark out with at least one other person, as this assessment shows your ability to work as part of a team.
Once you have submitted this assessment you can move on to the next module.
Ka rawe!