In this topic we’ll turn our attention to how to prepare a solid base upon which to lay paving as well as the process of laying the pavers.
By the end of this topic you’ll be able to lay paving in a residential garden, according to accepted industry practices.
Paving used for walking or wheeling on in residential gardens is typically constructed as follows:
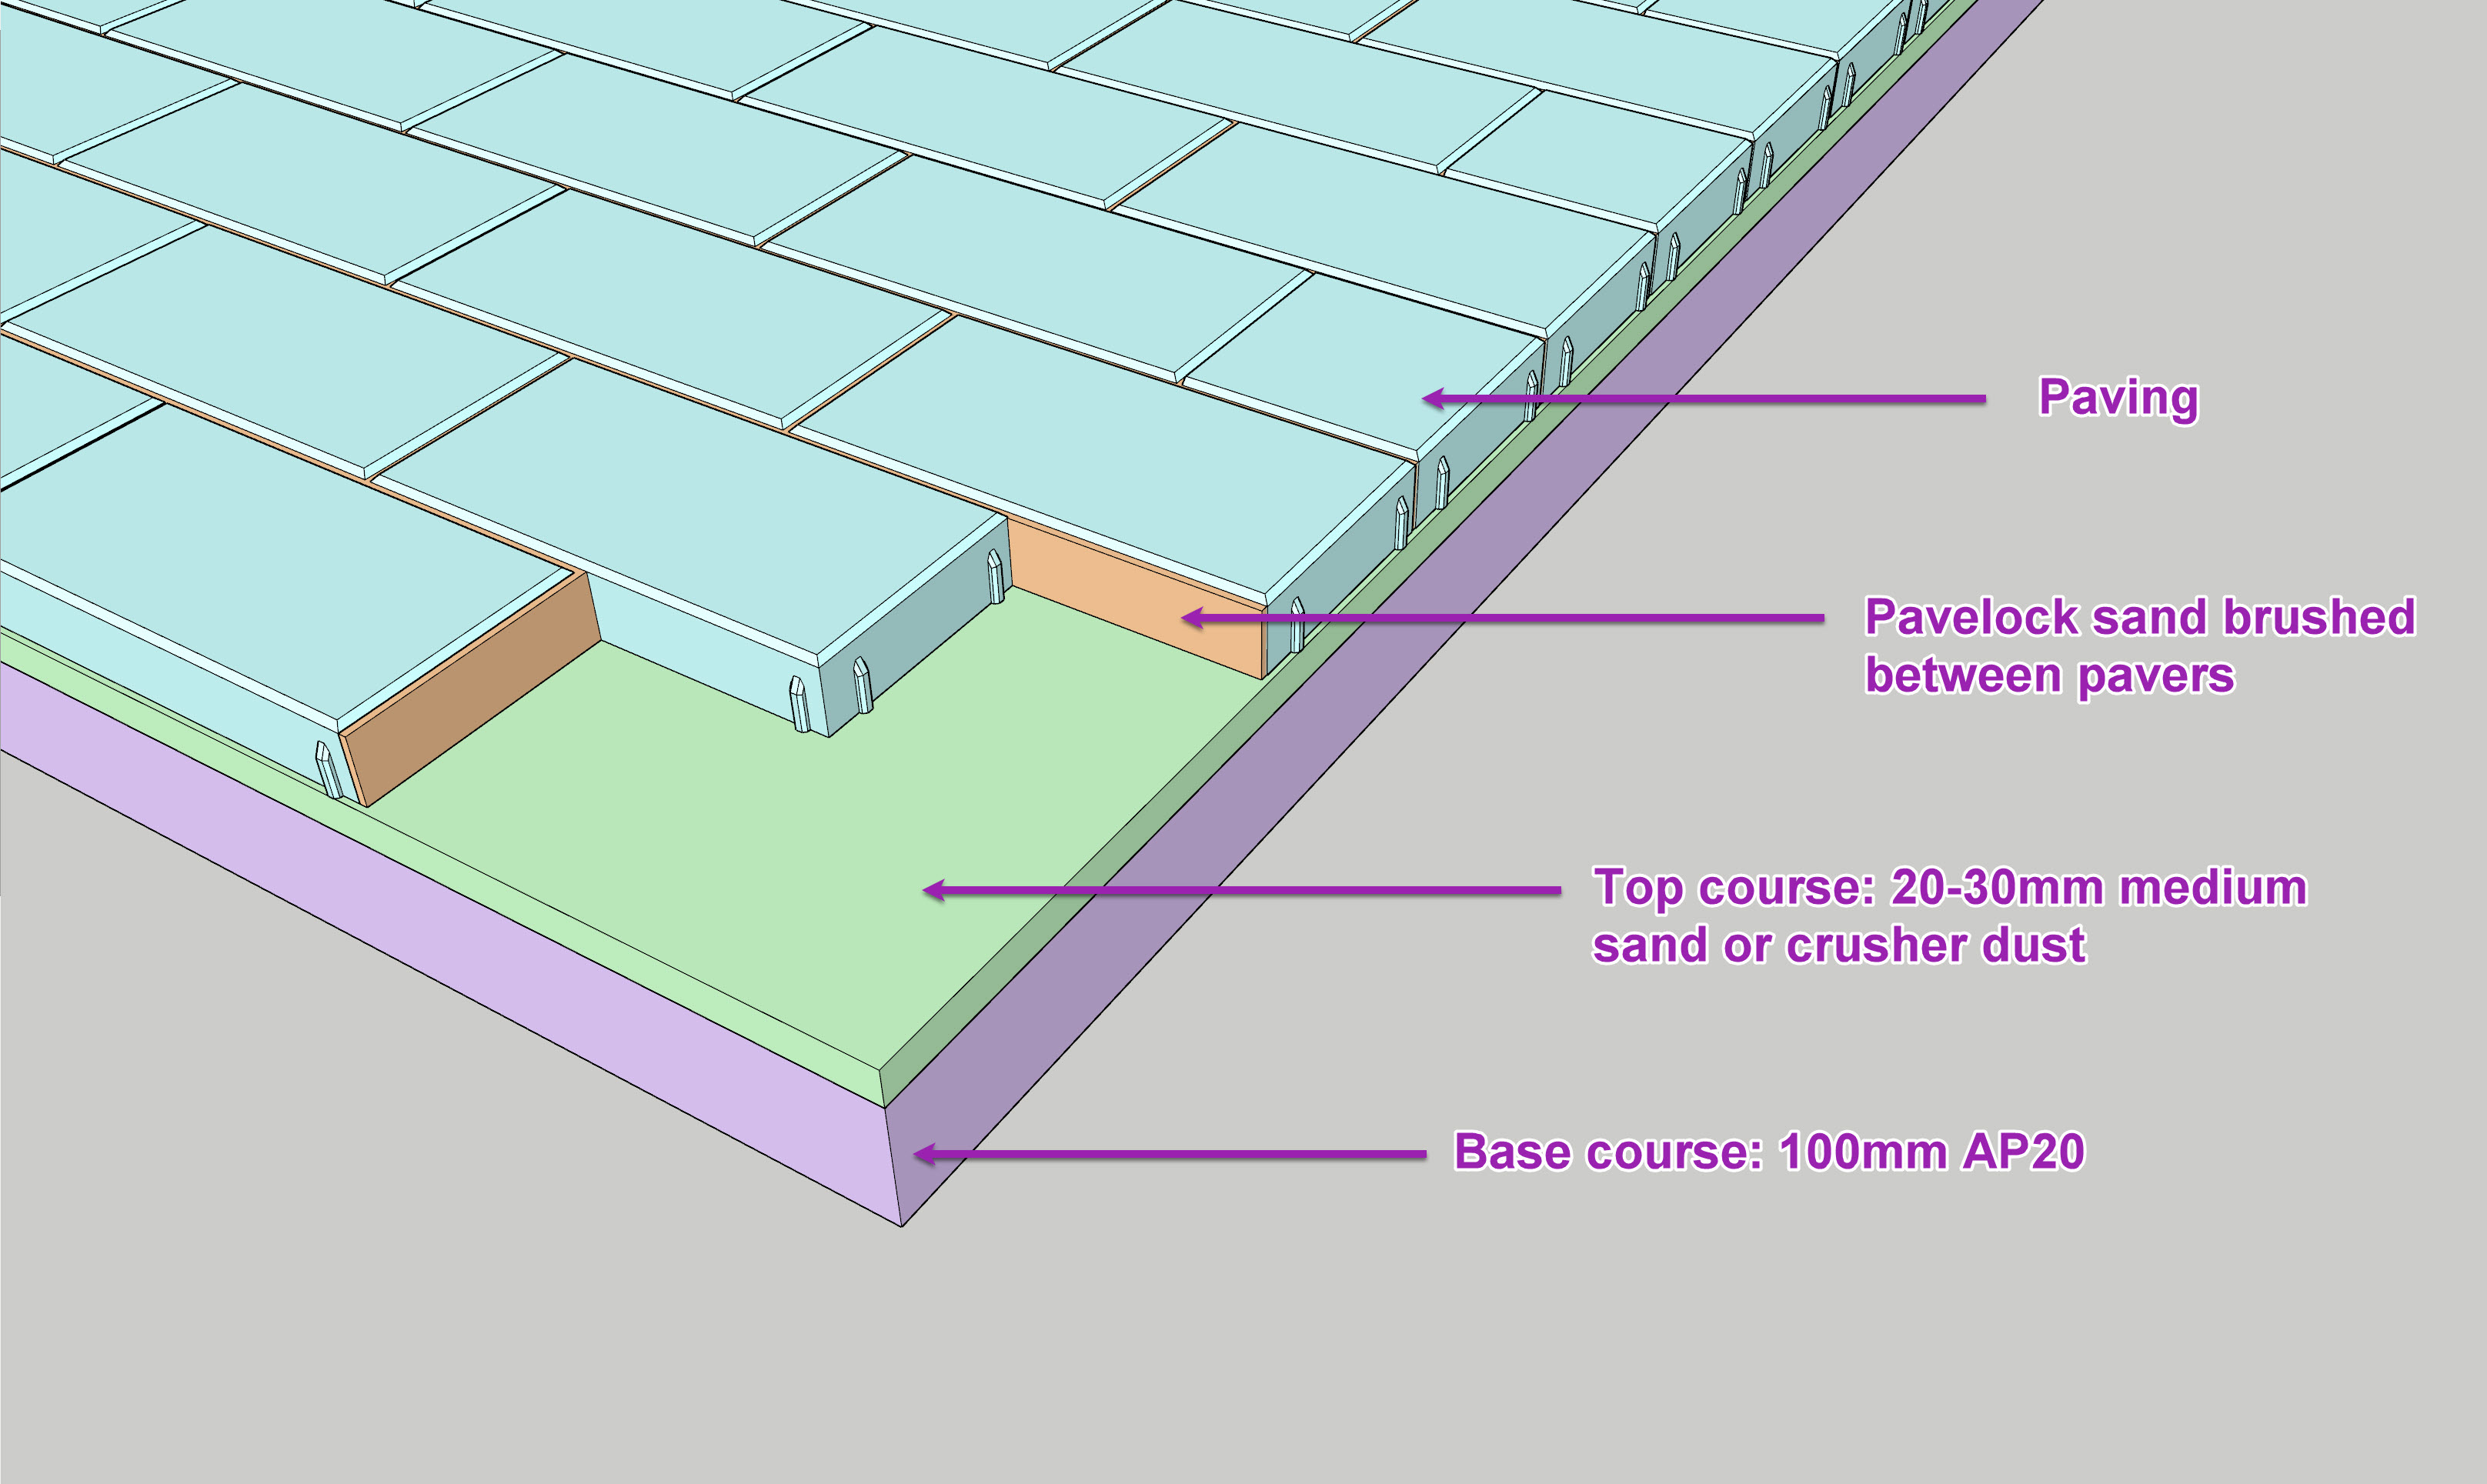
AP20 is a crushed stone that has particles that are 20mm or smaller. In fact, “AP” means “all passing” as in all of this material has passed through a sieve with 20mm gaps.
A medium sand with particles around 3-5mm, or “crusher dust” works best for the top layer of the base.
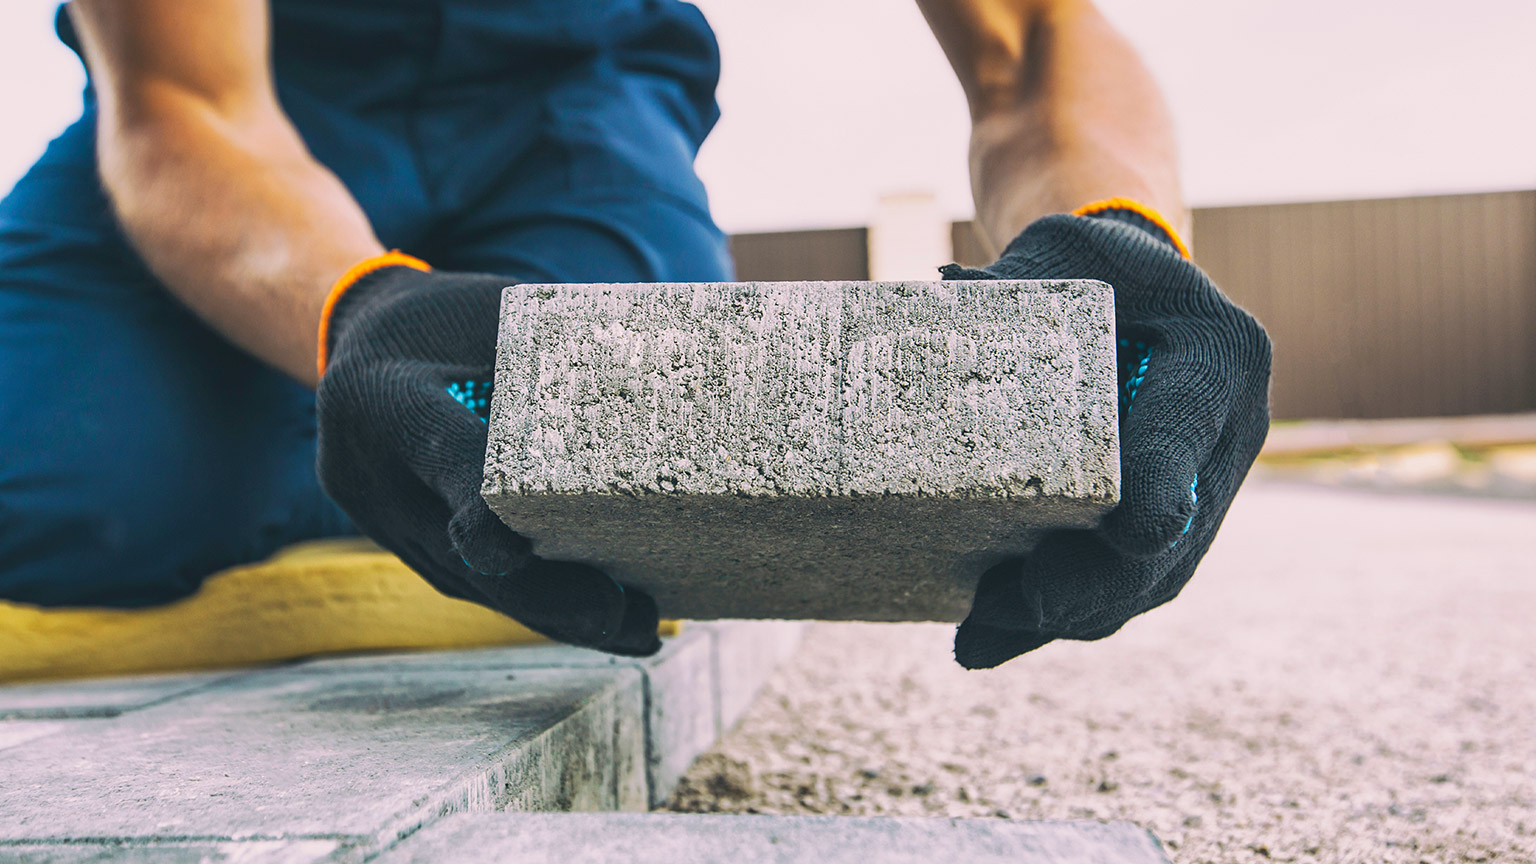
A few notes when choosing pavers:
- Some pavers have nibs and others don’t. Nibs are small bumps on the edges which are designed to keep the pavers an equal distance apart (as shown above). If you choose to use pavers without nibs, you’ll need to use shims/spacers between pavers to ensure that all gaps are the same width.
- Some pavers have a rounded or angled top edge. These make it less obvious when adjacent pavers are at slightly different heights, so they are more forgiving than flat-top pavers.
If the bearing capacity of the soil isn’t good, a thicker base should be laid, say 200mm. Bearing capacity refers to the soil’s ability to hold a heavy weight without slumping. If the soil gets boggy during winter, it probably doesn’t have a very good bearing capacity.
The specification above is for paving that will support light loads, like people and furniture. If the paved area needs to cope with the weight of vehicles, we strongly recommend you contact a landscape architect or a specialist paving company for help.
Activity: Preparing construction documents for paving
If you’ve chosen to lay paving for your hard landscaping feature, create a working drawing and bill of materials (BOM) for your paved area.
The working drawing will help you explain the project to your assistant and the BOM will give you the information you need to order the materials.
Your working drawing can be orthographic, isometric, or perspective, and can be done with pen on paper or inside SketchUp.
We recommend you use the Bill of Materials template for your BOM.
Now let's work through how to put it all together.
The first step is to prepare the base layers ready for the pavers to go on top. This involves:
- Excavating to the required depth across the whole area you marked out in your initial set out.
- Setting up profiles and stringlines at the finished level.
- Backfilling the area with base course in layers not exceeding 50mm deep.
- Compacting each base course layer with a plate compactor and repeating for each layer until it is to the required level.
- Laying, screeding, compacting and levelling the sand top course layer until it is to the required level.
In this first video, we demonstrate how to excavate the area to the required depth, set up stringlines, and lay the base course. It’s a long video, but remember, the quality of the finished paving relies on a well-prepared base.
WATCH
Paving: Laying the Base Course
Duration: 16:09
In this video we excavate, do a detailed set out using stringlines, and lay the base course.
The following notes relate to the video:
- We completed the initial set out by measuring and marking the working area with spray paint – you should have already done this.
- We used spray paint to mark our spades 160mm up from the bottom edge. This made it easier to estimate if we’d dug down far enough.
- We haven’t installed any weedmat, but you may like to do so, underneath the base course.
- We used a profile board that we’d installed earlier. To install this we:
- drove two timber pegs into the ground
- used a level to transfer the height of the bottom of the base board to each peg and marked each peg
- screwed the profile board to the pegs so the bottom of the board was at the correct level.
- In most cases, profile boards are set up so the top of the board is at the correct level, but for the paving we needed the level to be very close to the existing ground level, which is why we used the bottom.
- After we’ve pulled each stingline tight, we cut it off from the roll so we can use the rest to set out other stringlines.
- We used the tyne side of the rake to move the aggregate around then the flat edge to precisely level the material.
- When using a plate compactor, make sure that you keep the plate horizontal. When turning corners it is easy for one side to dip down so you’ll need to pull the handlebar the opposite direction to counteract it.
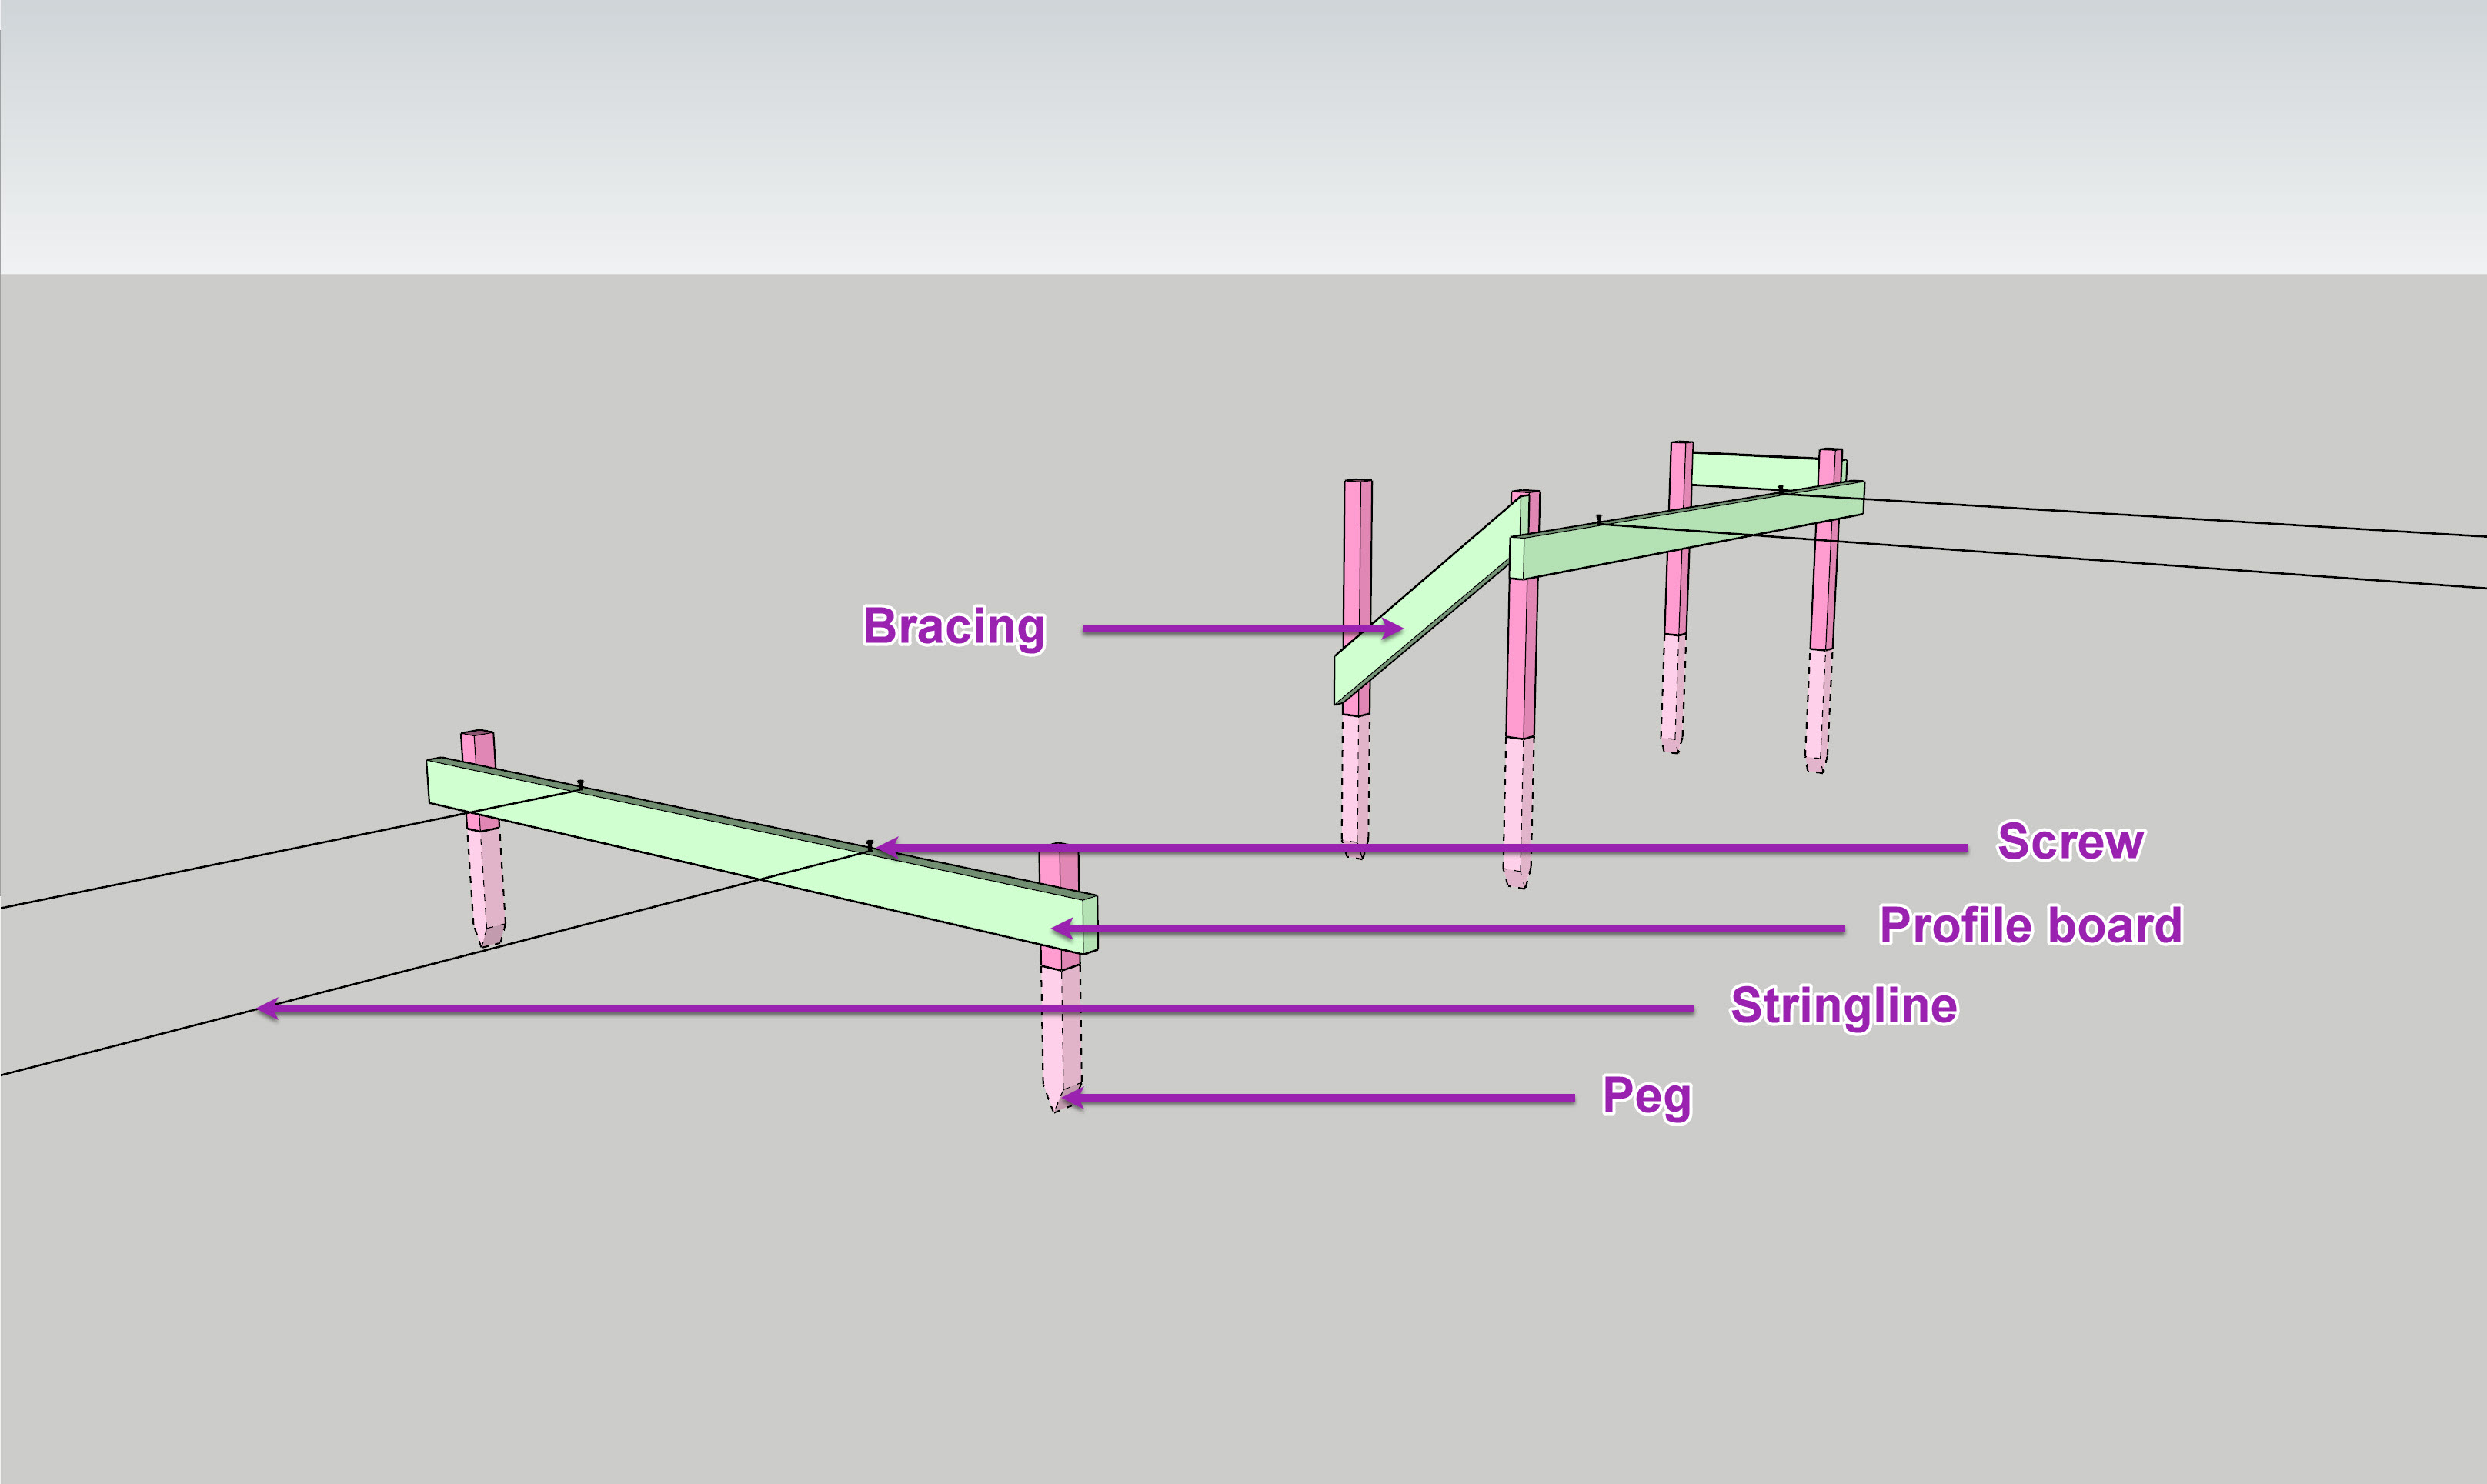
A low profile board with components labelled (left). Taller profile boards (right) may require bracing to prevent them being pulled out of alignment by the stringlines or being bumped into. Two types of bracing are shown: diagonal and horizontal. Diagonal is stronger but requires more effort to construct.
Next we need to prepare the top course sand layer so it is ready to have the paving laid on top, which is our focus for this second video.
WATCH
Paving: Laying the Top Course
Duration: 6:36
In this video we lay the top course of the foundations – the sand layer – on top of the base course we prepared in the previous video.
The following notes relate to this video:
- We marked a timber peg 60mm from one end and used this to check that our base course was at the correct finished level. This accounts for the 20mm of sand that still needs to be laid and the pavers which are 40mm deep.
- The base course needs to be level before you start laying the top course. If it isn’t your pavers may be level to start with, but over time will become uneven.
- We used two lengths of electrical conduit to rest our screed on. If possible use straight lengths of 20mm metal pipe instead. This will produce an even more accurate finish to lay the paving on.
- We constructed a ramp from pavers so that we could get our wheelbarrows up and over the profile board without knocking it.
- We compacted the sand layer with the heels of our boots. This is a good approach to use for small areas of paving. If you need to do a large area you might prefer to use a plate compactor instead.

Now that the base has been prepared, it’s time to install the paving.
This is the fun part!
After all the hours of digging, spreading, compacting, and screeding, the next bit will go fairly quickly. The steps involved are:
- Laying the pavers in rows (or “courses”).
- Cutting any pavers that need to be cut, such as the edge ones, and laying them.
- Checking the accuracy of the pavers you have laid.
- Brushing sand in between the gaps.
- If using Pavelock sand, gently water the surface to activate the additives and harden the sand.
- Backfilling the surrounding area to the level of the finished paving or slightly below.
WATCH
Paving: Laying the Pavers
Duration: 7:27
In this video we cut our edge pavers, determine the exact location of the first course of pavers, lay the pavers, and brush in Pavelock sand.
The following notes relate to this video:
- The saw we used for cutting the pavers is called a tub saw.
- The tub saw uses water to stop concrete dust, however, it is still a good idea to use a respirator when using the saw.
- You also need to wear hearing protection, eye protection and gloves, as shown in the video.
- Make sure that you are taught how to use any hire equipment by the hire centre staff before you use it.
- The pavers we are using do not have nibs, so we used 4mm shims to get even spacing between the pavers.
- When moving about on pavers that you have laid, that have not yet had sand brushed into the gaps, move very carefully. Walk slowly and don’t twist or turn as this will knock the pavers out of alignment.
- As we started working on the pavers, we used offcuts of plywood sheeting to spread our weight and prevent the pavers being knocked out of alignment.
- When we come to lay pavers over the gap where the conduit was, we carefully fill it in with sand, by hand and level it. Press the sand down with your fingers and then smooth level.
- When brushing in the Pavelock sand we went over each area several times to make sure that it filled all the gaps. We also brushed the tops of the paver vigorously to make sure there were no traces left on top. If we didn’t do this, the sand left on top would set like small mounds of concrete.
- We finished off by gently watering the paving to activate the cement in the sand and cause it to lock the pavers in place.
- Finally, we backfilled around the edges of the paving. For the side along the house and steps we used decorative river stones. On the other long edge we used lawn mix soil, into which we’ll sow grass seed in spring. And on the final edge, we ran our crushed lime path right up to the edge of the paving.
 |
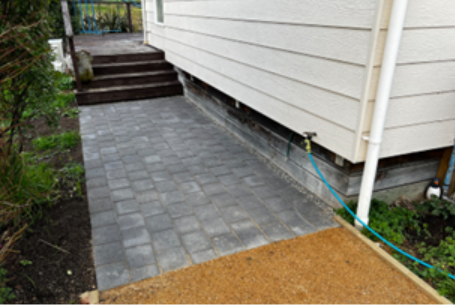 |
| Before | After |
Isn’t that a vast improvement on the undulating section of grass that was there beforehand?
Assessments 1 and 2
If you’ve chosen to lay paving for your hard landscaping feature, you should be ready to make a start.
Head over to the assessments section and read the full assessment requirements in detail. If you have any questions, contact your tutor.