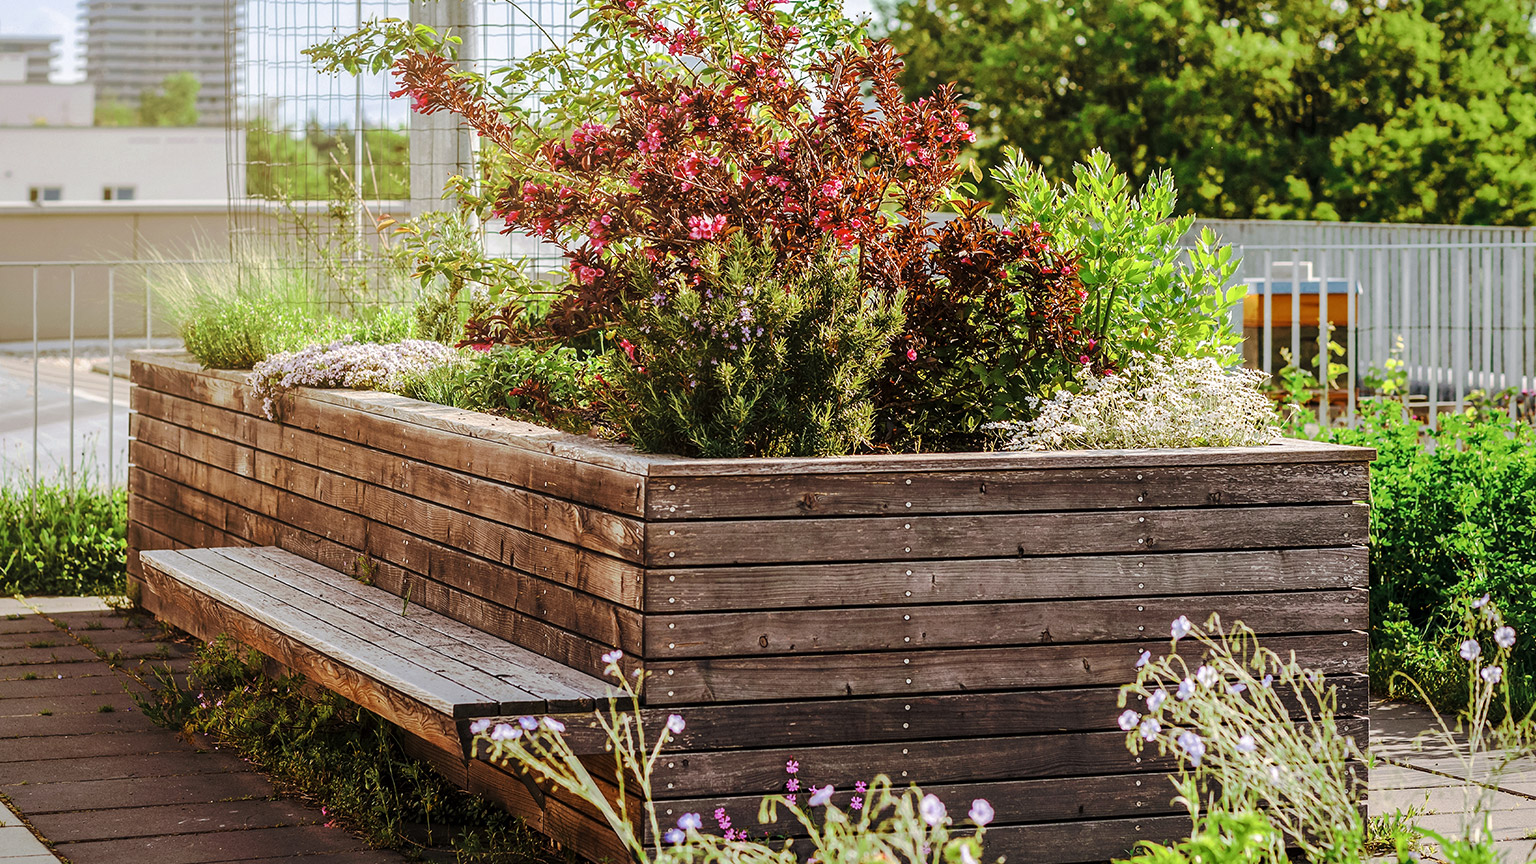
In this topic we’ll look at how to build a range of different timber-sided raised garden beds and planter boxes. From a simple pallet wood planter, to sturdy sleeper raised garden bed and finally a large, treated timber planter box.
In some cases the term raised garden bed can be used to mean a mounded area of soil, but in this topic we use the terms raised garden bed and planter box somewhat interchangeably. If pressed for a definition, we’d say that a planter box is one that is taller than it is wide, while a raised garden bed is wider than it is tall.
By the end of this topic you’ll be able to construct a timber-sided raised garden bed or planter box to suit your garden design and budget.
Raised garden beds and planter boxes come in a wide variety of styles, sizes and materials. As a result there aren’t standard specifications for their design. Instead, start by considering what they need to be used for, how high they need to be and what budget you have to work with.
Consider the following questions when deciding how to design your raised garden bed or planter box:
- How much budget do you have for this landscape feature?
- How tall do you want it to be?
- How much volume of soil will it take to fill?
If your budget is small, consider using recycled materials, such as pallets, for your timber. Pallets are generally only lightly treated so they may only last a year or two before rotting.
The taller you want the planter to be, and the greater the volume of soil it needs to hold, the stronger your construction materials will need to be. As this will make the timber harder to replace, you’ll want to use ground-treated or hardwood timber.
Going higher, with stronger materials will increase the cost of your project. Additionally, if you need to buy soil to fill the planter, the greater the volume the more you’ll need to buy.
To work out the volume of your raised bed or planter box, multiply the internal length, width, and height in metres. For example 0.6m x 1.8m x 0.7m = 0.756m3.
The Bay of Plenty Regional Council approximates that a well-structured soil weighs between 1.0 and 1.6 tonnes per cubic metre (Bay of Plenty Regional Council, no date). So if we use the highest figure, to be on the safe side, our planter box will need to hold 1.2 tonnes (t) of soil (0.756m3 x 1.6t/m3 = 1.21t). As you can appreciate, this means we’ll need strong timber and fixings to hold it in.
We recommend that you work your way through the rest of this topic to see how two different raised garden beds and one planter box are constructed and use these to guide your design. If you get stuck, contact your tutor.
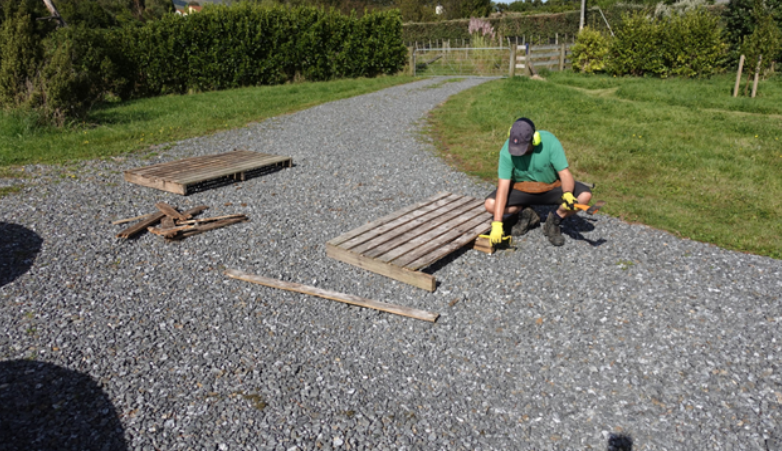
The following images show the process of timber-sided raised beds from two medium-sized (1600x1000mm) pallets.
If you want to build garden beds from old pallets, look for ones marked HT. This means they are heat treated rather than chemically treated. It should be noted that the timber won’t last that very long when it’s in contact with the soil, so you may need to replace parts of it over time.
To extend the life of the garden bed, line it with polythene sheeting.
Dismantling the pallets into their component parts. Wear appropriate safety equipment, such as hand, foot, eye and ear protection.
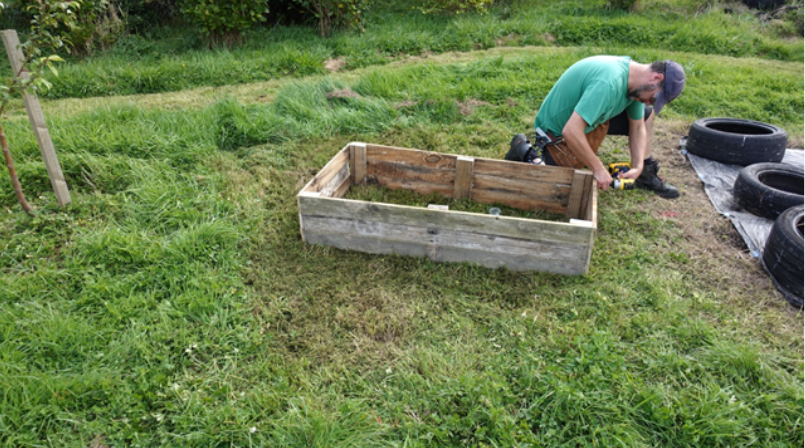
Cut the components to length then assemble using nails or screws.

Position the components in the right place then join all sides together. For this project we’ve cut the pallet supports into 300mm lengths and used these at the corners and in the middle of the long sides.
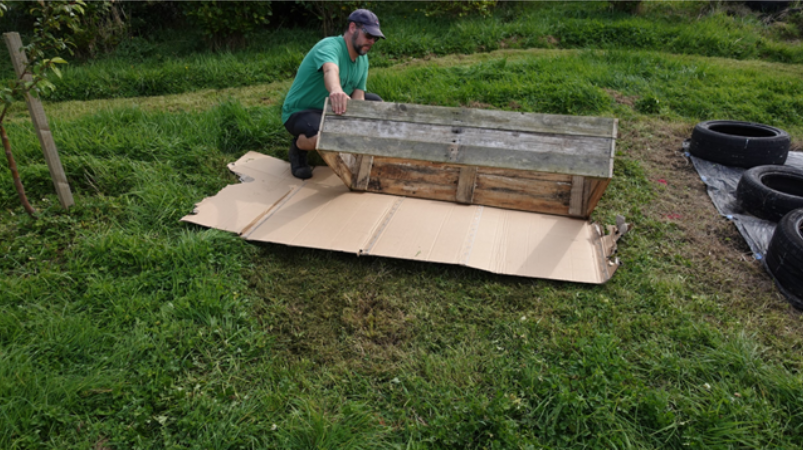
If you’re worried about weeds or grass coming up in your raised bed, place cardboard under the frame then cut off the excess so the cardboard is flush with the outside edges of the frame. Alternatively, for longer lasting weed prevention, use weed mat.
Fill with topsoil, or a mix of topsoil and compost.
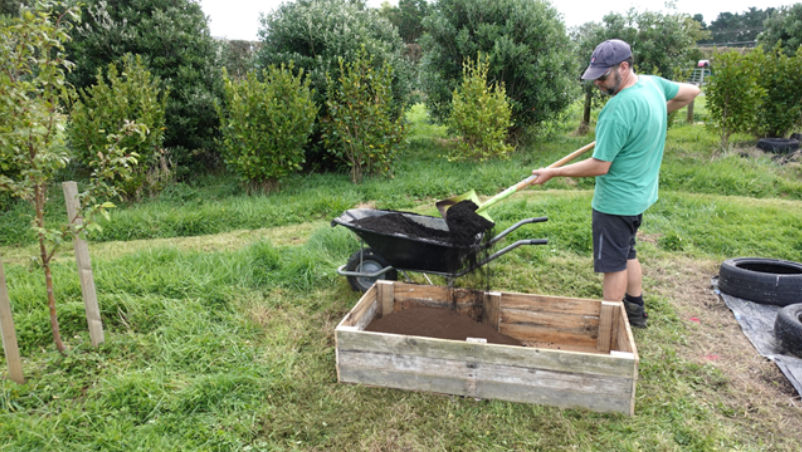
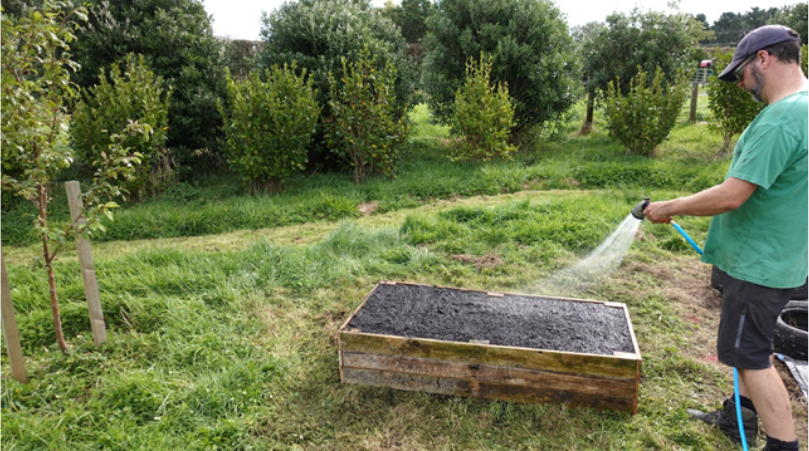
Water thoroughly. This will help the soil settle down in the raised bed. If you want the growing medium to be at the same level as the top edge, you may need to add more after watering.
This is a really simple and low-cost way to lift your planting surface up and add interest to your garden by having features at different heights.
Next we’ll look at a similar sized garden bed, but one that will last far longer.

This video demonstrates a more robust style of raised garden bed, built from macrocarpa sleepers and metal waratahs, also known as star pickets.
Watch
How to Build a Raised Garden Bed | Mitre 10 Easy As DIY
Duration: 6:14 minutes
Home-grown veggies can help you eat healthy and save you a bit of money. A raised garden bed is a great place to grow them, and building one is easy as.
Notes about this video:
- Te Mana Rauhī Taiao Environmental Protection Agency indicate that the risk of poisoning from treated timber garden beds, absorbed into fruit or vegetable plants is negligible, however they go on to make the following suggestions as a precaution:
- “plant a few centimetres away from the timber
- line the planters with sheets of plastic
- consider using a harder, untreated wood for raised beds to grow vegetables, like macrocarpa, Douglas fir or Lawson cypress, or use alternative building products” (Treated timber, no date).
Finally, let’s follow through the process of building a large planter box from dimensional timber.
Because we want this planter to last a long time we’re building it from H4 treated timber. Remember that timber that is treated to hazard class H4 is suitable for being in contact with the ground in low-risk situations, or where the timber can be easily replaced. Fence posts, garden edging and raised garden beds and planter boxes fit these criteria.
Watch
Large Planter: Cutting and Assembly
Duration: 11:45 minutes
In this video we assemble a sizeable planter box out of large-dimension, H4 treated timber. We begin by cutting the timber to length and then screw the components together.
Notes about this video:
- When assembling the end sections, we used a second board at the bottom as a simple way of making sure the two posts are parallel. Don’t screw this in place, this is a temporary guide only. Once you have the first board screwed in with four screws you can remove the second piece of timber and secure all of the other boards in order from top to bottom.
- Always get your top sections flush as this is more important than having the bottom flush.
- If you are building a smaller (lighter) box, you might even decide to build it upside down on a hard surface like a deck or driveway. This will make sure that the top (which is currently at the bottom) is completely flush. Then you can flip the box over when it’s finished.
- We moved the planter into place before it was fully built. This was due to its weight, but it also made it easier for us to hammer the support pegs into place.
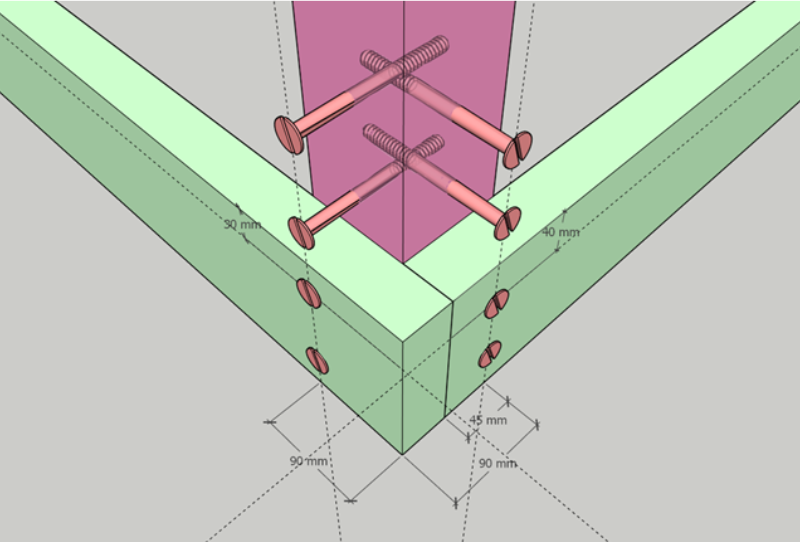
This detail drawing of one corner shows why the screws are driven in at different distances from the end of the timber. Specifically, 45mm from the end of the short side timbers (right) is 90mm from the outside corner of this junction.
WATCH
Large Planter: Lining, Filling and Capping
Duration: 7:35 minutes
In this video we waterproof the planter box to stop water seeping out the sides, fill it with soil and then put “picture frame” capping on top to finish it off.
Notes about this video:
- The reason our capping boards for the long sides are being cut to 2060 is that we want 10mm overhang at the front, but no overhang at the back. This is because there isn’t enough space back there.
Great! Now it’s your turn.
Activity: Preparing construction documents for timber sided garden bed or planter boxes
If you’ve chosen to construct a garden bed or planter box for your hard landscaping feature, create a working drawing and bill of materials (BOM) for the project.
The working drawing will help you explain the project to your assistant and the BOM will give you the information you need to order the materials.
Your working drawing can be orthographic, isometric, or perspective, and can be done with pen on paper or inside SketchUp.
We recommend you use the Bill of Materials template for your BOM.
Assessments 1 and 2
If you’ve chosen to build a raised garden bed or planter box for your hard landscaping feature, you should be ready to make a start.
Head over to the assessments section and read the full assessment requirements in detail. If you have any questions, contact your tutor.