In this topic, we look at the steps taken to prepare a section of lawn or paddock and convert it into a garden bed.
By the end of this topic you’ll be able to prepare a garden bed for planting.
The two most common ways of constructing a garden bed are:
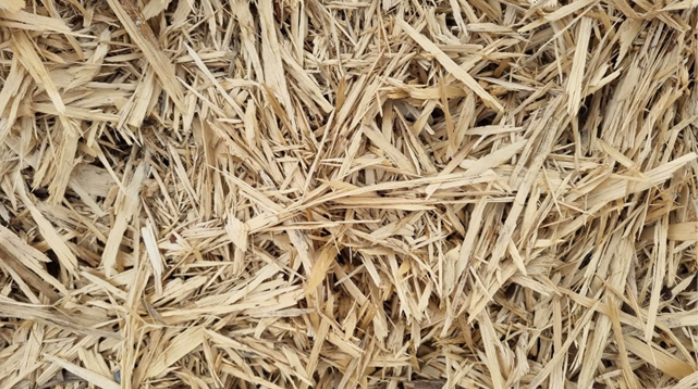
- mulch-topped, which may use organic tree much, bark chips, post peelings or pea metal as the mulch
- compost-topped.
Mulch-topped are more decorative so they are generally more suited to areas where the garden is going to be on display.
Post peelings are formed when small, harvested trees are shaped into round fence posts. The peelings are the byproduct of this process.
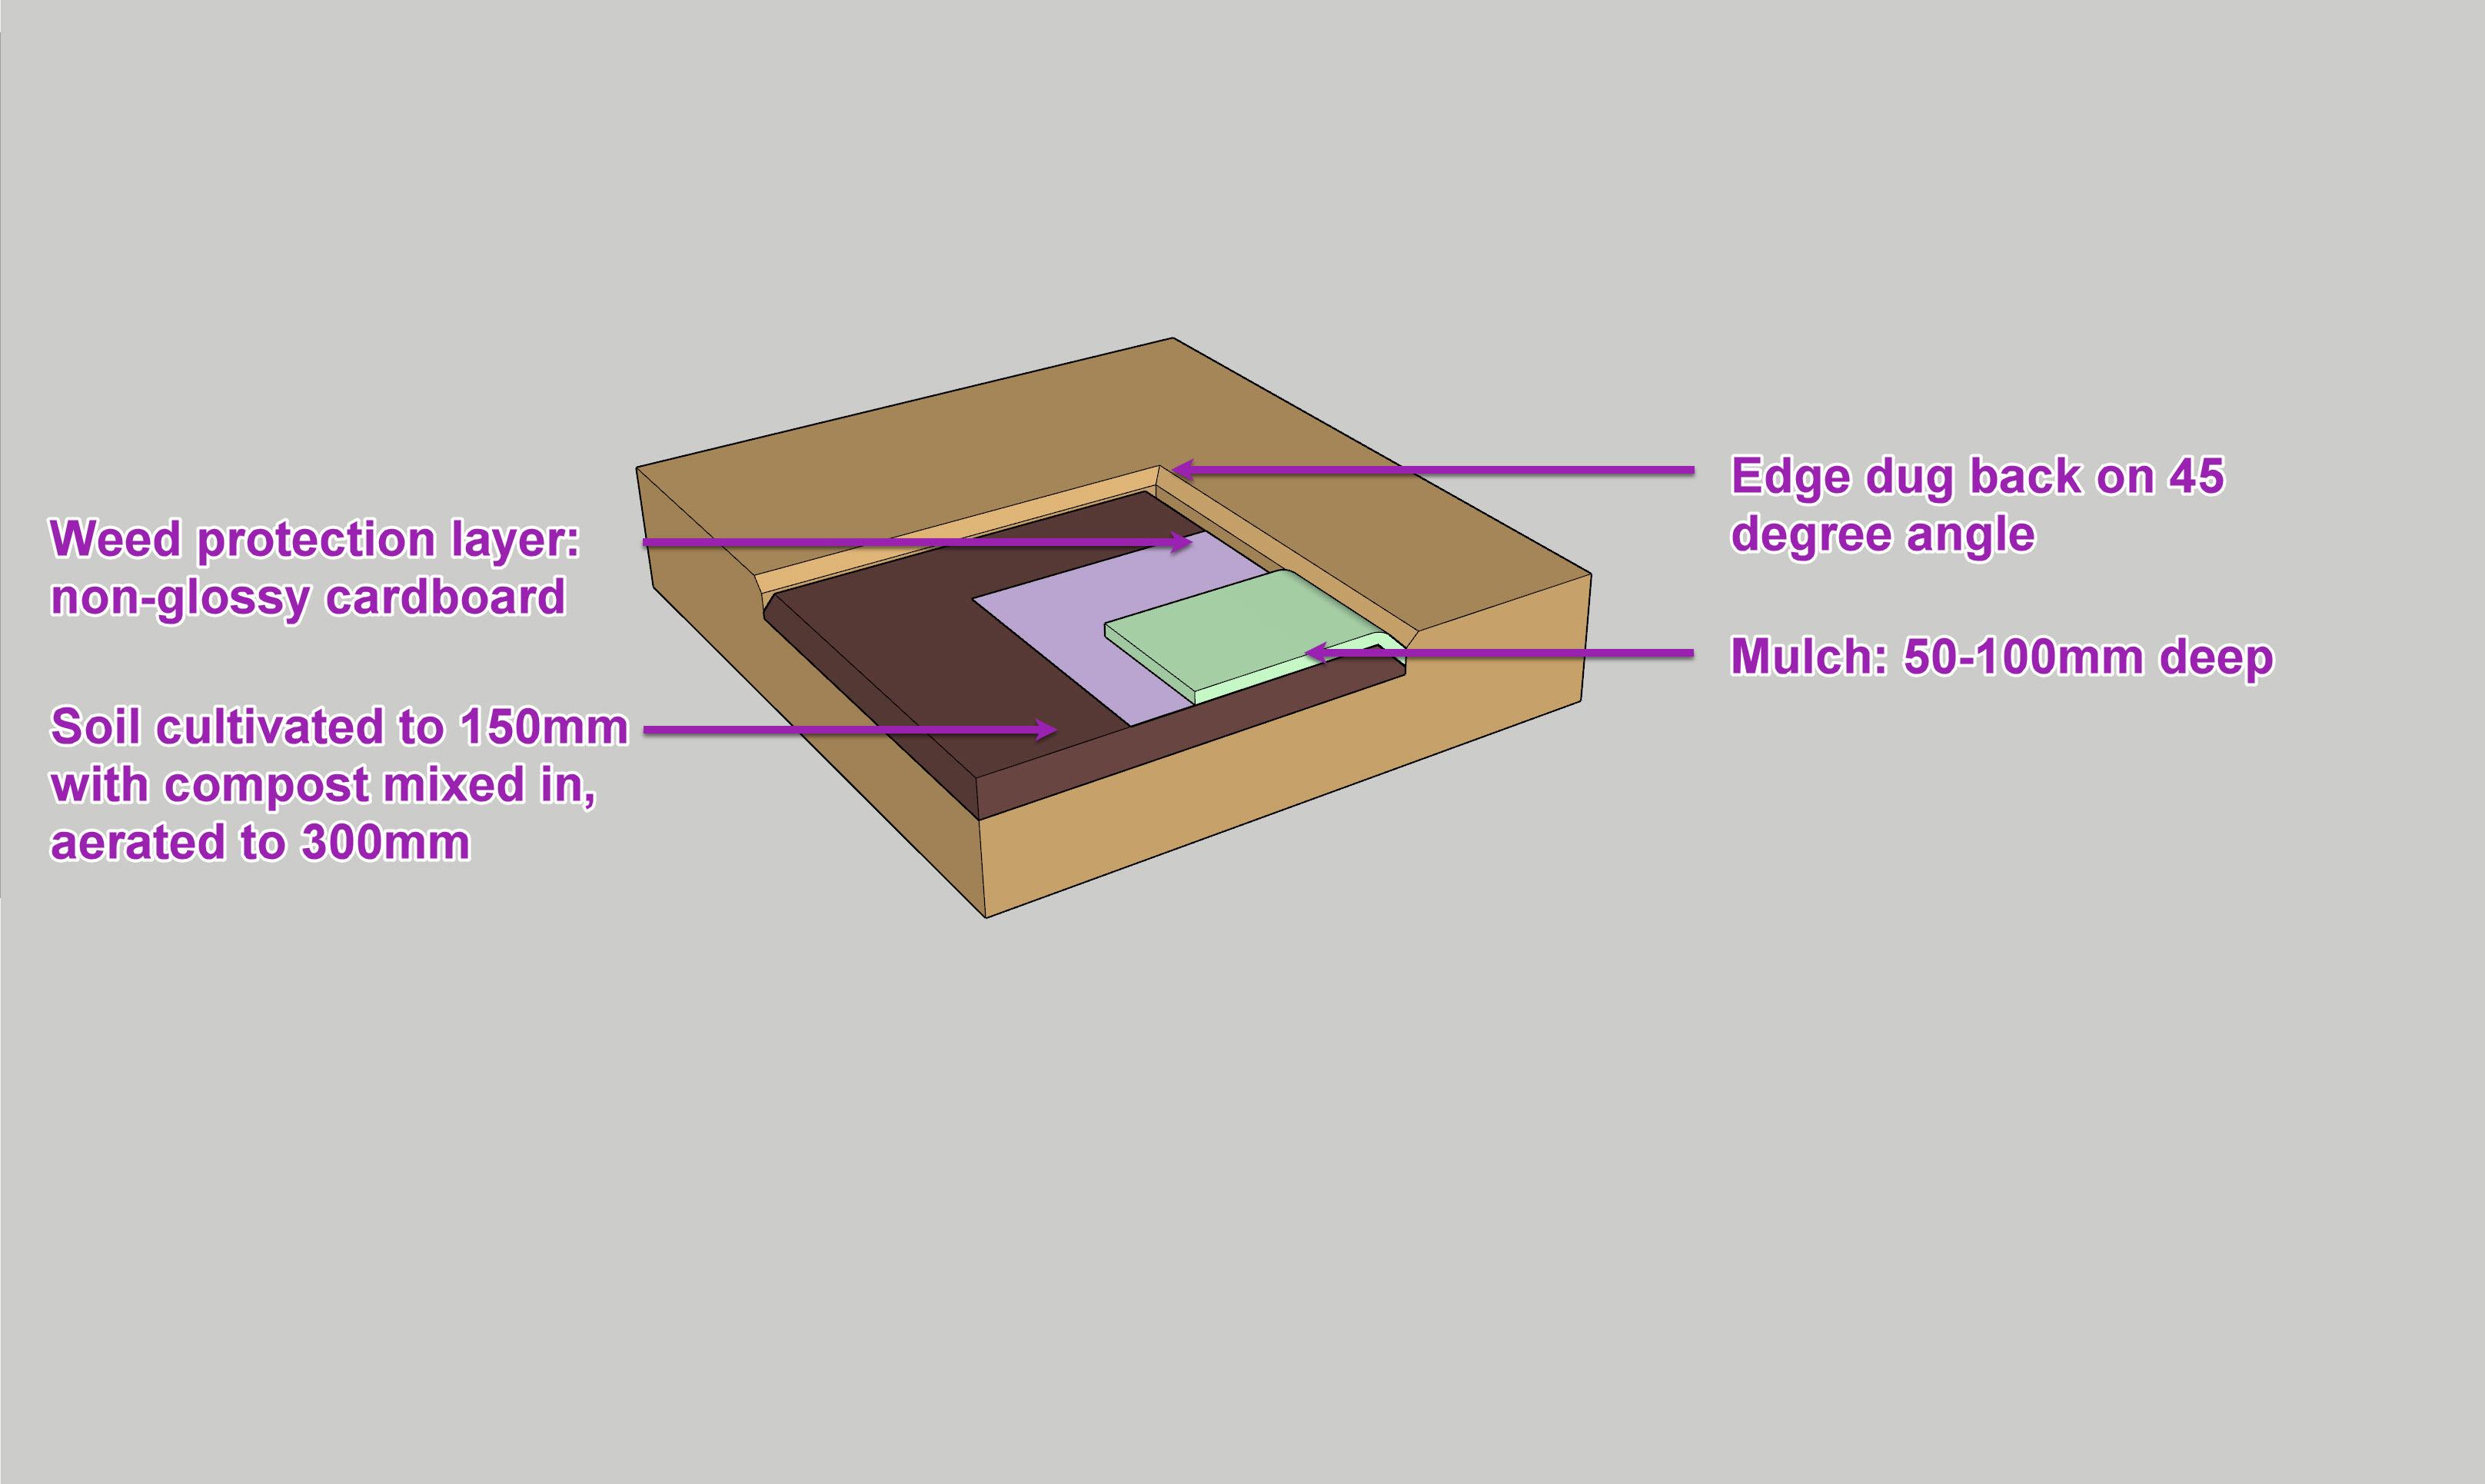
Common specification for a mulch-topped garden bed.
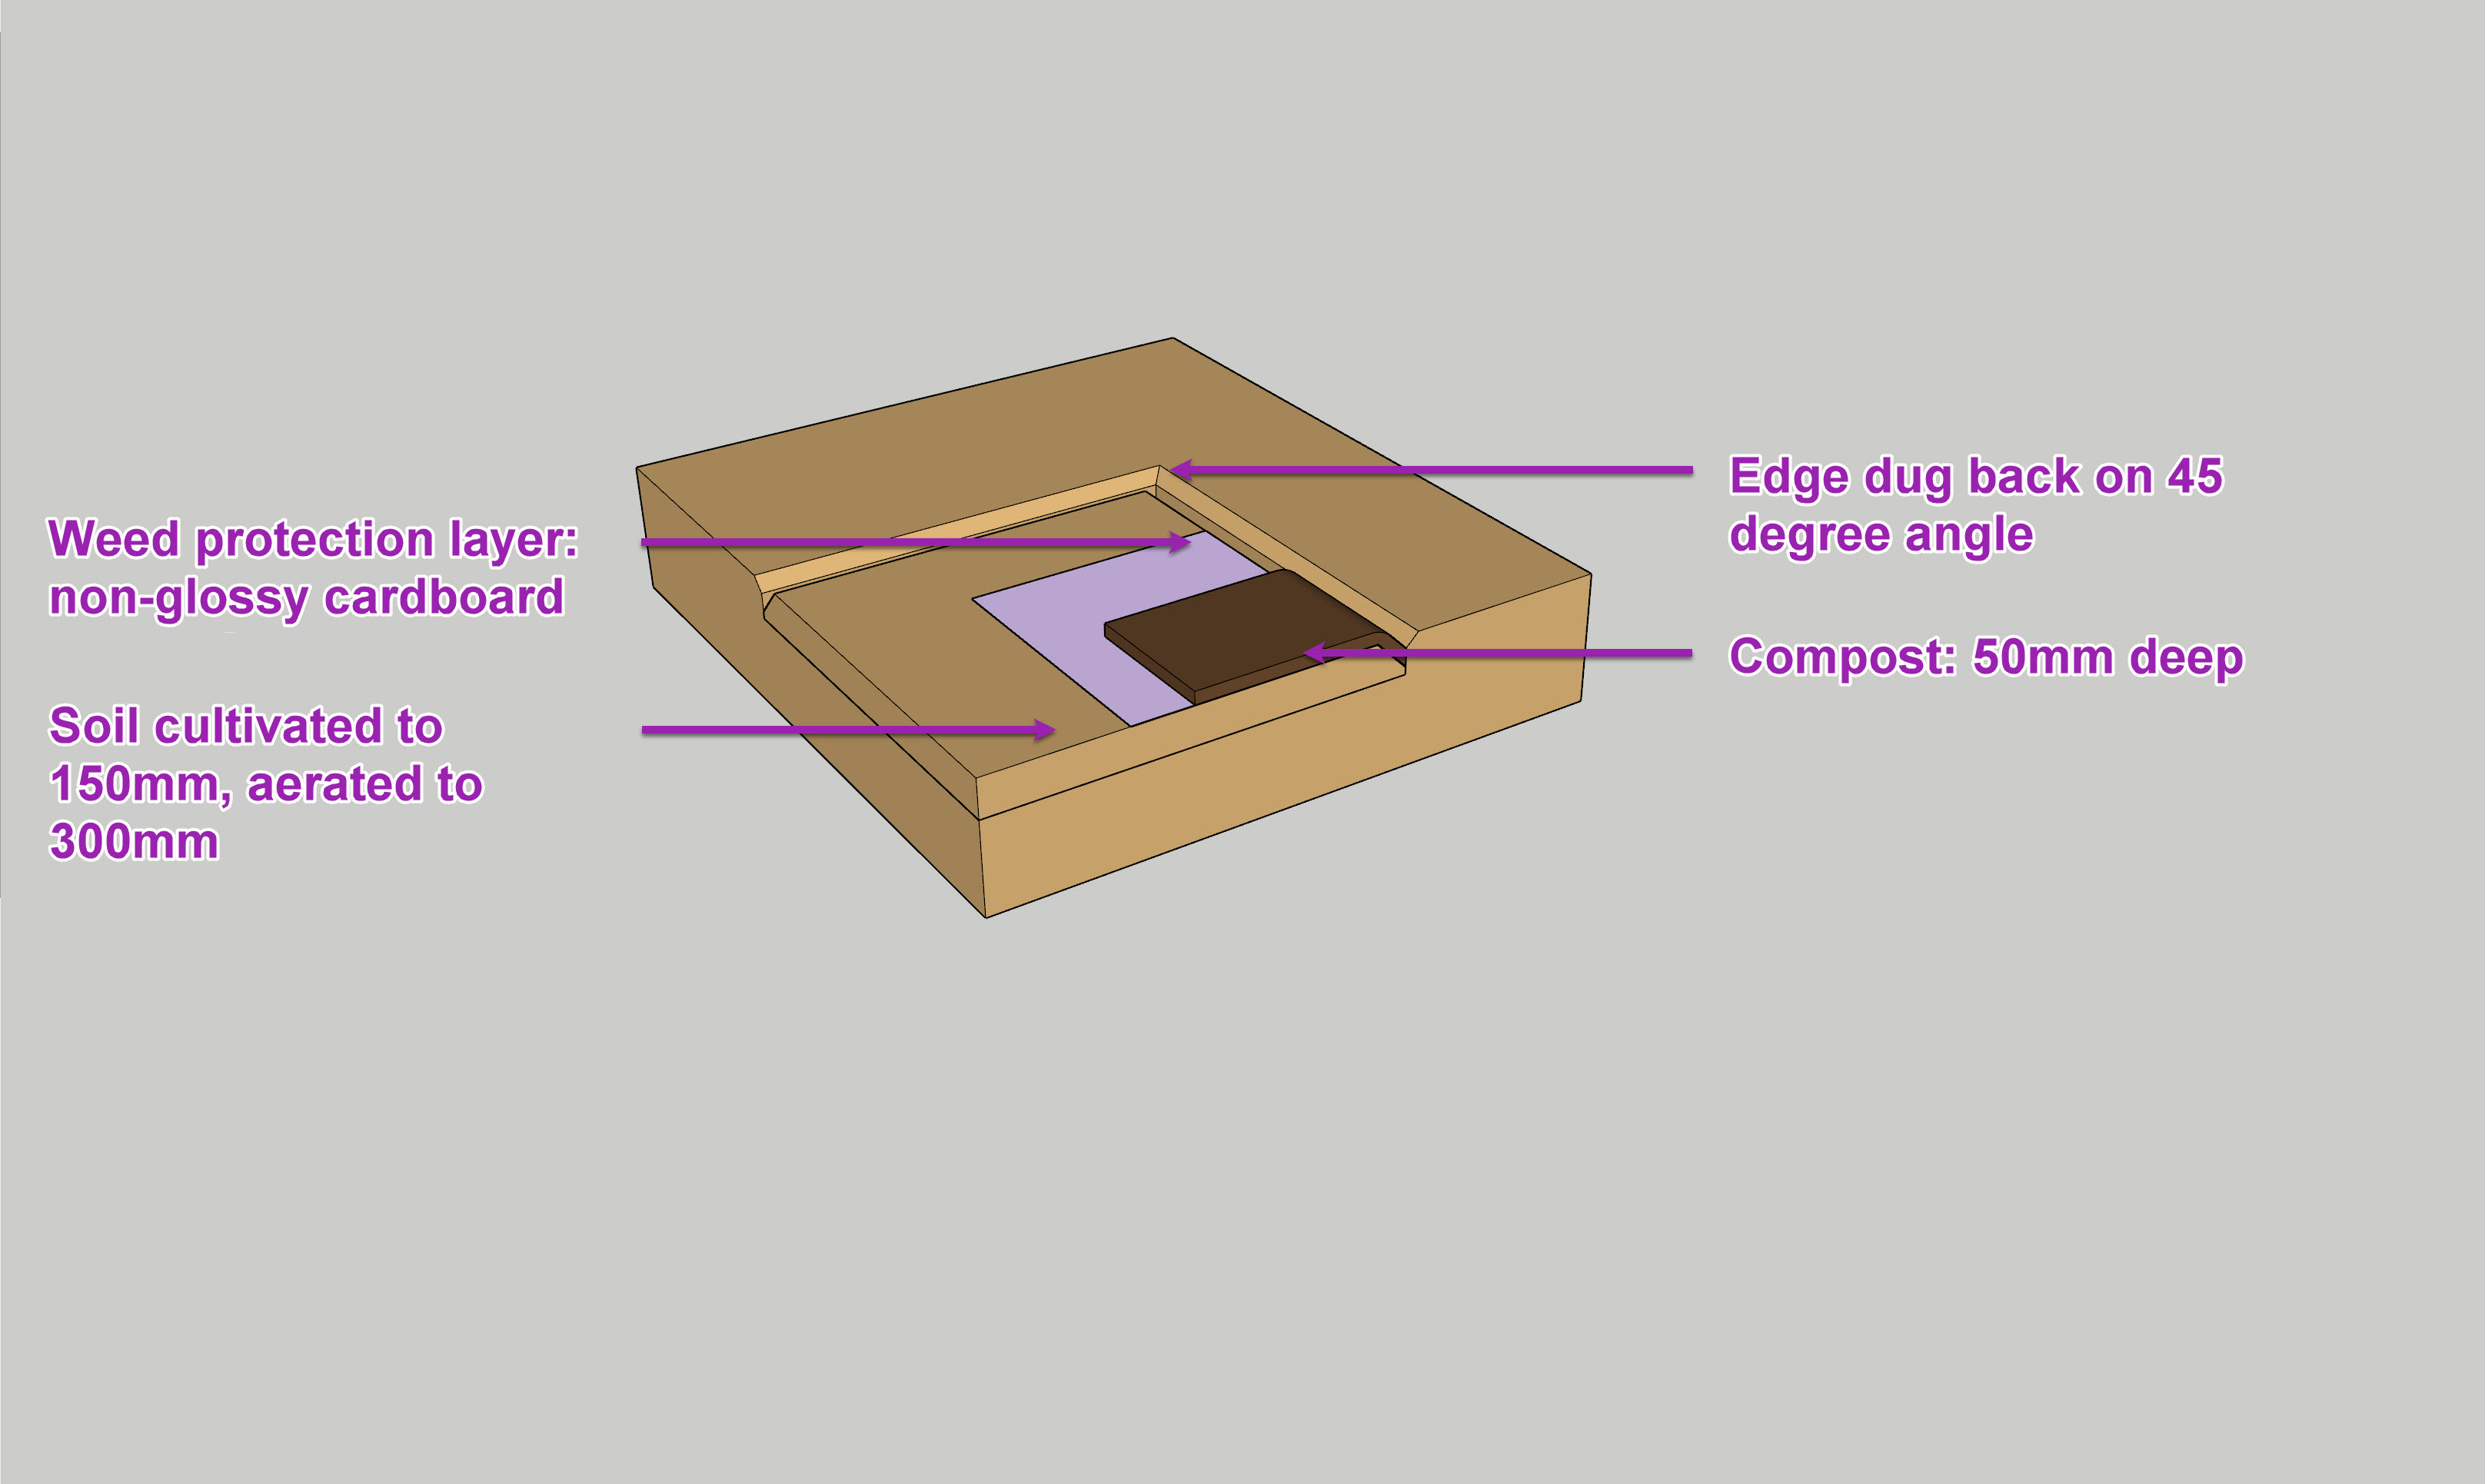
Common specification for a compost-topped garden bed.
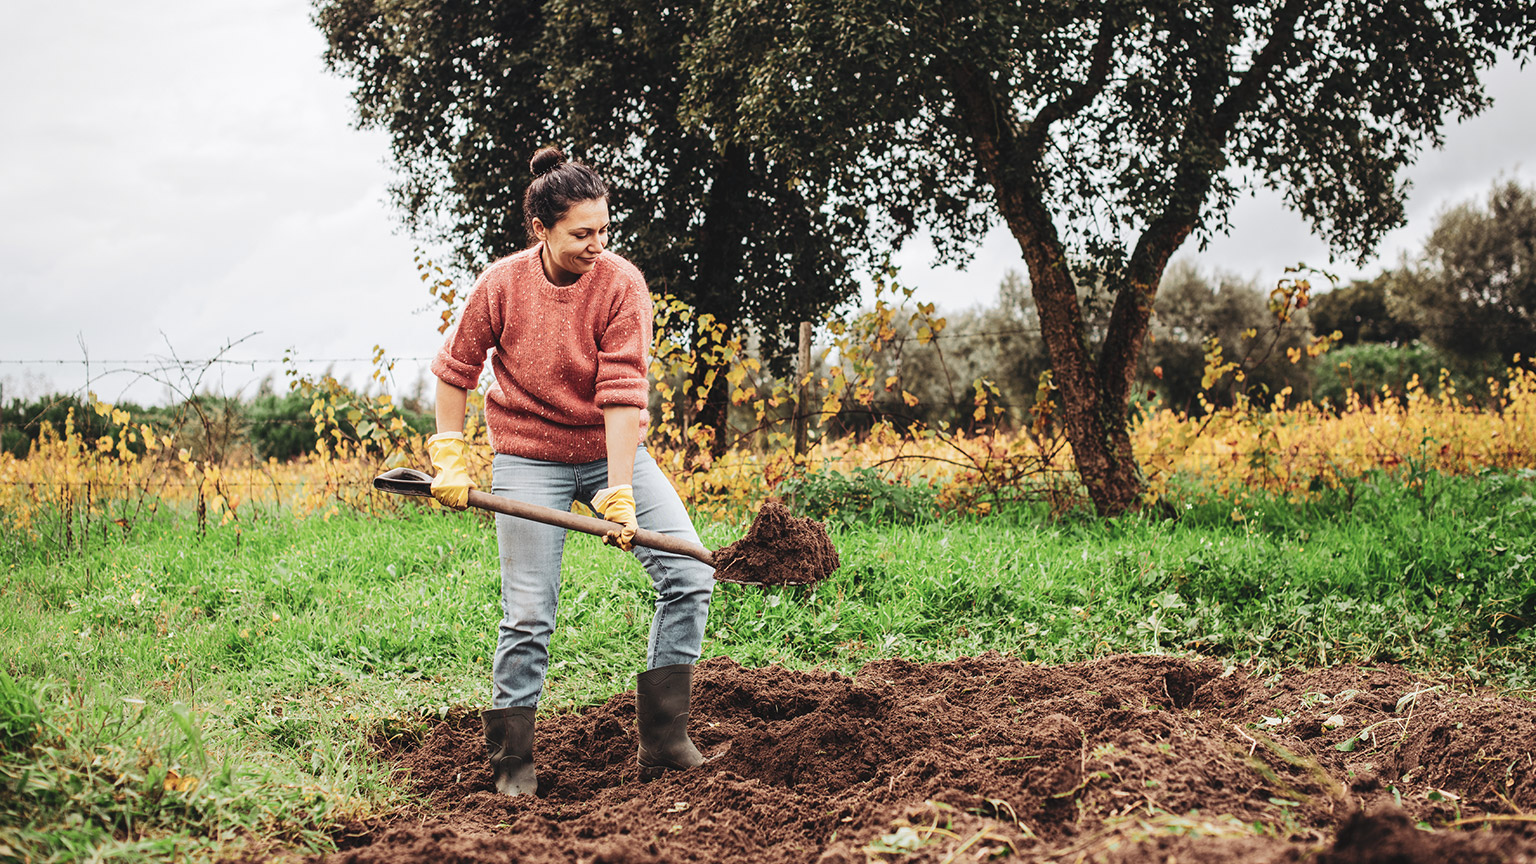
Removing grass and weeds
The first thing we need to do is remove the grass and weeds so they won’t compete with our plants for water, nutrients, and light.
The four most common approaches are:
- Tarping – this involves putting a dark plastic film over the plants you want to remove, which will heat up under the sun and kill off the plants underneath. You can buy heavy duty polyurethane film from hardware or gardening stores or use recycled materials. For instance, a black thermal pool cover.
- Depending on the time of the year, you may need to leave the tarps on for between two and six weeks.
- If your site is exposed to the wind, make sure you weigh the edges down so your tarp doesn’t blow away.
- Digging out – this is where you dig the top layer of sod and roots off. You can add the sod to your compost or flip it over and wait for the plants to die off before planting. If you have a large area, you may consider hiring a turf cutter. See the Preparing and establishing lawns topic for more information about turf cutters.
- Spraying – use a broad spectrum herbicide such as one with the active ingredient Glyphosate. Mix the spay according to the instructions on the container, and using the correct safety equipment, spay onto the area. After one or two weeks most of the plants will have died back, and the soil will be ready for cultivation.
- Tilling – in this approach you mow the grass and weeds down and then turn over the soil with a rotary hoe. This is not ideal because there is a chance that some of the plants will root back into the soil and grow again, but if you are short on time and don’t mind spending more time weeding later, this can work.
Other approaches include flame weeding, steam weeding, electric weeding and stale seed beds. If you’re interested in any of these, search for videos and information online.
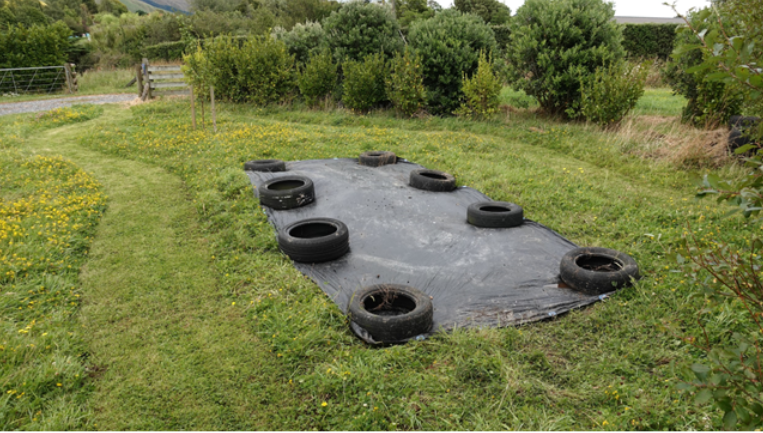
An old pool cover that ripped at the rivets is being used as a tarp to kill off grass and weeds, held down by old car tyres.
Use your chosen method to remove the grass and weeds from the area that you marked out earlier.
Cultivating the soil
If you’ve used tarps, remove these.
Turn over the soil either using a spade, or a rotary hoe. These can be hired from most hire centres and make light work of the job.
If using a rotary hoe, make sure the soil isn’t too wet. If it is, the rotary hoe will turn the soil into mud and break up any good structure it may have had.
Work the soil to a depth of 100-150mm. Keep breaking up the soil until it is friable. Friable means that it is composed of mostly medium and small-sized soil aggregates.
Levelling, and aerating the garden beds
Rake up any remaining roots or other materials you want to remove from the garden bed.
Starting in one corner, push your garden fork as deep as you can into the garden bed. You’re aiming to get it 300mm below the top of the bed. You might need to put one or both feet on the horizontal bar that all the prongs come off and jump to press it into the soil. Now pull back on the handle to crack open the lower soil horizons.
Pull the fork out and repeat all along each bed about 300-600mm apart.
Level the beds with the rake by dragging the soil around from the high points into any low points on the beds. Use the smooth side of the rake to level the area.
Adding and mixing amendments
Finally we’re going to add some goodies to the soil to make it better, so that the plants get off to the best possible start.
It’s usually a good idea to add some organic matter – such as compost or worm castings – to the garden bed.
What else you might want to add will depend on your soil. If you have a clay soil that has poor structure you might want to add gypsum to help break it up. If the soil is sandy and very well-draining you might want to add a lot of organic matter and consider adding a small amount of clay. This will help hold some of that water in the soil so that the plants can access it.
Māori soil science: Modifying soil by adding amendments, is not just a Pakeha way of working. This webpage talks about how Māori modified soil to improve the growth of their kūmara crops prior to the arrival of Europeans.
https://www.sciencelearn.org.nz/resources/888-maori-soil-science
Spread your amendments across the garden beds as evenly as you can. If adding compost to a well-structured soil, put down one bucket for every square metre. If your soil is sandier, you might want to increase this to two buckets.
Use a hoe or rotary hoe to mix the amendments in with the soil. You only need to mix the top 50-100mm. If you’re using a rotary hoe with a depth gauge, set this to a shallow setting.
Use the rake to level the beds again.
If you added gypsum or fresh compost, water the beds thoroughly and leave them for a week before planting. If you’ve used aged compost, your bed will be ready to plant into.
Adding a weed prevention layer (optional)
Adding a weed prevention layer, such as non-glossy cardboard, will significantly decrease the amount of weeds that grow in the garden bed. Ensure you overlap edges by at least 100mm to prevent weeds growing around the edges. Remove any tape that is attached to the cardboard.
Cardboard offers the benefit that as it breaks down it adds organic matter to the soil. The disadvantage is that once it has decomposed it no longer prevents weeds. If you intend to use cardboard, it is a good idea to make it at least two layers thick and be prepared to lay another layer of cardboard on top with more compost on top of that.
Wet the cardboard thoroughly when it is in place to help it follow the contours of the ground.
Depending on how windy it is when you are laying it, you might need to secure it in place with landscape pins or short pieces of fencing wire bent into a U shape.
Some landscapers use weed matting, but this prevents organic matter from reaching, and enriching the soil so it is generally not recommended, except for at the bottom of raised planter boxes.
If you’ve chosen to prepare and establish a garden bed for your soft landscaping feature, you’ll also need to plant four (4) or more plants and look after them as they become established.
The plants you choose can be small, for example a punnet of peonies or other annuals from the garden centre will be just fine.
This is not a big job, it just means that you need to keep on top of weeding and water them as needed for a period of two weeks, then take some photos to show that the plants are still healthy.
Adding fertiliser (optional)
If you are adding a layer of good quality compost on the soil around your plants you may not need to add fertiliser as well, as the compost will give the plants most of their nutrients.
However, you might like to add fertiliser to give the plants an extra boost. The most common types are:
- Granular fertiliser – spread a handful of granules closely around the plant on top of the soil
- Organic seaweed liquid fertiliser, such as Seasol or Tui organic seaweed tonic – mix up according to the instructions on the container and apply to the plant using a watering can or using the provided hose connector.
Organic tree mulch should be applied as a 50-100mm deep layer. Bark chips are best applied as a 50mm layer on top of a 50mm layer of compost.
Another alternative is to use pea metal as a mulch to keep weeds down and limit the loss of soil water through evaporation. A layer 20-50mm deep on top of a 50mm layer of compost should do the trick.
Spread the mulch layers and level out with a rake as needed.
Watering it in
The last step is to give the garden bed a good watering, either from a hose or a well-timed spot of rain. This will help all the components settle (pack down) and for the organic processes to start doing their thing – breaking down organic matter to enrich the soil.
Planting into established garden beds
In some cases, you may need to plant into established garden beds, for example adding annuals at the beginning of spring. Follow these steps to avoid germinating weeds and damaging your plants:
- Carefully pull the mulch back from the planting spot with your hands so the weed protection layer is visible and clean.
- Using a sharp craft knife, box cutter, or utility scissors cut a cross in the weed protection and fold the corners back.
- Dig a hole in the soil and place the excavated soil onto a section of fabric or plastic instead of on the mulch.
- Plant the plant in the hole and put the excavated soil back into the hole and press it down so there are no large air gaps around the root ball of the plant.
- Bring the edges of the weed protection back to the stem or trunk so there is as little of the soil below visible as possible.
- Move the mulch back, but leave a gap of 20mm from the plant trunk or stem. If the mulch is in contact with the trunk/stem it can burn the plant as the mulch decomposes.
- Take the fabric or plastic away and if there is any soil left on it, dispose of it. Don’t tip the soil onto the mulch as it may have weed seeds which could start to grow.
- Water the plants thoroughly.
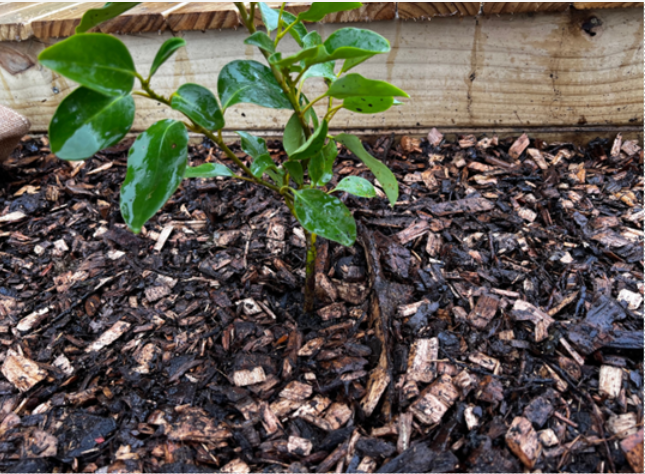
This Griselinia littoralis has been planted in an established garden bed and the mulch returned.
Make sure you don’t trample mud or dirt onto the garden bed from the surrounding area as this may also have weed seeds in it.
If you’re going to plant something bigger, we recommend that you read the following topic which covers how to plant and maintain trees and shrubs before you start on the assessment.
Assessment 3
If you’ve chosen to prepare and establish a garden bed for your soft landscaping feature, you should be ready to make a start.
Head over to the assessments section and read the full assessment requirements in detail. If you have any questions, contact your tutor.