Do not touch a chef’s knife. That’s the rule. The rule that is above all other rules.Anthony Bourdain, Kitchen Confidential
This quote summarises the relationship a chef has with their knives. A chef’s knife is more than a piece of metal, they are a way he or she can create culinary masterpieces with precision. Without a set of quality, well-maintained, sharp knives a chef can’t do their job, and for this reason chefs are very protective of them. In this topic you will learn about:
- The different types of kitchen knife and what the tasks are designed for
- The difference between Western style knives and Japanese style knives
- The different parts of a kitchen knife
- How to hold a knife safely and comfortably
- How to sharpen a kitchen knife
- Knife storage and transportation
- Basic vegetable cuts
Watch
Jamie Oliver on knife skills
Jamie Oliver explains basic knife skills, including how to hold a knife safely and how to make basic knife cuts.
Duration: 5.01
Questions
Pre-Watch Question: Do you think you know how to use a chef’s knife safely?
Post Watch Task: Put the good knife techniques into practice – have a go at chopping some vegetables safely. Speed is not essential – good technique will eventually lead to faster chopping but only with practice!

Kitchen knives come in a variety of shapes and sizes, and each is designed for a specific purpose. It is important to make sure you use the right knife for the job in hand – using the wrong knife could damage the blade or even cause you a serious injury. Getting to know what knife does what is the key to developing the knife skills essential for culinary greatness.
Traditional Western Kitchen Knives
| Chef's Knife |  |
|---|---|
| Utility Knife | |
| Bread Knife | |
| Pairing Knife | |
| Carving/Slicing Knife | |
| Cleaver | |
| Boning Knife | |
| Filleting Knife | |
| Palette Knife | 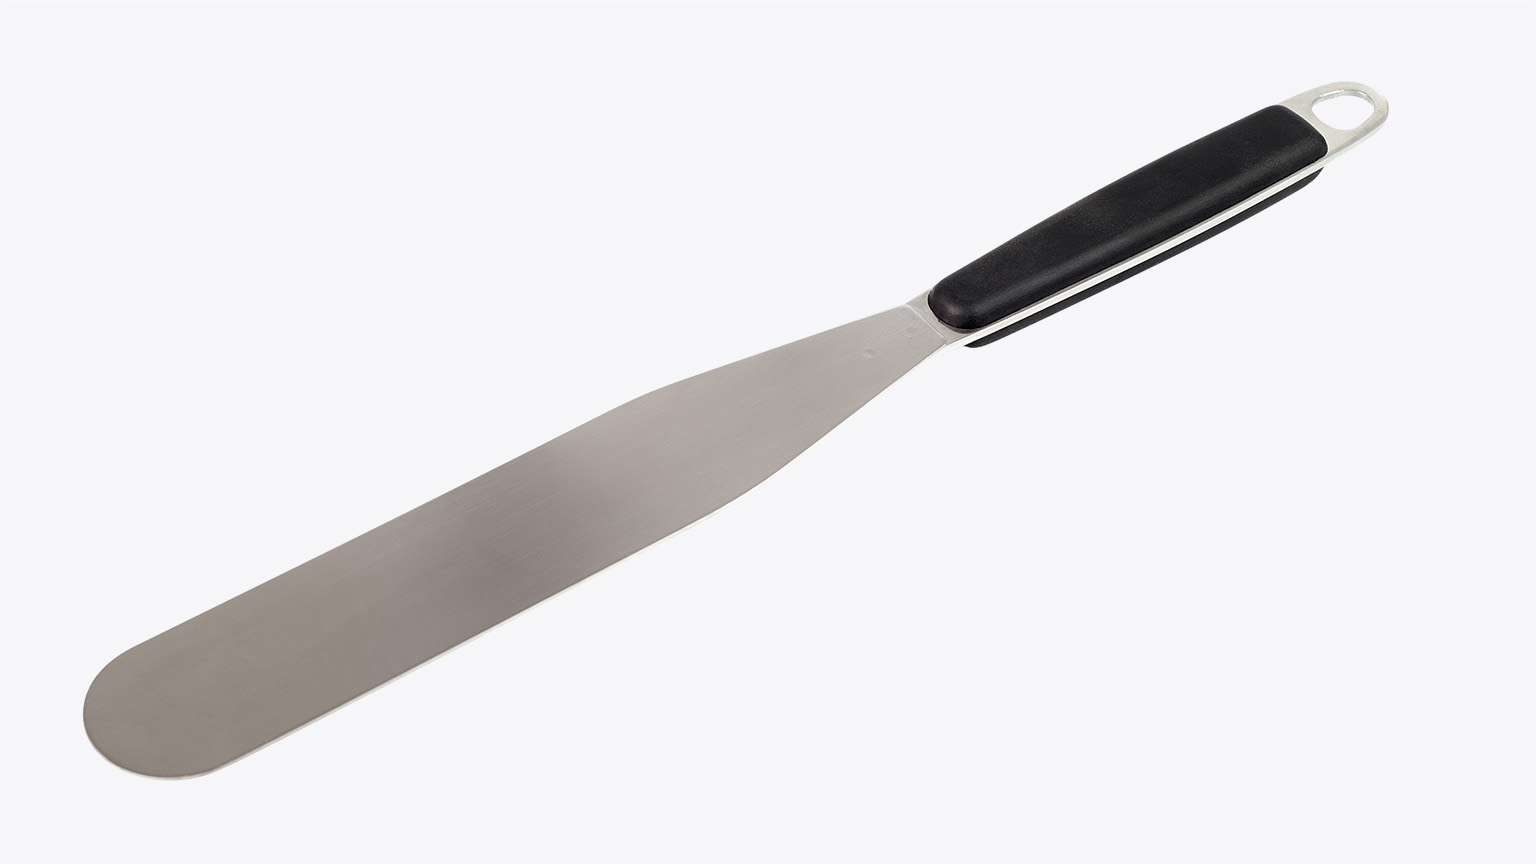 |
Japanese Knives
Japanese knives are designed specifically for the needs of Japanese cuisine, and many are quite different in construction from Western knives. Japanese kitchen knives have become very popular with cooks and chefs in New Zealand in recent years, due to the popularity of Japanese and Asian cuisines and also as beautifully designed pieces of equipment. A few commonly found Japanese-style knives are shown below. (Goku, 2023)
| Gyuto – Chef’s Knife | |
|---|---|
| Santoku – All-round Chef’s Knife | 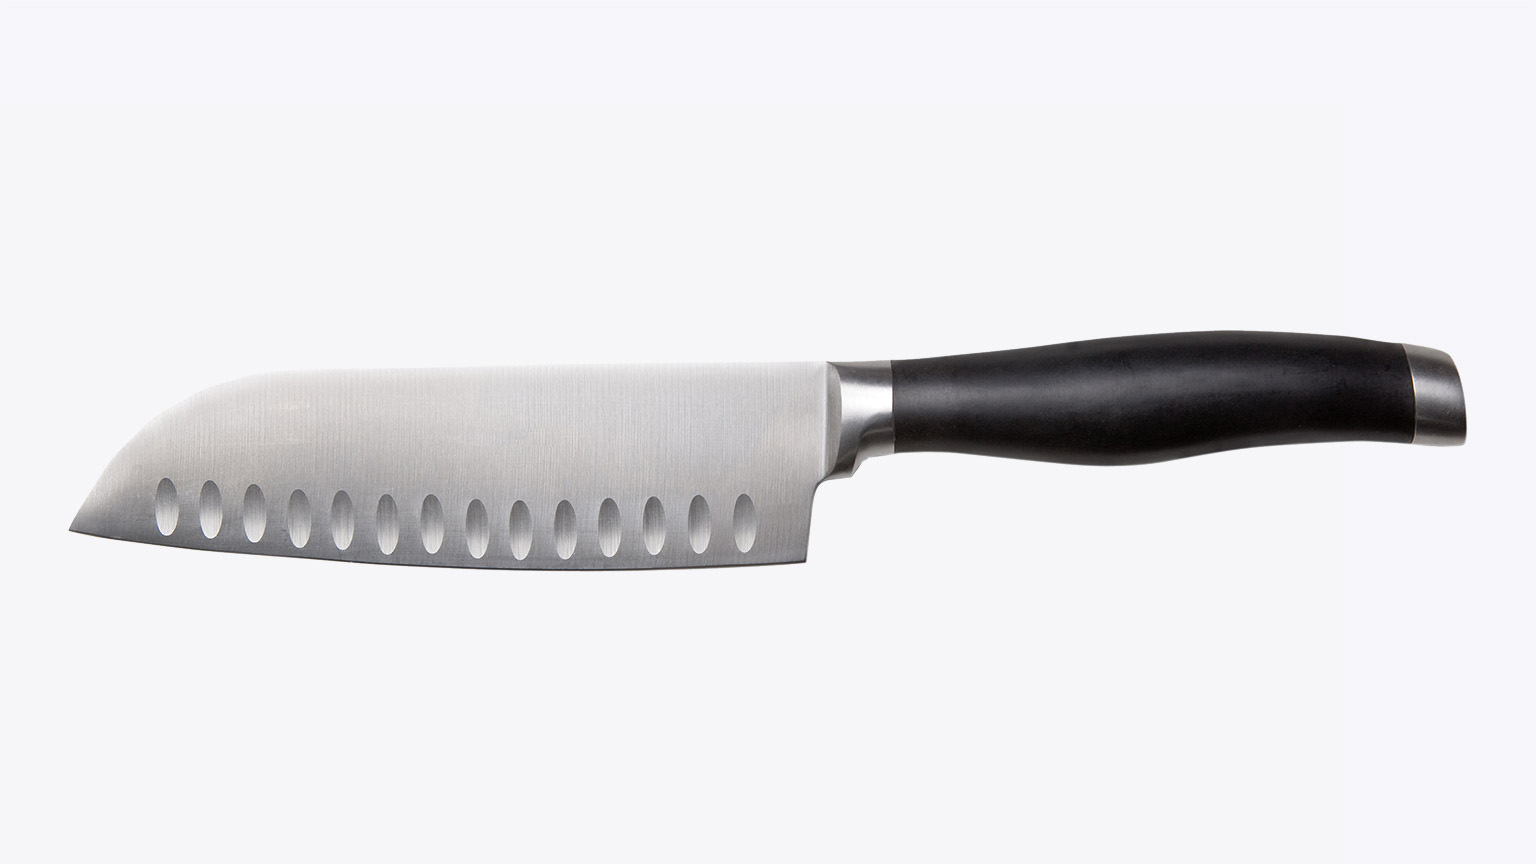 |
| Petty – Utility Knife | |
| Chukabocho – Cleaver | |
| Sujihiki – Carving/Slicing Knife |  |
| Honesuki - Boning Knife | |
| Yanagiba – Sushi/Sashimi Knife | 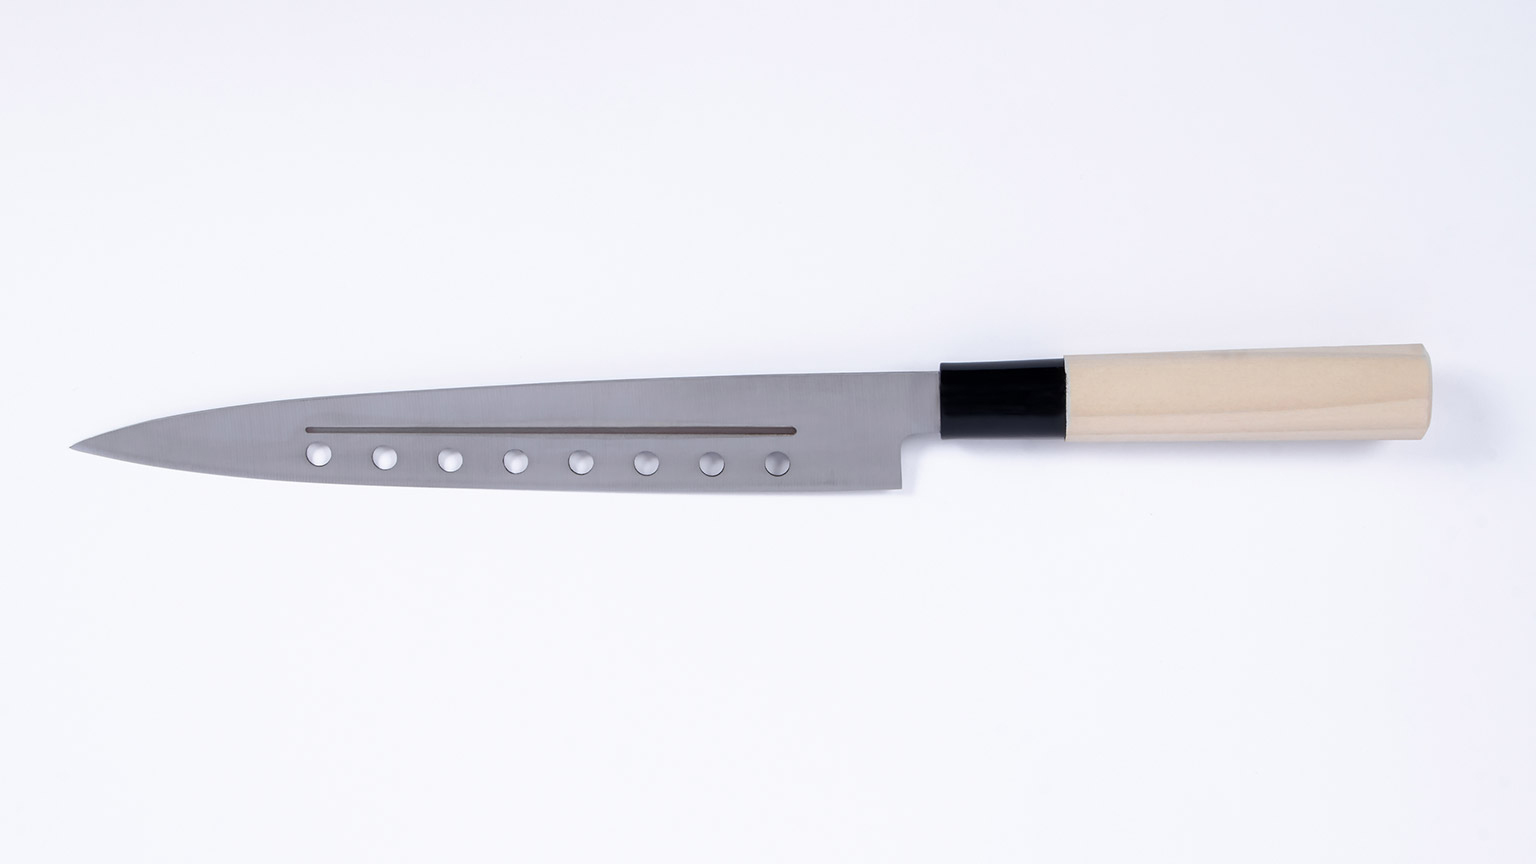 |
| Nakiri - Vegetable Knife | |
What are kitchen knifes made from?
Though they may be simple tools, quality knives are carefully designed to perform specific purposes and have several important features which help to make it functional, comfortable to use and long lasting.
Blades
Kitchen knives are usually have a metal blade (some knives are made from plastic for cutting some vegetables and are not particularly sharp, others can be made from ceramic material). For the majority of kitchen knives the metal blade is made from carbon steel, high carbon steel or stainless steel.
| Advantages | Disadvantages | |
|---|---|---|
| Carbon steel |
|
|
| High-carbon Steel |
|
|
| Stainless Steel |
|
|
Handles
Knife handles are made of wood or from a plastic composite and both are excellent materials for the purpose. Knives with wooden handles are not suitable to be cleaned in a dishwashing machine, In fact, kitchen knives should never be put through a dishwasher: blades will become dull and possibly damaged and handles (both wooden and composite) will become damaged by the heat, chemicals and immersion in water. More on how to clean and care for your knives a little later!
Parts of a knife

The key parts to know about a kitchen knife are:
| Spine | The top of the blade which is not sharp and gives thickness and support to the blade |
| Point | The tip of the knife blade, used for precision tasks like piercing and scoring |
| Heel | The bottom part of the blade, close to the handle. This part of the knife is used for tasks which need a lot of force. |
| Bolster | The junction where the blade meets the handle. It is usually much thicker than the rest of the blade and adds balance to the knife as well as acting as a guard to prevent fingers from slipping onto the cutting edge. |
| Cutting edge | The sharpened part of the blade which does the cutting, extending from the point to the heel. |
| Tang | The extension of the blade into the handle and provides strength and stability to the knife. |
| Butt | The end of the knife handle, a.k.a. the pommel. It can be weighted to help provide balance to the knife. |
Knives need to be held so they are comfortable, but also secure and totally controllable. There are certain ways you can grip a knife which will give you the precise control you need for delicate jobs, and are also safe grips which won’t slip. A good grip should be comfortable to hold for long periods of time.
Watch
How to hold a knife – Properly using a chef’s knife
A video made by the Cordon Bleu cooking school explaining how to hold a chef’s knife and cutting motion techniques.
Duration: 1.36
Questions
Pre-Watch Question: How do you hold your knife when preparing ingredients at home?
Post Watch Task: Try practicing the rocking motion shown in the video on a chopping board (without actually cutting anything!) to find out how it feels. Keep practicing the techniques shown to build up some muscle memory.
Holding a knife correctly is an essential skill to learn, but there are many other ways knives can be dangerous in the kitchen. Learning how to use, carry, wash and store knives are important skills for professional and home cooks to learn.
Watch
Learn Basic Knife Safety Skills – Chef Basic Knife Skills
Chef Eric from Online Culinary School demonstrates ways to handle knives in a safe way in the kitchen.
Duration: 1:36
Questions
Pre-Watch Question: Which is more dangerous – a sharp knife or a dull knife?
Post Watch Task: Practice incorporating some of the safe knife handling techniques shown in the video when you are next cooking at home. Think about how you move around your kitchen with a knife, how you store it, how you place it in between tasks.
Knife handling safety rules
- Never leave a knife in a washing up sink, or hidden from view. This is extremely dangerous for others who don’t know there is a knife.
- Always use a sharp knife.
- Always use the correct knife for the task in hand.
- Make sure the handles are clean and dry and not greasy.
- Keep fingers out of the way of cutting edges by using the proper knife holds and cutting techniques
- Always cut away from yourself.
- Carry knives point down and close to your leg when you need to move around the kitchen. Be aware of others and always call out if you are working in a busy environment (e.g. call out “sharp knives coming through” or “sharp knives behind”).
- Make sure handles and blades are not sticking out over the edge of the bench where they can be knocked by people passing by.
- Lay knives on flat and clear surface when not in immediate use.
- Wash knives with the cutting edge facing away from your hands.
- Never try to catch a dropped knife! And move your feet out of the way if they are in danger!
- Store knives safely – you can use a magnetic knife rack, a knife block, a purpose-designed drawer or a chef’s knife roll.
Chopping board safety
In addition to handling knives safely, your chopping board must be set up safely too. This is to provide a stable and secure base for cutting and chopping.
- Clean, dry and sanitise chopping boards before use
- Chopping boards must be secure so they don’t slip on the bench
- Place board on a damp paper towel or damp flat cloth to prevent slipping.
- Ensure chopping board is on a surface which is at a comfortable height to reduce strain on your back.
- Position chopping board close to where you are working, so you are not stretching to reach it when cutting on it.
Watch
How to Set up a Cutting Board – Proper Station Set Up
Chef Eric shows the dangers of an unsecured cutting board and a simple way to make sure it doesn’t slide around the bench top using a paper towel.
Duration: 1.12
It is well known that a blunt knife is far more dangerous than a sharp knife. The injuries caused by a sharp knife are very different from those caused by use of a blunt one –a blunt knife needs extra force to cut, which makes it much more likely to slip off the food uncontrollably and putting your fingers and hands at risk of serious injury. The good news is that maintaining, or getting back a sharp cutting edge on kitchen knives is easy to do, with good technique and plenty of practice
Sharpening vs Honing
Honing

Honing is the way a sharp knife maintains its edge, and is something which should be done before use, after each use of a knife. It uses a steel to keep the edge straight (Hughes, 2017). Honing will not sharpen a blunt knife.
- Hold the steel in one hand (either upright or downwards with the tip of the steel resting on a chopping board).
- Hold the knife with a firm (but not too firm) grip.
- Press the heel of the knife lightly against the top of the steel at a 20 degree angle
- Pull the knife down the length of the steel, moving it from the heel to the tip as you do so.
- Switch to the opposite side of the steel and the other side of the knife and repeat.
- Repeat process 5 or 6 times.
Watch
How to Use a Honing Steel
A demonstration of two ways to use a honing steel to maintain a knife’s sharp cutting edge.
Duration: 2.04
Questions
Post Watch Task: Practice using a steel, using whichever technique you find most comfortable. Work on getting that 20 degree angle and remember that unlike the sharpening process frequent honing will not wear down your blade, so keep on practicing!
Sharpening
Eventually even regularly-honed knives will need a bit more attention and will need to be sharpened. Sharpening is the process of grinding the knife’s cutting edge back to achieve the point of maximum sharpness. This process actually removes metal from the blade and in time will wear down the edge – this is why regular honing is so important, as it reduces the frequency of necessary sharpening.
There are several different ways of sharpening a knife’s edge, including various knife sharpening tools and the chef’s favourite: whetstones.
How to use a whetstone

Learning how to use a whetstone is an essential skill, but it does need a lot of practice. Whetstones are great at building up a very sharp edge and come in different grades (measured in grit size like sandpaper) for different type of knife. They usually have a coarse side for grinding and a fine side for polishing.
Other Sharpening Tools
There is a variety of different tools on the marketplace designed to sharpen knives. They all work on a similar principle, i.e. grinding the cutting edge by using an abrasive material (often diamond) to do so. These tools offer one advantage, in that they have guides to keep the angle consistent but many chefs and keen cooks prefer to use the whetstone method which gives more control over the amount of sharpening applied.
There are also knife sharpening professionals, who can expertly get almost any blade back to pristine sharpness. Many of them operate from a van and can go to places of work and offer their services to an entire kitchen staff. However, this is not a cheap option and can cost around $10 per knife. Whichever method you choose, keeping your knives sharp and honed is an essential skill to learn.
Watch
How to Properly Clean and Store Your Kitchen Knives
A video demonstrating safe ways to clean kitchen knives, and also the dangers of leaving knives unattended in sinks full of dishes or soapy water. It also shows different ways of storing knives safely.
Duration: 5.35
Questions
Post Watch Task: Remember: never leave kitchen knives in sinks full of water where they cannot be seen!
Keeping kitchen knives clean is a task which will need to be done very frequently whilst preparing food. Remember the food safety rules about cross-contamination and bear in mind that knives are a potential source of contamination. Watch the video to see how to clean and care for your expensive chef’s knives. As a bonus, the video also shows ways of storing knives – which is coming up next.
Watch
Beginner’s Guide to Real Knife Sharpening
Joshua Weissman demonstrates how to use a whetstone to sharpen a knife for beginners.
Duration: 7.51
Questions
Post Watch Task: How will you keep your knives sharp? Whetstones are a great idea and will last a lifetime. You can get one with a base and angle guide from less than $20.

Storing sharp knives safely will not only protect you and others from injury, but is also essential in protecting their blades and maintaining their cutting edges. Knives stored loosely in a drawer (like in the picture above) will inevitably bump against each other and other items in the drawer and almost certainly dull or even damage blades.
Knife Blocks

In the home kitchen, a knife block is a good solution, keeping knives safely away from fingers and protecting cutting edges.
| Advantages | Disadvantages |
|---|---|
|
|
Magnetic Knife Rack

Magnetic knife racks are metal or plastic bars magnets embedded into them and which are fixed to the wall.
| Advantages | Disadvantages |
|---|---|
|
|
Knife Drawers

| Advantages | Disadvantages |
|---|---|
|
|
Knife Rolls
Knife rolls are designed to be easy to carry and perfect for chefs. Most chefs are required to provide their own knives for work, so a knife roll is the perfect solution to keep knives organised and safe on the way to and from work. They can be made of canvas, leather or imitation leather.

| Advantages | Disadvantages |
|---|---|
|
|
With good quality, clean and sharp knives you are ready to start cutting! Selecting the right knife for the job in hand is the first step, but then mastering the appropriate technique for cutting the ingredient into the size and shape you want is next.
The Claw
Watch Joshua Weissman demonstrate how to hold your knife and then how to hold your non-cutting hand so it is safely out of the way.
Watch
The Only Knife Skills Guide You Need
Joshua Weissman demonstrates how to hold a knife and use it to safely cut vegetables. He also demonstrates the “claw” technique for the non-cutting hand to hold the food securely whilst keeping finger tips out of the way of the cutting edge.
Duration: 5.40
Questions
Pre-Watch Question: How can you keep your hands safe when cutting vegetables?
Post Watch Task: Practice holding food items on a chopping board with your hands positioned like a claw. When you feel comfortable with this hold try using it to slice something (like an onion for example).
Keeping food secure whilst cutting
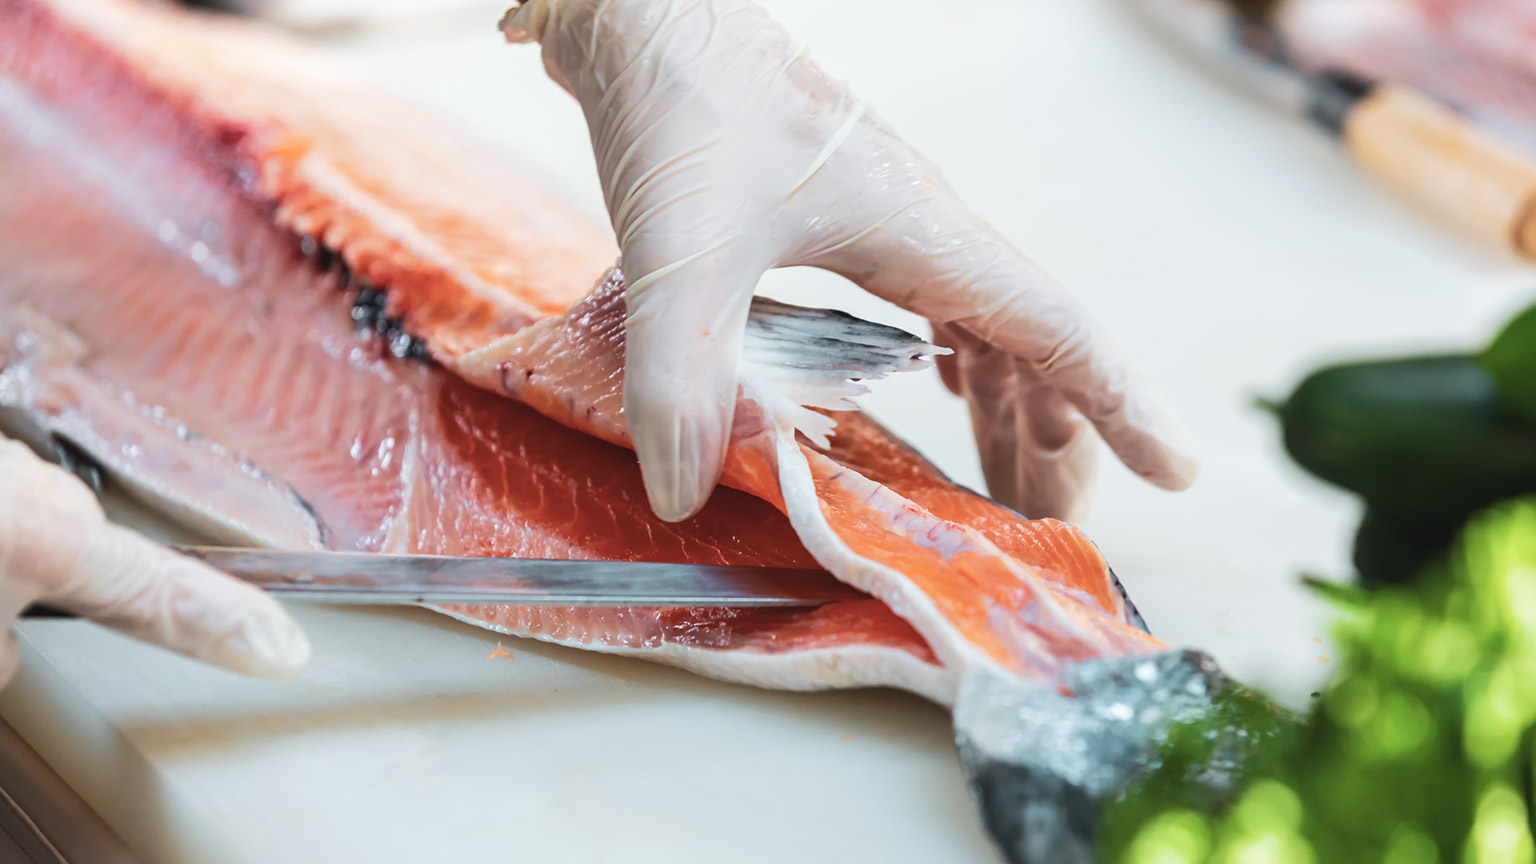
Creating a secure surface for cutting is a crucial in working safely and getting good, consistent results. We now know that we need a flat, stable and secure chopping board which doesn’t slide around the bench top, but when it comes to preparing vegetables, nature doesn’t make them flat and easy to secure. We still need a flat, secure base for cutting vegetables, so trimming a piece off the side of a round vegetable will achieve this. For example, when cutting carrots, cut a thin piece off the side to create a flat surface which is easy to hold secure on your board. Watch chef Frank Proto demonstrate this and then some basic cuts suitable for commonly-used vegetables.
Watch
9 Essential Knife Skills to Master
Chef Frank Proto demonstrates how to make round vegetables safer for preparation by cutting off a thin piece from the side to create a flat surface. He then shows a variety of common vegetable cuts and how to achieve them.
Duration: 12.59
Questions
Pre-Watch Question: How many vegetable cuts do you already know?
Post Watch Task: Practice some of the cuts shown in the video next time you are preparing vegetables. Remember to use the knife and chopping board safety rules and start slowly. Once you have got the technique mastered your vegetable cutting speed will automatically improve!
Common Vegetable Cuts
Learning some common vegetable cuts will allow you to create a variety of different dishes. Each cut has a different purpose which depends on the presentation of the dish. The commonly-used vegetable cuts come from classic French cuisine and therefore have French names. Learning some kitchen French will be an inevitable part of learning the classic techniques! Some of the vegetable cuts are meant to be used in the cooking of a dish and are not meant to be served, whereas others will be used to finish and garnish a dish. The purpose for the vegetable will affect the size and neatness required for the vegetable cuts.

Thin strips of vegetables cut approx. 3mm*3mm thick or less and around 5cm long.
Often used as a garnish, in salads or to finish a dish.

Vegetable sticks, approx. 1.5cm*1.5cm and 5cm long
Good for crudités (raw vegetable sticks), or in stews and more substantial dishes

- Large dice – cubes approx. 2cm*2cm
- used in slow-cooked dishes where their large size helps them to retain their shape for longer
- Medium dice – cubes approx. 1.5cm*1.5cm
- similar use to large dice but gives a more refined presentation
- Small dice – cubes approx. 5mm*5mm
- used in sauces or salsas where a fine and uniform presentation is needed

Brunoise is a very small dice, approx.. 3mm*3mm
Used as a garnish, in sauces and delicate dishes to add a finely textured appearance and subtle flavour.

Paysanne is a thinly slice vegetable cut which usually retains the original shape of the vegetable. The term “Paysanne” refers to “peasant-style” and is a rustic cut which does not need to be too even in shape or size. It is suitable for slow-cooked dishes, soups and stews.

Very fine strips of soft herbs or salad leaves, used to garnish delicate dishes and salads. Chiffonade of herbs like basil or Italian parsley can be stirred into a soup, pasta dish or sauce immediately before serving.

Roughly chopped vegetables (commonly carrot, onion, celery, leek) which are used as the base for stocks, soups, stews and braises to provide a flavour base. Normally discarded after cooking and used for their flavour only.
Now it’s your turn
Practice some basic vegetable cuts, ensuring you have a safe and secure work surface and a sharp knife. Don’t throw any of your cuts or trimmings away – instead have a go at the Minestrone Soup recipe shown below in the Self-Directed Learning section…and bon apetit!
Ka pai! You have got to the end of the Basics of Cookery module!. Make sure you have gone through and completed the readings and watched the videos linked to in this module. You should now be preparing for your assessment for the module – remember the Learning Outcomes are shown at the beginning of the module. Good luck with your assessment!