What is a storyboard?
Storyboards are the blueprints of a film--from advertisements to animations. Used to plan out each major scene and camera shot of a film, they are a tool for a director to visualise the entire movie before spending a lot of time and money shooting it.
Storyboards are especially important on big productions with large, long or complicated shoots. This 'blueprint tool' helps keep everyone aware of their true vision of the story and what they are trying to achieve: from the initial concept to when it is finally released in cinemas.
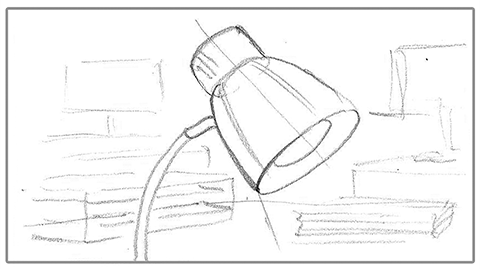
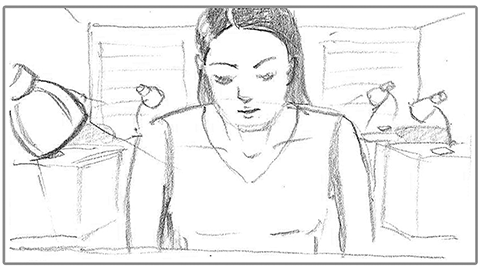
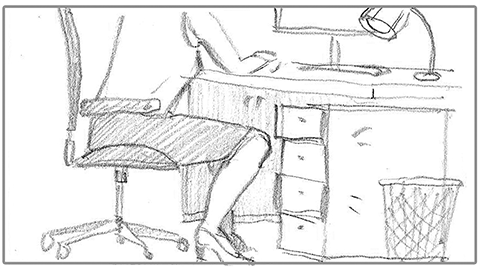
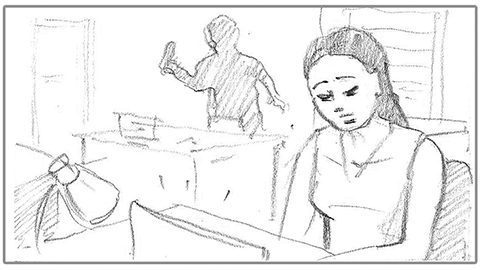
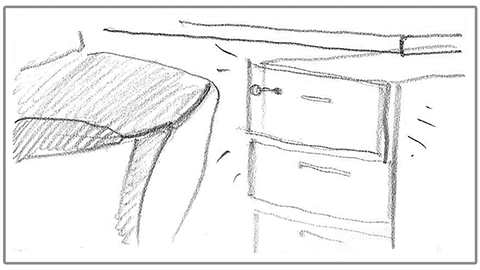
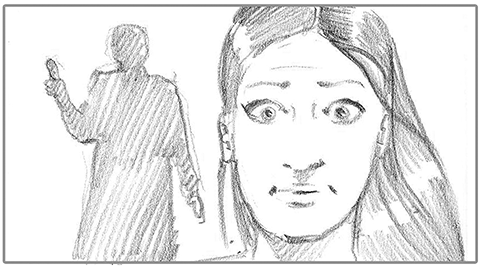
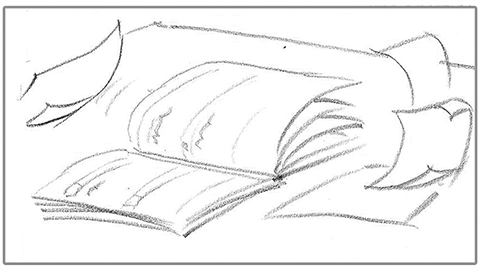
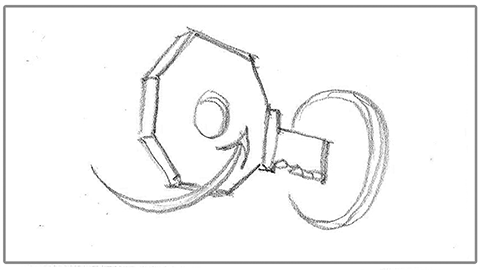
The example below shows what a storyboard looks like.

Parts of a storyboard
Storyboards illustrate pictures of each scene of a film, as well as key production information like the types of shots used, audio, timing of shots and any scene directions.
You don’t need to write your whole script on the storyboard, but you do need to make sure enough information is there so that when you are shooting on set, you can look at the storyboard and know what to do.
Drawing a storyboard
Drawing a storyboard is different from drawing a comic strip or another visual story. A storyboard communicates a very special view: how a story or scene looks through a camera lens. You can imagine that this is quite different from a normal view through human eyes.
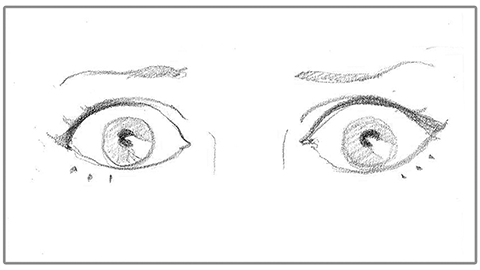

What do you think the differences are?
Professional film productions hire storyboard artists: someone who is skilled in the special art of storyboarding. Not only are they good at drawing, but they are also fast! They need to draw many versions of ideas, scenes and shots to find the ones that work the best.
Even though they are fast, storyboard artists may still spend years developing the look and feel for a movie.
They experiment with style, colour, lighting and shot types to show the mood of the film and tell the story.
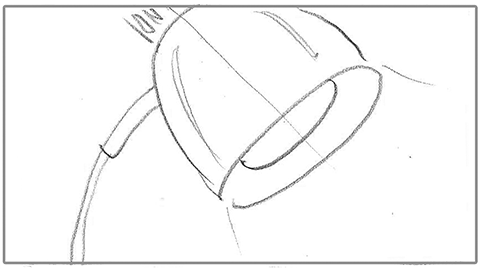
You do not have to be a great artist to create a storyboard. Stick figures (or blocks and a circle for a human head and torso) can also tell the story clearly, as long as the storyboard shows your major shots and other key scene information. Spending too much time drawing is a bad thing--it slows you down, meaning that you have less time to experiment with different shots and scene ideas.
How to draw a storyboard
Make sure everyone in your group knows your script well so that they can contribute to the storyboard.
Keep it simple
Keep your storyboard simple so that you can finish it and move on to the next part of your project. Stick to clear ideas and show them using simple shapes. Draw only what you need to: think of a stick figure for a person or a car drawn as a block with 2 circles for wheels. A storyboard is purely functional, it is not meant to be beautiful and admired.
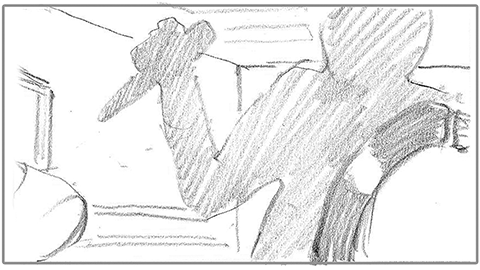
Start your storyboard with light pencil marks. Fill up the frame first with shape. Add detail later.
Once you are happy with how the shapes fit within the frame, then add more as needed. Otherwise, keep sketching until you have drawn what your group thinks is best. Don’t be afraid to keep trying until you have nailed the shot.
Often what looks good in your mind will look completely different on the page. This is the reason storyboards exist in the first place!
The most important thing to remember is that you are trying to show how the script will look inside the camera’s lens. When the storyboard looks solid, you can be confident that you will be able to shoot exactly what you intended.
For more detail regarding storyboards, check out the video below detailing how the movie Jurassic Park started as a storyboard.
By now we have visited storytelling, storyboarding and shot types.
The next step is to explore how they work together in building a film that is effective and emotionally pulling to capture the audience and the essence of the message to be conveyed.
Storyboards help prepare and visualise a film through images and are most effective in helping to create a story that identifies character dialogues and their actions within each scene.
However, it can be difficult to capture emotions and the overall camera shots that directors are wanting to create for each scene. This is why shot lists are extremely helpful. They help keep the scenes organised and detail the shot types and composition that will be used in each scene. They also help the director organise what actors need to be involved in each shot and to track location and any equipment that may be needed to execute the scene. By using both of these building blocks you can have your visual dream come alive when developing a film.
You will need to create a short storyboard and shot list.
It is recommended you refresh your memory and familiarise yourself with the different shot types learnt previously before you attempt this task.
Throughout this task, you will use a script from a movie to create a storyboard and shot list.
Click here to find a movie script of your choice. Once you have identified the movie you would like to use, select a scene from the script and complete the steps below in order to create a storyboard and shot list.
Remember: You are free to use any movie of your choice that reflects your interests, strengths and preference.
-
Read the scene script of your choosing, highlight 5 key shots that you feel are most important or stand out. These can be shots that you feel are important to the storyline.
Think of using a variety of shots that can work in creating different meanings and evoking various emotions. An example may include an extreme close-up shot to help the audience see the emotion in a character's eyes. -
Once you have picked your 5 shots, use CANVA (or your own template of choice) to create your own storyboard. Your storyboards do not have to be works of art--they just need to show the shot type and what you want in the shot. They can be simple black and white sketches with stick figure characters. To refresh your memory on what a storyboard may look like, consider the following example.
-
Once you have illustrated your storyboard panels, document your notes under each panel with a description of the action that is occurring and the shot type you are using.
-
Using this information, create a shot list to detail the shot types you have used. You can use the document provided, or feel free to use one of your own.
Once you have completed this, share it with your trainers and other students.
Have fun and let your creative juices flow!