It is important that students feel there is an active community within their online campus and as such we have created a range of tools to encourage both peer-to-peer engagement opportunities as well as lecturer to student tools. Within this topic you will learn about the following platform features:
- Platform messaging
- Subject forums
- Journal
At the end of this topic, you will undertake a number of Learning tasks that will allow you to practice using the features that you have learned about. Please ensure you take the time to complete these tasks.
In order to provide academic support to students, the eddy platform offers a message centre for the lecturers to communicate with the students, students to engage with their peers and also their lecturers. The below video provides an overview of the message centre and its functions.
Example Usage
A student seems to be struggling within the virtual classroom and as such may require additional support. In this instance, the lecturer may choose to message this student via the message centre.
Why not email?
While email communication works there are drawbacks. In the instance you require leave, any outstanding messages or contact is not transferable. In the instance ICHM needs to demonstrate support, messages in the message centre are readily available.
In addition to messaging students on an individual basis, there is also the ability to send messages to all or multiple students at a time.
Messaging all or multiple students
You are able to message more than one student at a time outside of the message centre by following the steps below. Despite these messages being sent as a group, they will appear as a 1-to-1 message within their message centre. For additional information about creating group Chats, please see 'Creating student groups' below.
Take the following steps to message, multiple students, at a time:
- Step 1: Select 'Enrolled Users' from your profile menu
- Step 2:
- Message All: Use the filter at the top of the screen to filter to the group you want to message (e.g Role: Student) then click on 'Select All'
- Message Some: Manually select the students by clicking on the box
- Step3: Open the drop-down menu 'With selected users' and choose 'Send a message'
- Step 4: Type your message into the text box and click on the 'Send message to X people' button
- Important to note - you can click and drag on the bottom right corner of the textbook to increase its size
Example Usage
A group of students did not attend a virtual class where important information was shared and you want to send them this information.
Should you need to message students on a regular basis, it is recommended to use the message centre 'Group Messages' function.
Creating student groups
Students will automatically be assigned to groups based on their intake and this will inform what they see on the platform (forum posts and assessment deadlines). It is possible for students to be allocated to more than 1 group at a time and this will enable the group messaging function within the message centre of the platform.
Take the following steps to create groups:
- Step 1: Select 'Enrolled Users' from your profile menu
- Step 2: Click on cog at the top right of the page and select 'Groups' from the drop down
- Step 3: Click on the 'Create group' button
- Step 4: Enter the name of the group in the 'Group name' field, add details about the group in the text box and change 'Group messaging' from 'No' to 'Yes' then click on the 'Save changes' button
- Important Note - Leave the following fields blank 'Group ID number' and 'Enrolment key'.
- Additional Information - You can also add a profile picture for the group
- Step 5: Click on the 'Add/remove users' button
- Step 6: Choose the students you would like to add to the group and click on the 'Add' button
- Important Note - Use the search function if there are too many students in the list
- Step 7: When all students are listed as members click on 'Back to groups'
- Step 8: When you return to the learning screen, open the message centre to see the groups listed under 'Group Messages'
- Step 9: Type the message you would like to send to all group members and click on the plane icon
- Additional Information - You can expand the text box by clicking and dragging the bottom right corner
- Step 10: This function creates a group chat and replies will be seen by all members
Example Usage
You would like to set up a quick and convenient way to message all students in your virtual class.

For ICHM Online, each subject contains the following forums:
- Subject Forums - These have been developed for Learning Activities prescribed within each subject
- Assessment Q&A - These have been developed for students and facilitators to discuss questions relating to each assessment within a given subject
- Assessment Forum - Only appears where an assessment within a subject requires forum based activities
The following videos outline the different features of each Subject.
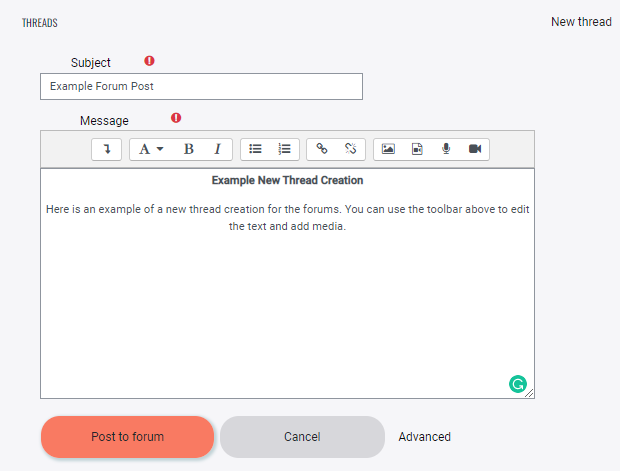
Create a new thread
To create a new thread, follow the steps below:
- Step 1: Click on the forum in the navigation bar where you would like to create a new post
- Step 2: Click on 'New thread' on the top right of the screen
- Step 3: Enter the name of the thread into the Subject box
- Step 4: Type your post into the text box (use the toolbar to adjust the text)
- Step 5: Click on the 'Post to forum' button
Embedding media in threads
By using the toolbar you are able to utilise different media types within each post:
- Write journal entries and format text using the text editor icons in the toolbar.
- Click on the down arrow button to access more editing features such as:
- Underline
- Calculations
- Alignment
- HTML and more

- Upload a document by using the drag and drop feature in the file upload tool (located below the text box).
![]()
- Upload an image by selecting the image icon on the toolbar and using the file picker tool
- Upload or embed a video by using the video file icon on the toolbar, linking the URL of the video, or uploading a file
- Record audio entries directly from the toolbar by selecting the microphone icon on the toolbar, then clicking on 'start recording'
- Record video entries directly from the toolbar by selecting the camera icon, then click on 'start recording'
- Embed streaming videos into the Journal by clicking on the down arrow button and then choosing the parenthesis button. This will open the HTML code, copy the embed code from the video streaming site such as youtube and paste this into the HTML. Click on the parenthesis button again to return to the normal editor, at this point you will see the video appearing in the entry

Example Usage
You would like to set up a thread for students to collaborate freely or to share industry-relevant information
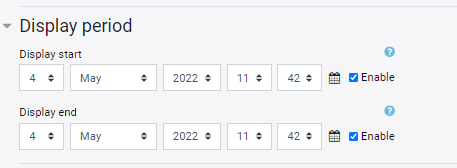
Scheduling a post
To create a scheduled post simply follow Steps 1 to X of 'Create a new post' followed by the following:
- Step 1: At the bottom of the text box click on 'Advanced'
- Step 2: Click on the 'Enable' box next to 'Display Start' if you would like to schedule the post to appear in the future, then adjust the date and time for it to appear (this will configure based on the users timezone)
- Step 3: Click on the 'Enable' box next to 'Display End' if you would like to schedule the post to disappear in the future, then adjust the date and time for it to appear (this will configure based on the users timezone)
Example Usage
You would like to prepare engagement activities for the entire trimester in advance.
Replies
By clicking on the relevant thread you are able to see all replies relevant to the original post.
You can like replies to a post by clicking on the heart and can also reply directly by clicking on 'Reply'
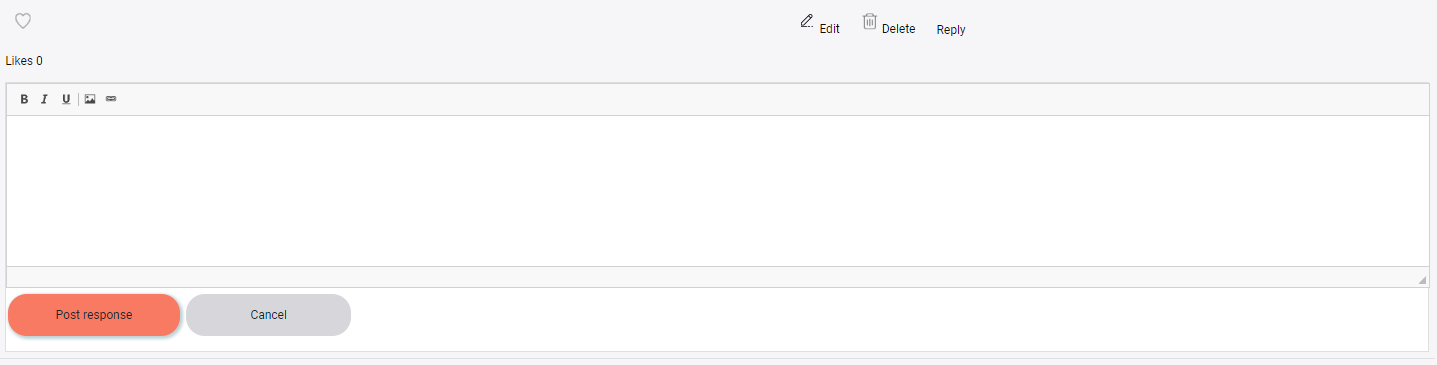
Moderating posts
In the instance that there are particular comments that are not suitable for the student discussion it is possible to either Delete or Edit the student post by clicking on 'Delete' or 'Edit'.
It is important to refer to the ICHM policies and procedures regarding the expectations of deleting student comments.
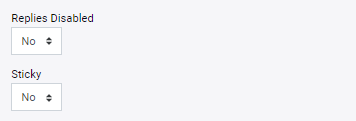
Edit
By clicking the 'Edit' button against a student's post you can make amendments to the author's post (this will show that it was edited by you and when).
You are also able to stop additional comments by selecting 'Yes' from the 'Replies Disabled' dropdown.
Example Usage
Students are arguing within a thread and breaching online netiquette guidelines and you wish to stop the discussion.
Ordering threads
You are able to choose the order in which Threads appear within a forum. Next to each thread, appears the following [Order: 1]. The number next to each thread indicates in which order it will be displayed (the lowest number will always appear at the top of the list). If all threads contain a 0 next to the order it means no order has been applied to this thread.
Take the following steps to order (or change the order) of the threads:
- Step 1: Click on [Order]
- Step 2: Type the corresponding number with the order in which you would like this thread to sit (lowest always appears at the top)
- Step3: Click on OK
- Step 4: Click on OK
- Step 5: Refresh the page
- Important to note - you can order as many threads as you wish prior to refreshing
Creating new subject forums
In addition to creating new threads within an existing subject forum, there is also the ability to create new subject forums. It is important to note however that you should refer to your provider's guidelines in relation to creating new forums. If encouraged, the follow the steps outlined below to create a new subject forum:
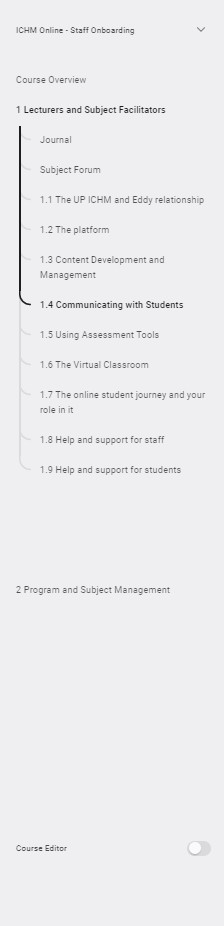
- Step 1 - Click on the 'Course Editor' toggle at the bottom of the navigation bar
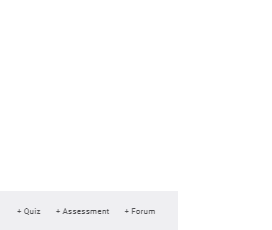
- Step 2: Click on '+ Forum' at the bottom of the relevant subject
- Step 3: Enter the name of the forum into the 'Forum Name' field
- Important note: to have the Forum Name appear in the navigation select the 'Use Name field as the navigation label' (if this is not completed the navigation will simply read as Forum)
- Important note: there are also a number of configuration setting that can be selected
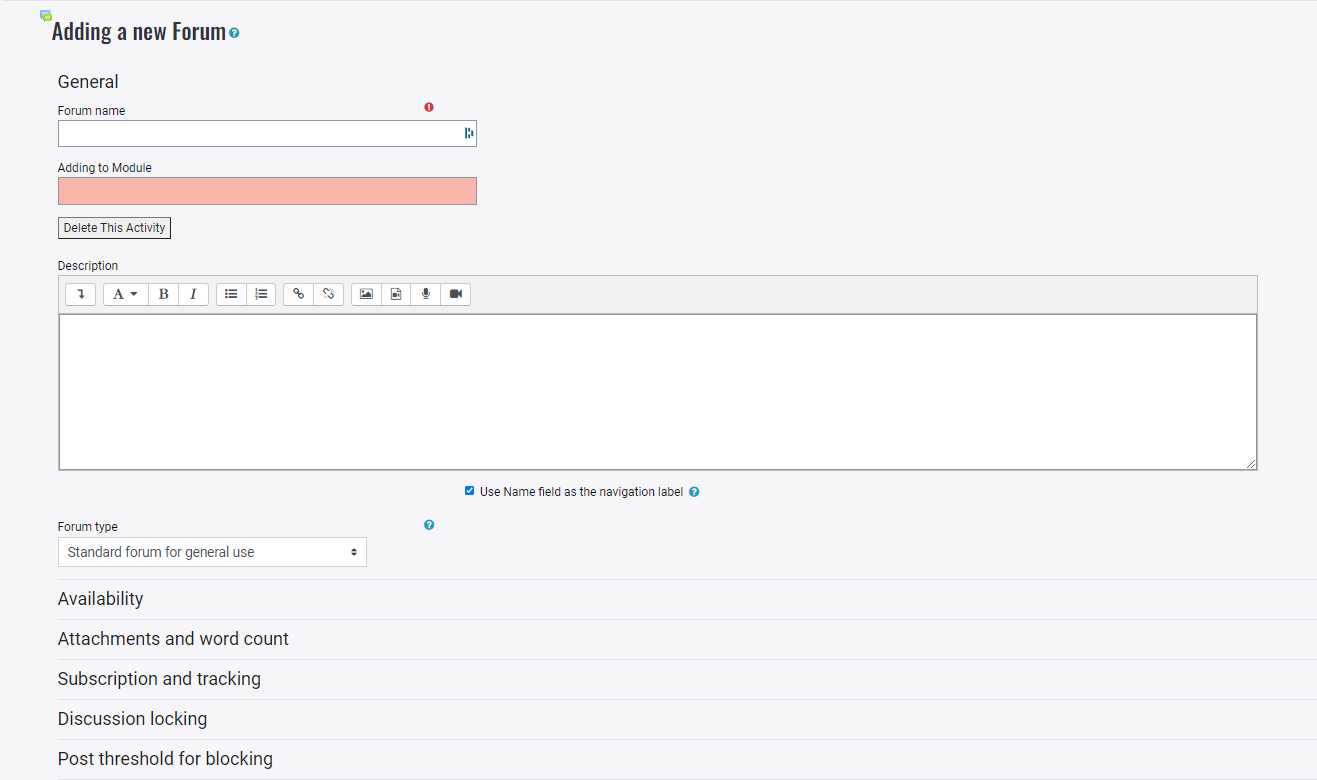
- Step 4: Click on the 'Save and display' button at the bottom of the page

- Step 5: Click on 'Create new thread' to create your first post'
- Important note - review 'Create a new thread' and 'Ordering threads' once you have created a new forum
Example Usage
You would like to create a location to share indsutry based Q&A or supplementary resources without needing to disrupt the existing forums.

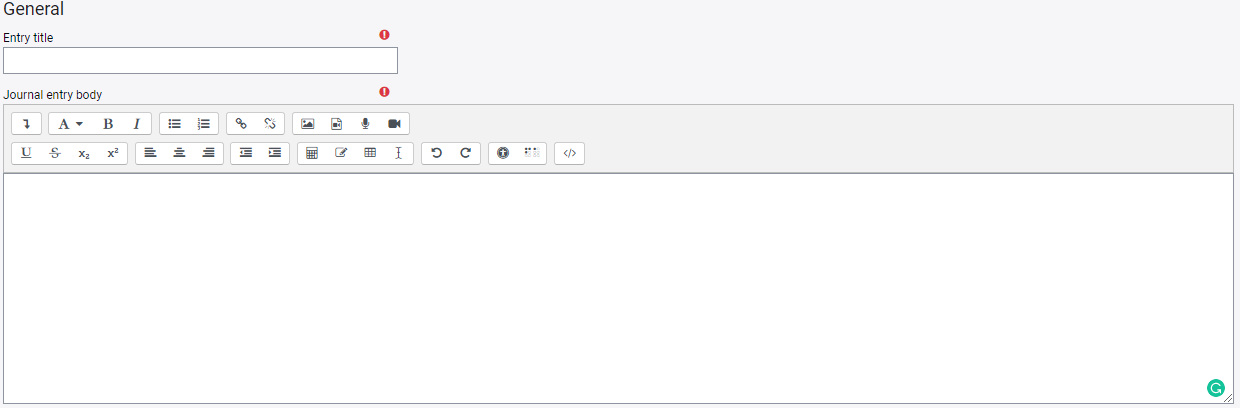
As part of their learning journey, students will have access to a Journal for each subject throughout their enrolment. Within the content, and in some cases assessment, students will be directed to reflect on their learning by completing Journal entries.
Students can journal about their subject in different ways:
- Write journal entries and format text using the text editor icons in the toolbar.
- Click on the down arrow button to access more editing features such as:
- Underline
- Calculations
- Alignment
- HTML and more
- Upload a document by using the drag and drop feature in the file upload tool (located below the text box).
![]()
- Upload an image by selecting the image icon on the toolbar and using the file picker tool
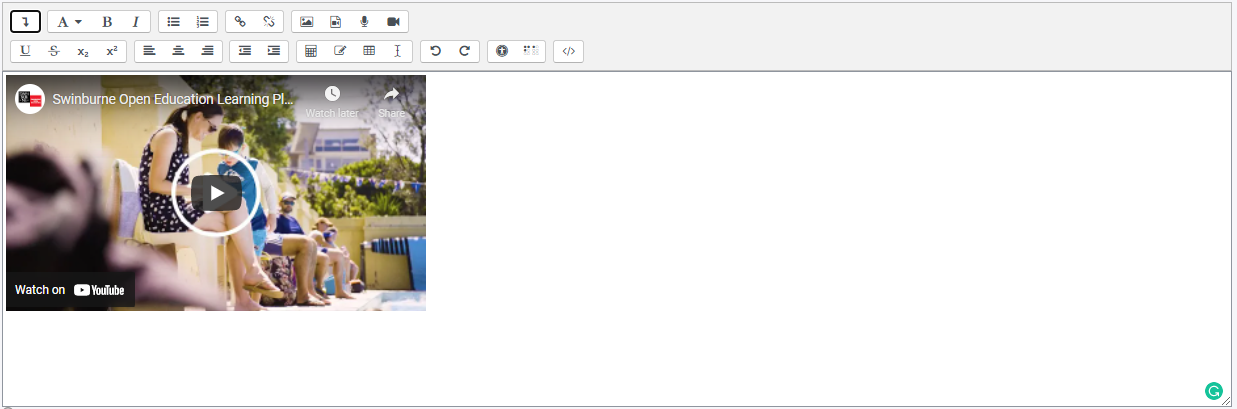
- Upload or embed a video by using the video file icon on the toolbar, linking the URL of the video, or uploading a file
- Record audio entries directly from the toolbar by selecting the microphone icon on the toolbar, then clicking on 'start recording'
- Record video entries directly from the toolbar by selecting the camera icon, then click on 'start recording'
- Embed streaming videos into the Journal by clicking on the down arrow button and then choosing the parenthesis button. This will open the HTML code, copy the embed code from the video streaming site such as youtube and paste this into the HTML. Click on the parenthesis button again to return to the normal editor, at this point you will see the video appearing in the entry
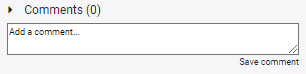
- Comment on other people's entries that have been shared with you by selecting 'comment' below their post.
- Insert a link to a website or URL address by choosing the chain icon on the toolbar and pasting the URL.
To journal, access the Journal located in the navigation bar under each subject, click on the 'Journal about this Course' located on the top right of the page. Please note when creating the entry there are two options to choose from in the drop-down menu under 'Publish to'.
- 'Yourself (draft)' - only visible between the author and lecturer
- 'All course users' - visible to all students and staff members in the subject
To publish click on the 'Save changes' button located at the bottom of the page.
Welcome to your learning tasks for this topic. Please ensure you complete these prior to moving on to your next topic.
Click on each of the following headings to read more about what is required for each of your learning tasks.

Hello there, we would love to know a bit more about you! Complete the following actions to introduce yourself in this subjects forum:
- Navigate to the relevant thread using the navigation bar
- Navigate to the relevant thread using the following in-content link
- In the relevant thread, post a response introducing yourself
- Find a post from a peer and reply to their post
Within this course, find the peer you replied to in Learning Activity 4 and perform the following steps:
- Search for and find the person using the search function in the message centre
- Send the person a message in the message centre
- Add the person to your favourites
Navigate to the Journal and create your first post
- List the features you need to remember
- Try adding media to your Journal
- Post your Journal to all users
- Click on the Permalink option
- Copy the unique URL created and post it to the relevant thread within the subject forum
- Find the post of the person you connected with in Learning Activity 5 and comment on their Journal entry
In the Sandpit - Bachelor of Business undertake the following activities
- Navigate the subject you will be teaching within the Bachelor of Business
- Create a forum within your subject
- Create new threads within your forum
- Schedule a thread to appear in the future
- Post a reply to a post in one of your peers forums.
- Moderate a post that a peer has posted within your forum (lock this from future posts)
In the Sandpit - Bachelor of Business undertake the following activities
- Navigate the subject you will be teaching within the Bachelor of Business
- Create a group named by the subject you are teaching (don't forget to include yourself)
- Send a message to the group using the message centre