Adobe InDesign is an industry standard layout and print production software, that can also be used for a range of digital outputs.
With its tight integration with the rest of Adobe Creative Cloud apps, Adobe InDesign is often central to an efficient design production workflow.
In the following videos, you will learn how to start using Adobe InDesign and explore many of the amazing features that make document production a breeze.
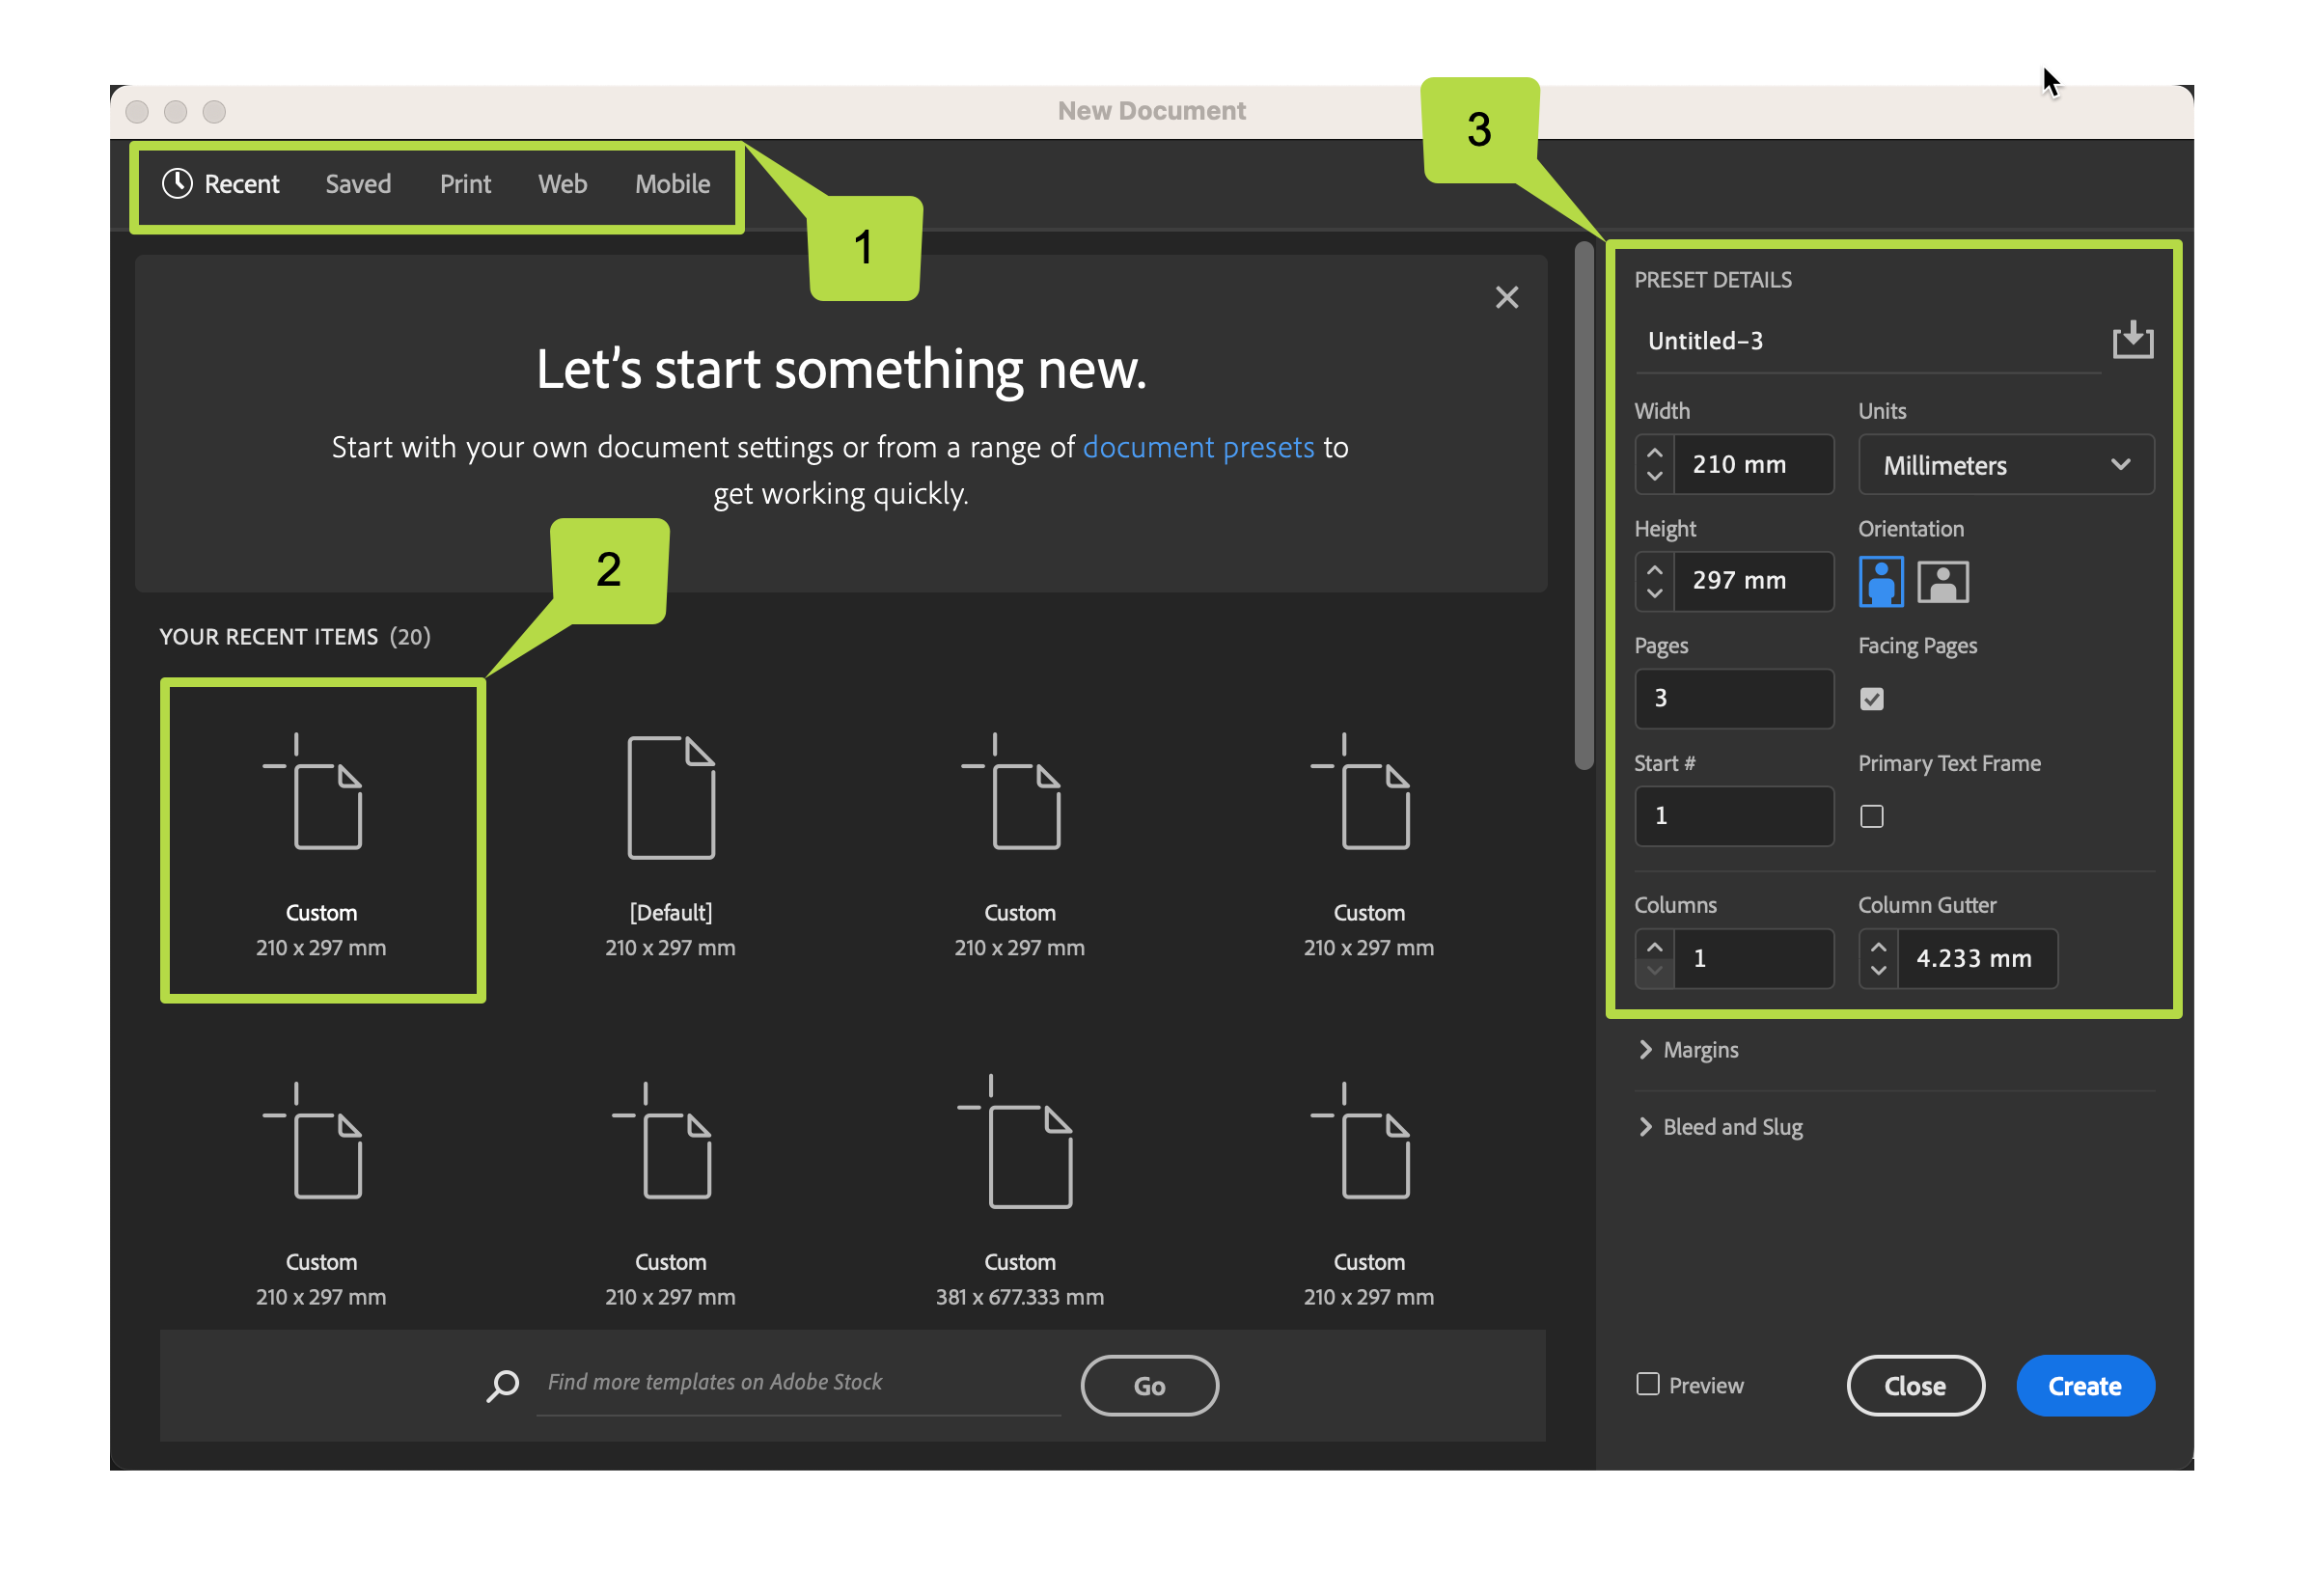
- Select a category at the top. These categories start you off in the right place by setting up some parameters for your project like the best colour mode and units. Consider your project before choosing a category. For example, choose Print if you’re designing a business card, brochure, or poster, and choose Web if you’re creating a document that will only be viewed online.
- Once you select a category, you’ll find presets for commonly used document types. A preset is a starting point that creates a blank document using predefined dimensions and settings. For example, after selecting Print, you can click the A4 preset to start your design at that size. If you don’t see the entire set of presets, click View All Presets to see more options.
- Whether or not you start with a preset, you can customise your document in many ways by typing in the exact dimensions, changing the units, page orientation, and much more. Don’t worry about getting it right at this stage as you can always edit the settings after the document is created. Specify the number of pages and select Facing Pages to create a double-page spread layout used in magazines and books. Indicate the number of columns on your pages and the gutter size (the space between columns and/or rows).
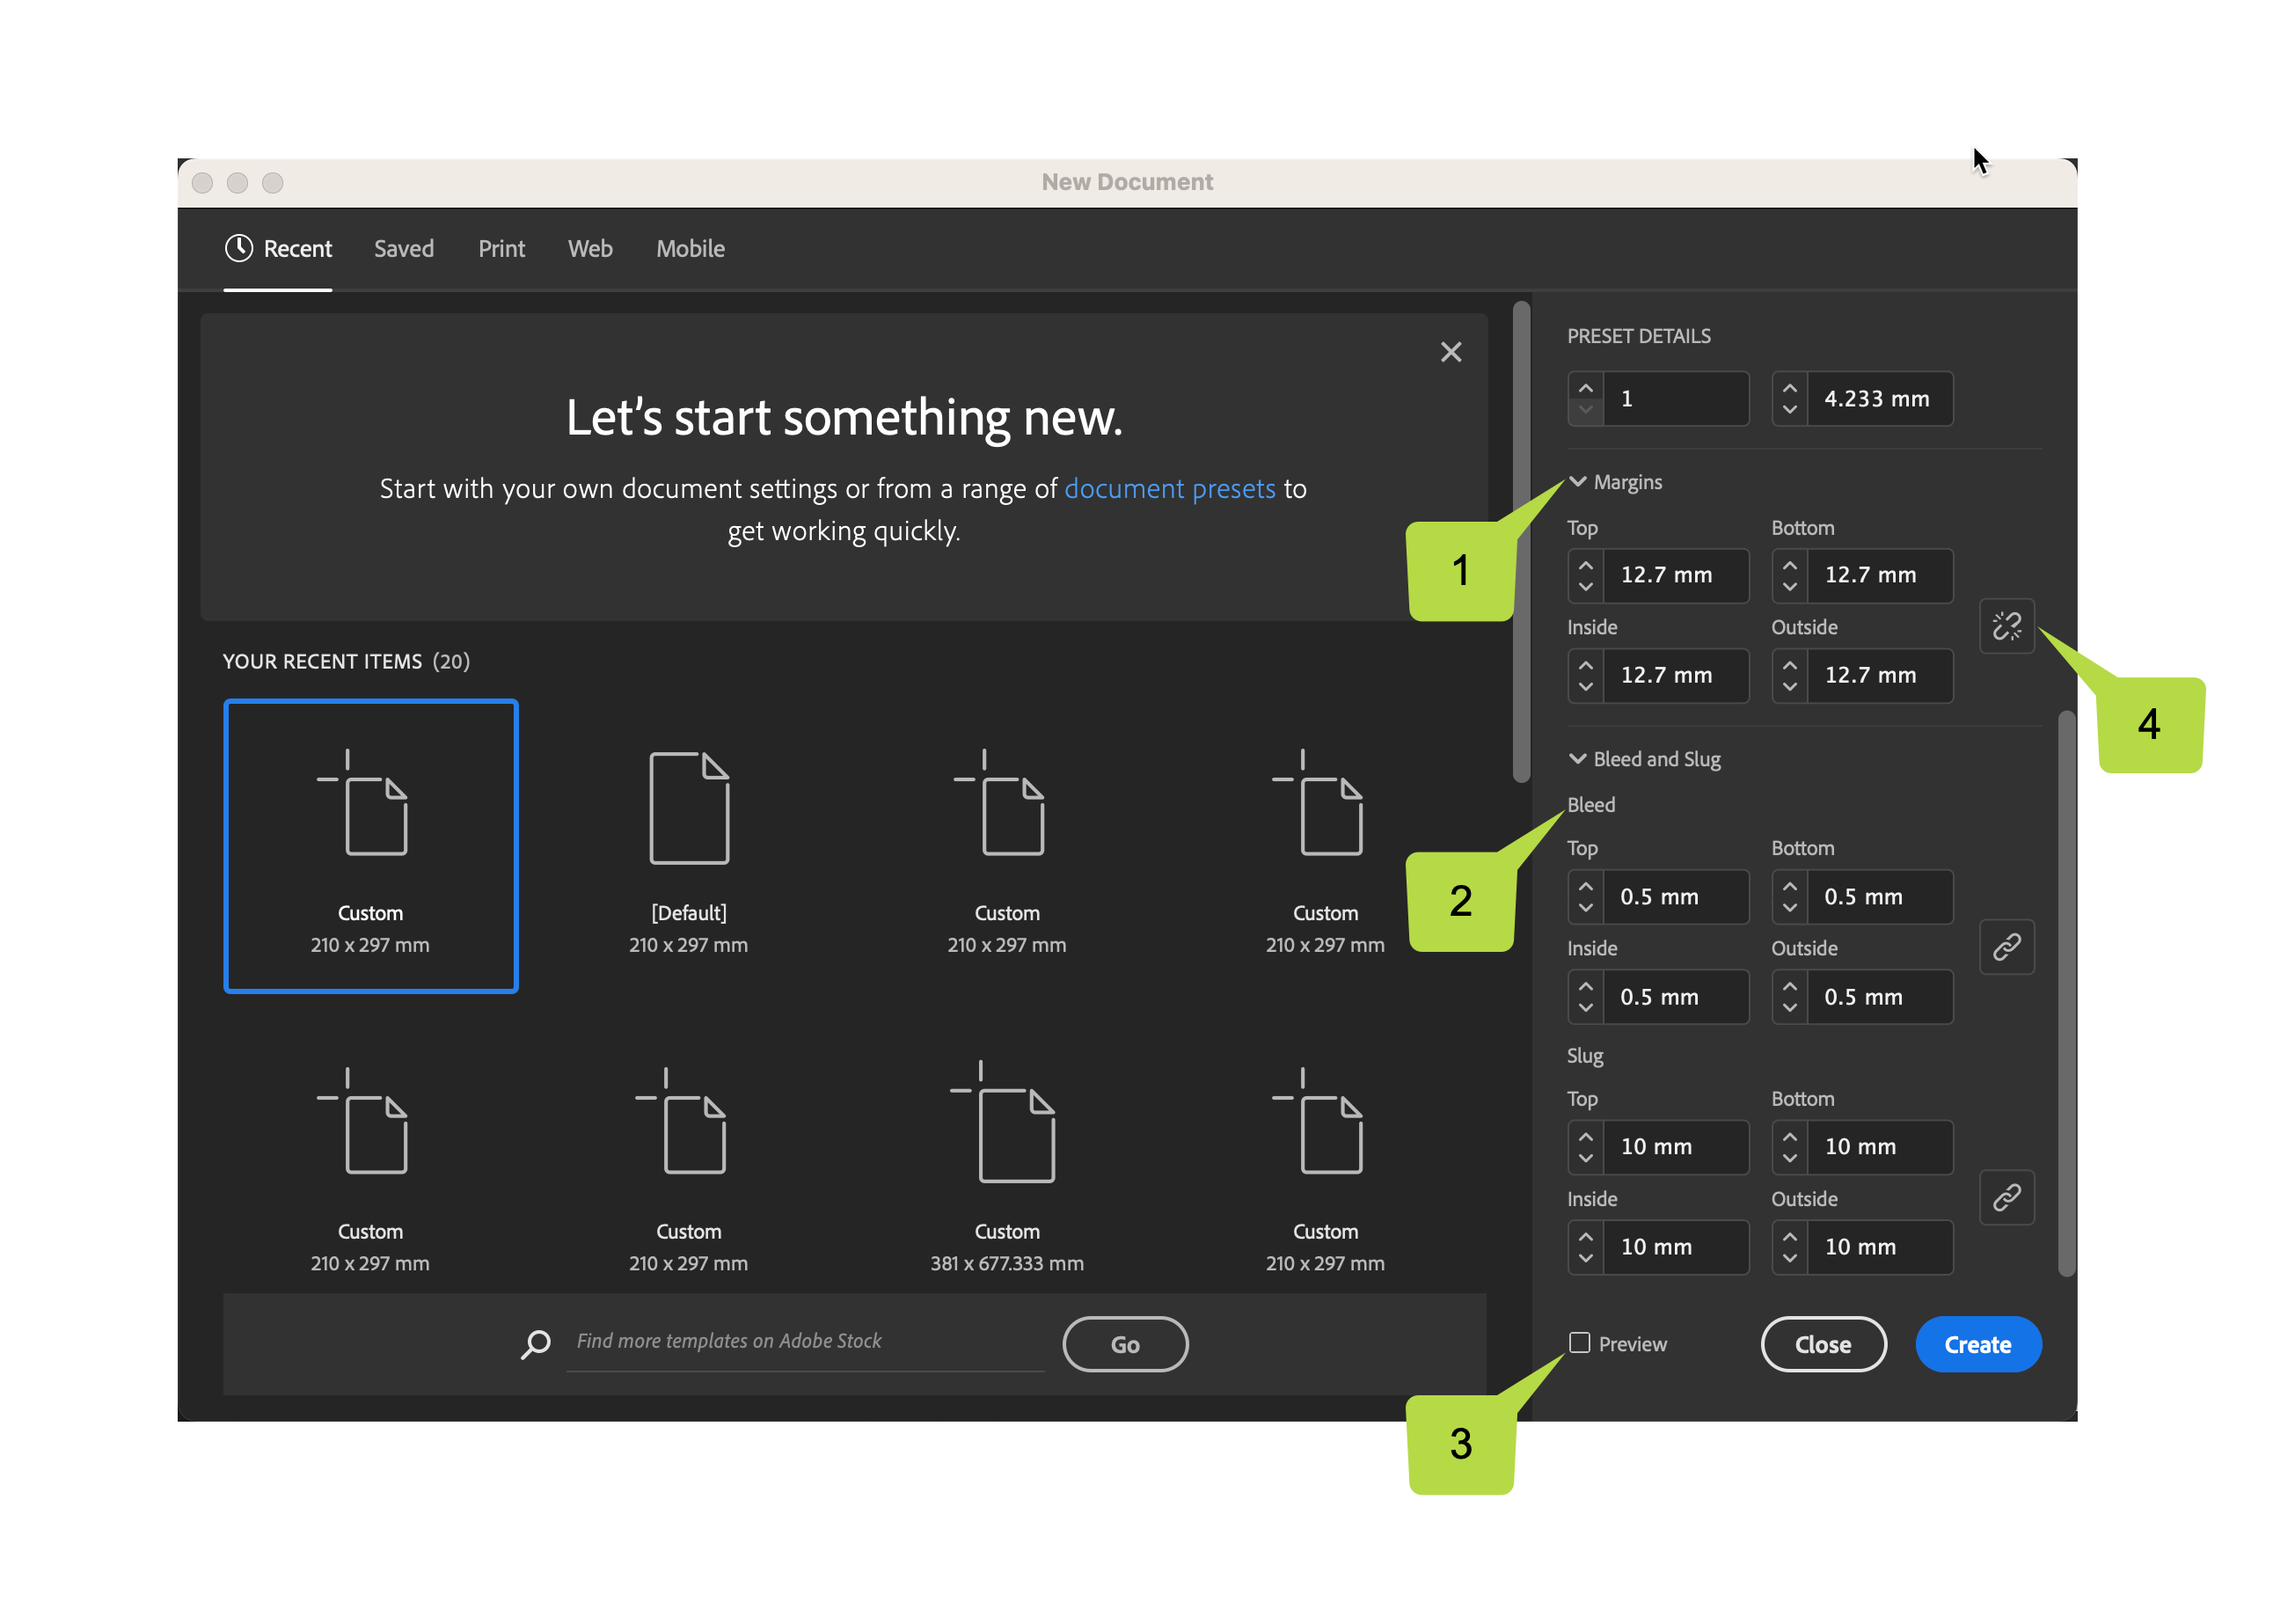
- Margins: Choose margins for each side of the document. To use different values for different sides, delink the dimensions by clicking the chain icon.
- Bleed and Slug: Choose the position of the bleed and slug along each side of the document. To use different values for different sides, delink the dimensions by clicking the chain icon.
- Preview: Select this option to preview the orientation and size of a document before creating a new file.
- Chain Icon: Click to link or delink the dimensions.
Shape and type tools: curved corners, anchor to type
 The Yellow Square on a frame allows you to round the edges of a shape or image.
The Blue Square allows you to lock an image to the placement of text.
 Click the yellow square, hold down that click while holding shift on the keyboard, this will activate only one corner. Finally, click and drag.
 Click the yellow square, hold down that click and drag out all four corners at once.
 Click the blue square, hold down that click and drag your cursor into a text box and release, this will anchor a shape or image to a text box. When you move the text box the shape or image will move with it. However, when you move the shape or image the text box won't move.
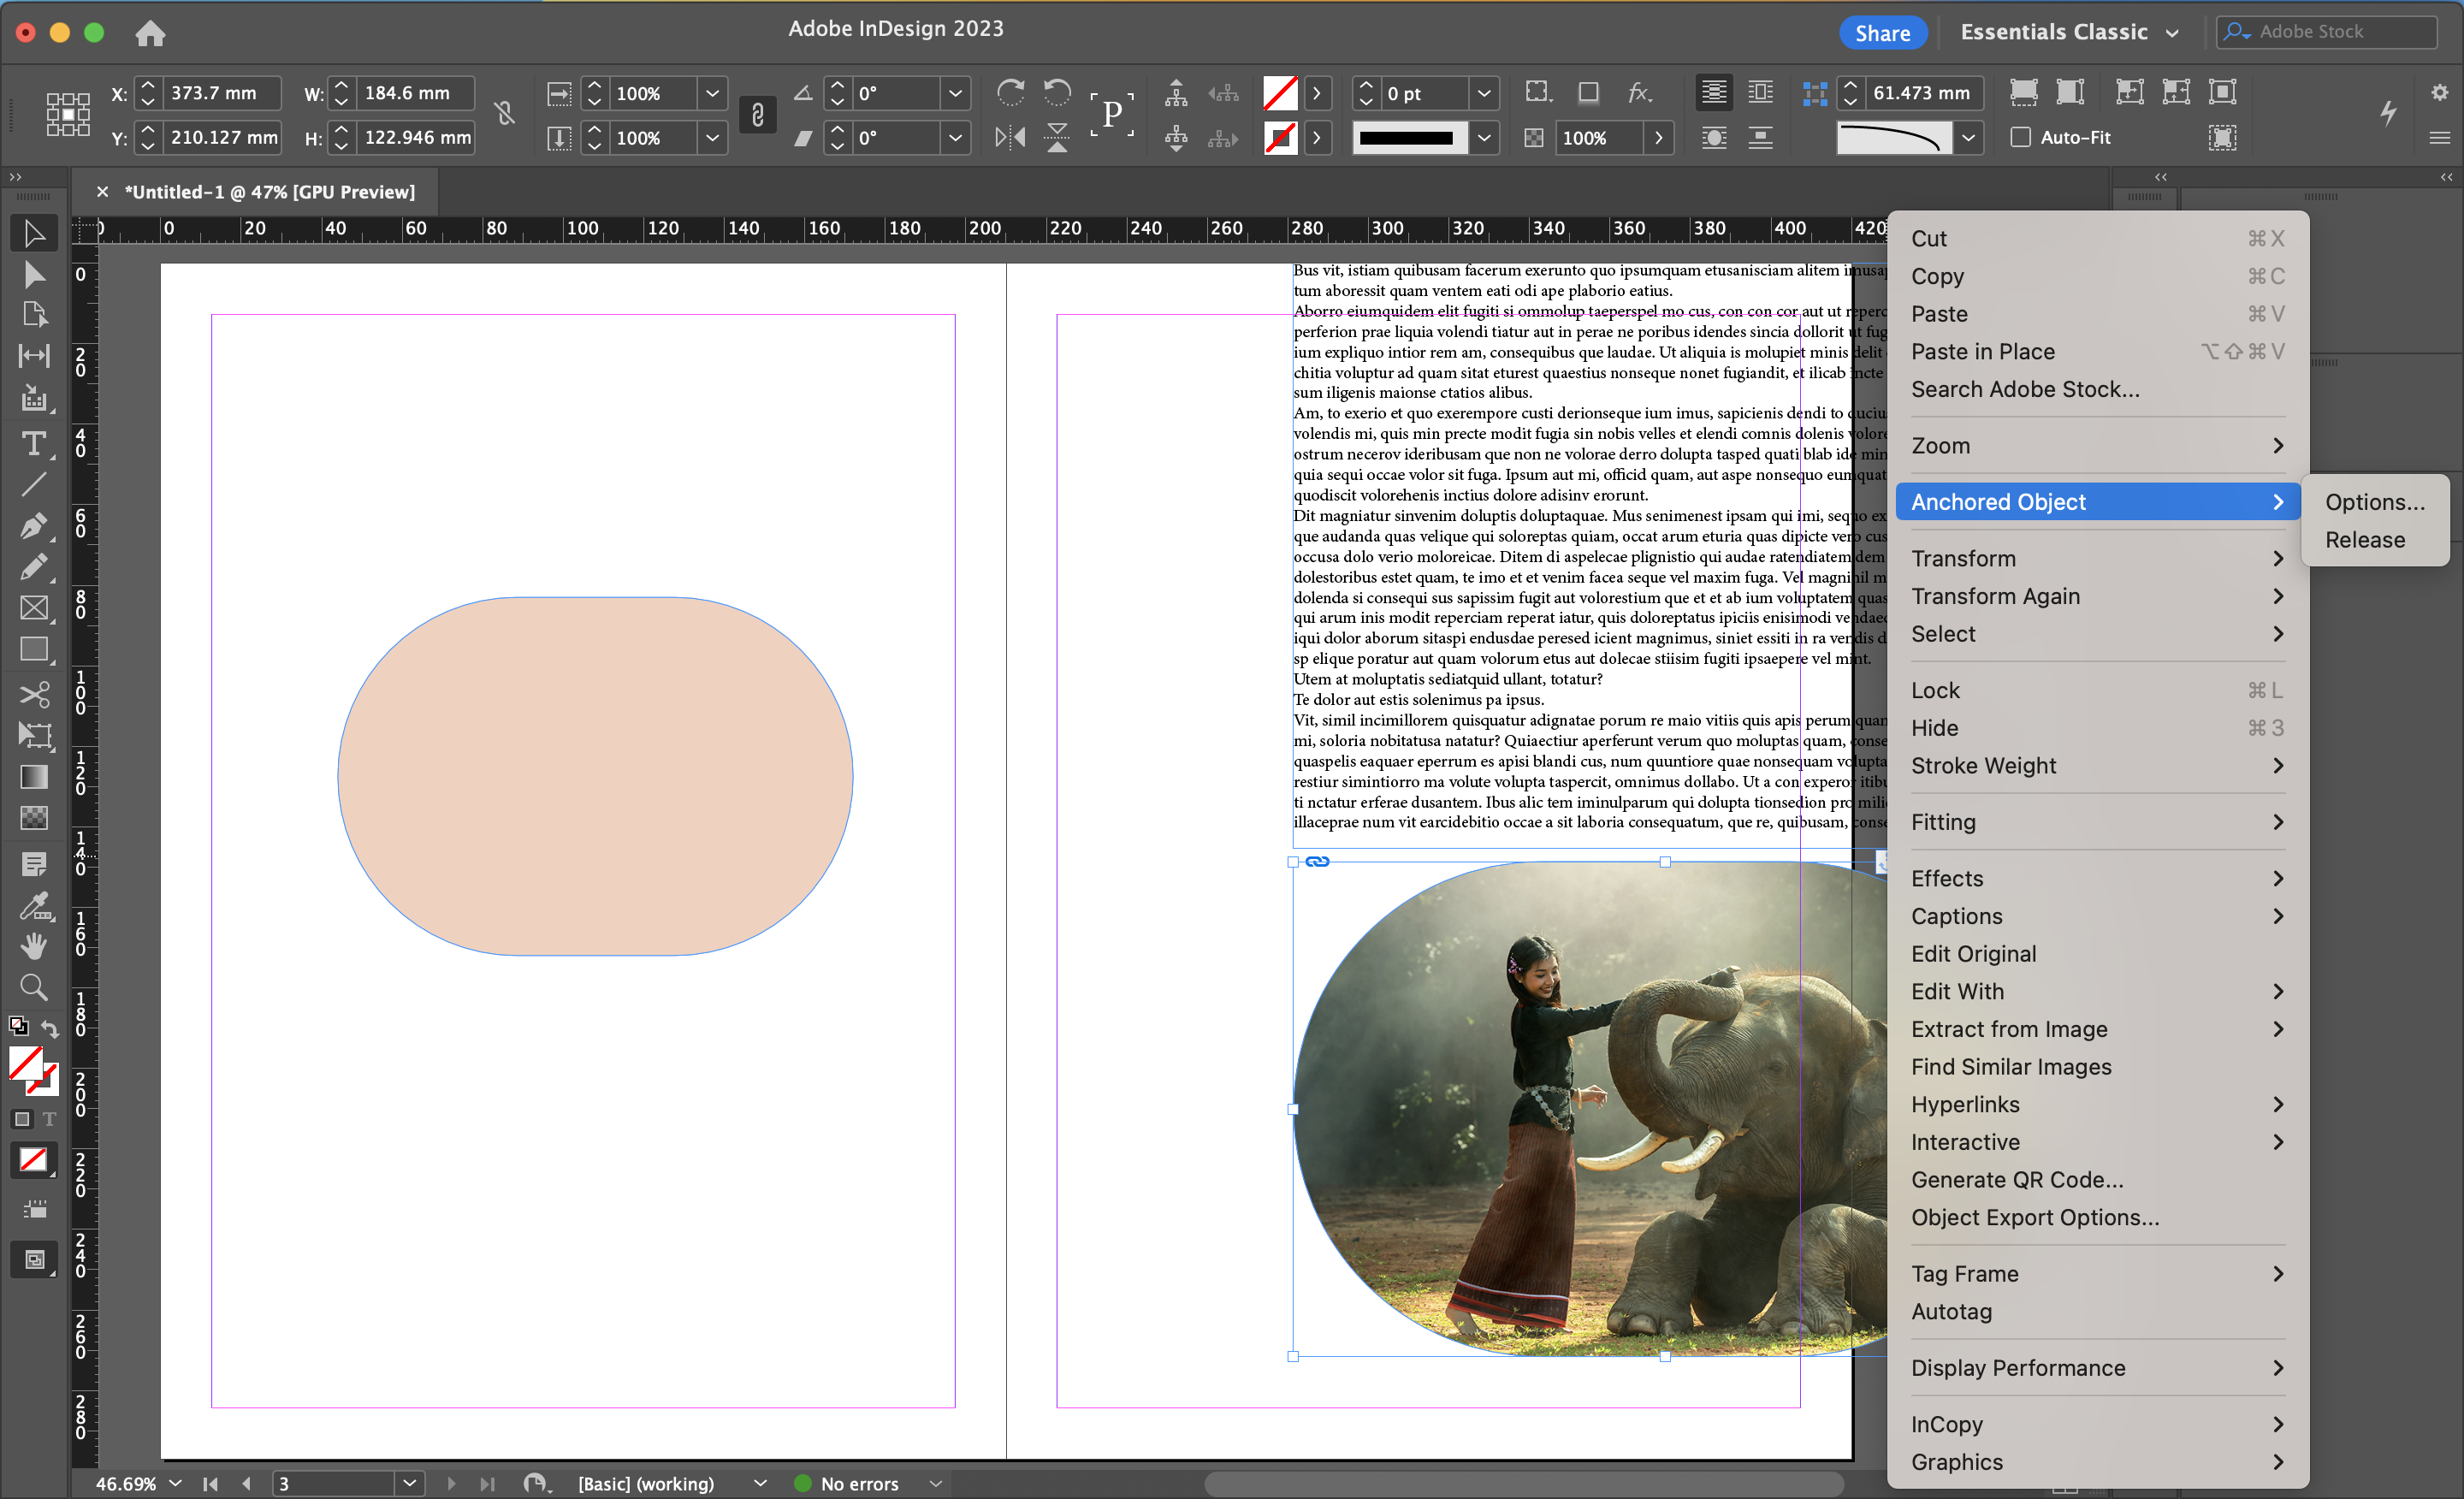
Right click and choose Anchored Object - Release to remove an anchor from a shape or image.
Magazine Activity
Your brief is to plan, design and produce a front cover and an editorial double page spread for a fictitious magazine etc. Imagine you are intending to launch this magazine onto the existing market.
Think about these questions:
- What is the subject matter of your magazine? Music, art, photography, tourism, politics, health, food, sports, environmental issues, etc?
- Who is the target audience? Male / female / both? Age group? Income bracket, etc?
- What will your magazine be titled?
- What will the masthead (title on cover) look like: font / size / colour / alignment etc?
- What is the physical page size of your magazine?
- What kind of grid structure will it have: number of columns, size of margins, gutter widths, placement of folio lines (name / date / page number etc)?
- What image will feature on the cover? What article will you have in your spread?
- What is the point of difference between your magazine and existing ones in a similar market?
- How can you present your article in a really interesting or exciting way?
- What is your article trying to say?
The design process:
- Decide on your subject matter / target market etc as above.
- Look at examples of as many magazines as possible – particularly ones in the same market as you are proposing – for inspiration.
- Write a brief which explains your rationale for the look / style of the magazine you are proposing, within its intended marketplace.
- Draw up a timeline to pace yourself through to the deadline – and stick to it!
- Draw some alternative layouts in visual diary as thumbnail sketches – at least three each for the cover and DPS.
- Refine your chosen cover and DPS with more accuracy – indicating where elements such as images / heading / pull quotes etc will be placed.
- Consider margins and gutter widths in relation to your page size – drawing up a full size pencil grid is recommended at this stage.
- Create the InDesign file reflecting the grid / margins / gutters decided above.
Make sure your front cover:
- Has a strong image, a memorable name and masthead design.
- Has at least one coverline (short pieces of text advertising stories inside the
- publication) for your own DPS layout, plus other coverlines (invented) if desired.
Make sure your double page spread:
- Incorporates at least three graphics / images.
- Properly reference any non-original text and images (include reference in the forum).
- Uses typographical conventions, such as leading, tracking, kerning, paragraph spacing, font size, typeface, etc.
- Contains the following layout elements: a heading, at least one sub heading, at least one caption, a pull quote and page numbers – all of which have paragraph styles applied.
- Has page numbers and any other repeating items placed on the parent pages.
- Follows layout design conventions, such as contrast, repetition, alignment and proximity.
Make sure both Layouts - the cover & double page spread:
- Are laid out in InDesign, with the images correctly placed from Photoshop (raster) and / or Illustrator (vector).
- Include and use a 3mm - 5mm bleed allowance.
- Have all images at an acceptable technical quality (not pixelated) – minimum 300ppi at printing size, which can be checked in the links panel.
- Has been spell-checked.
Upload your project document to the Assessment page for feedback!
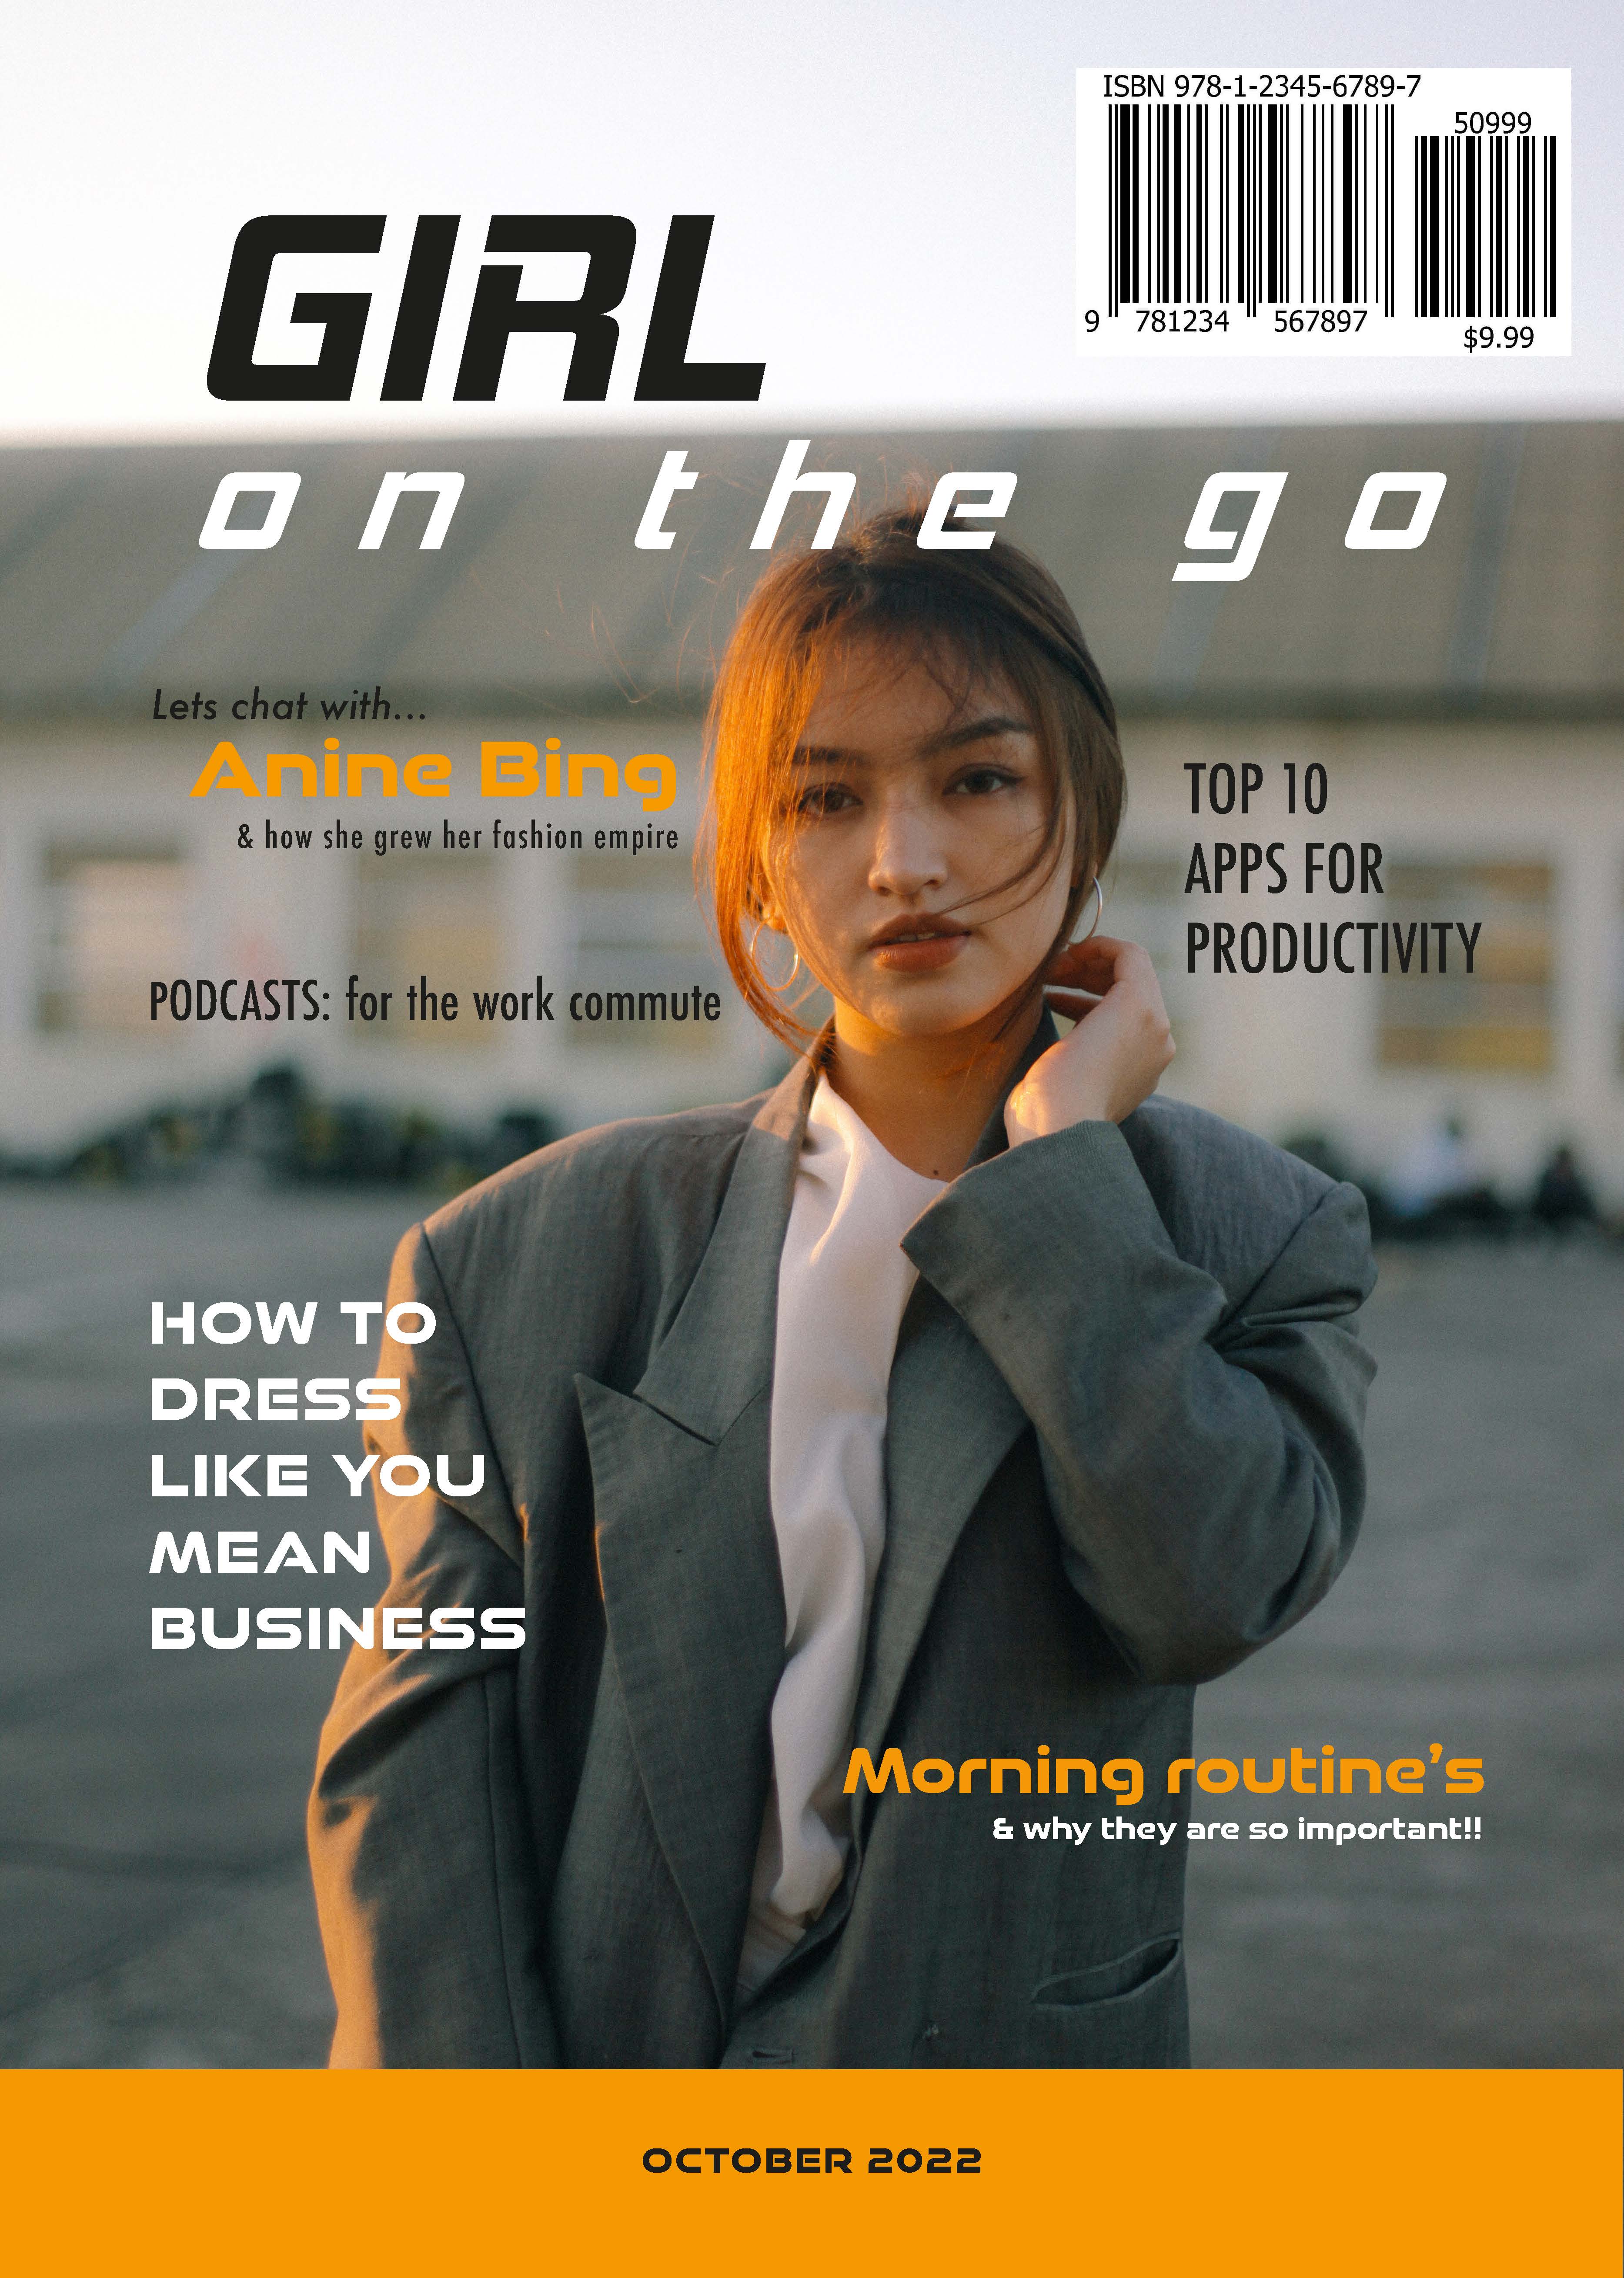
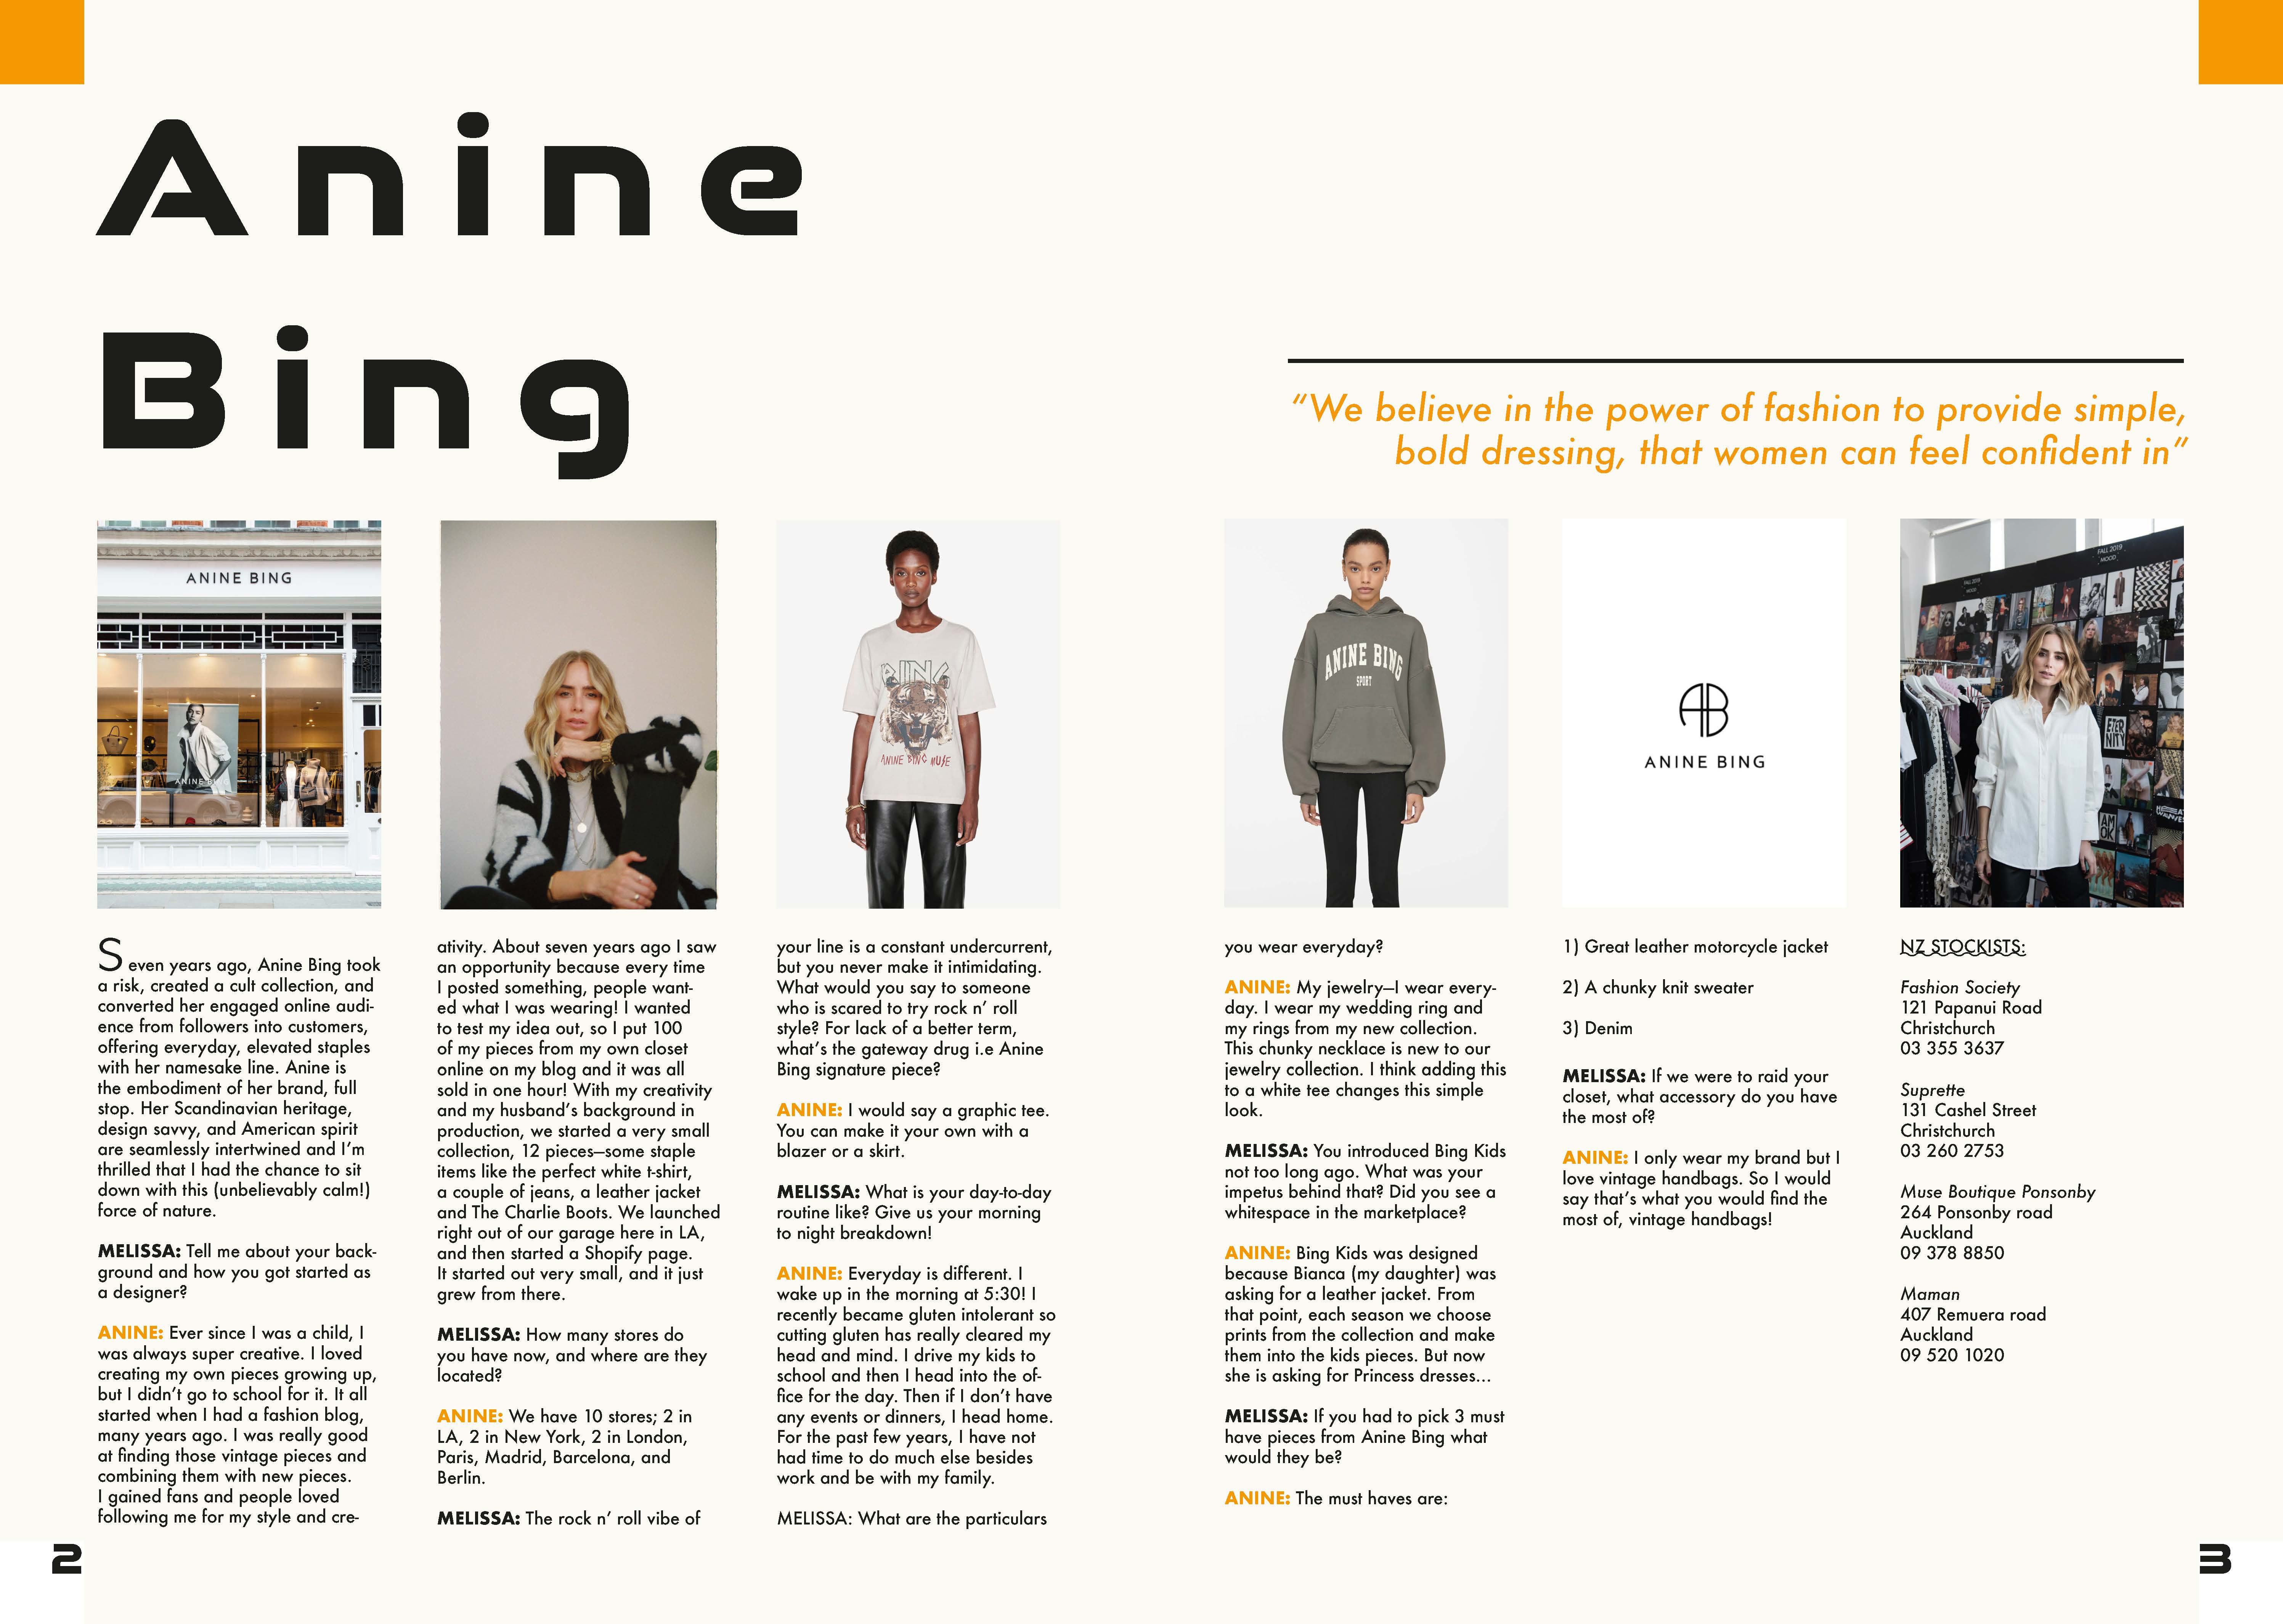
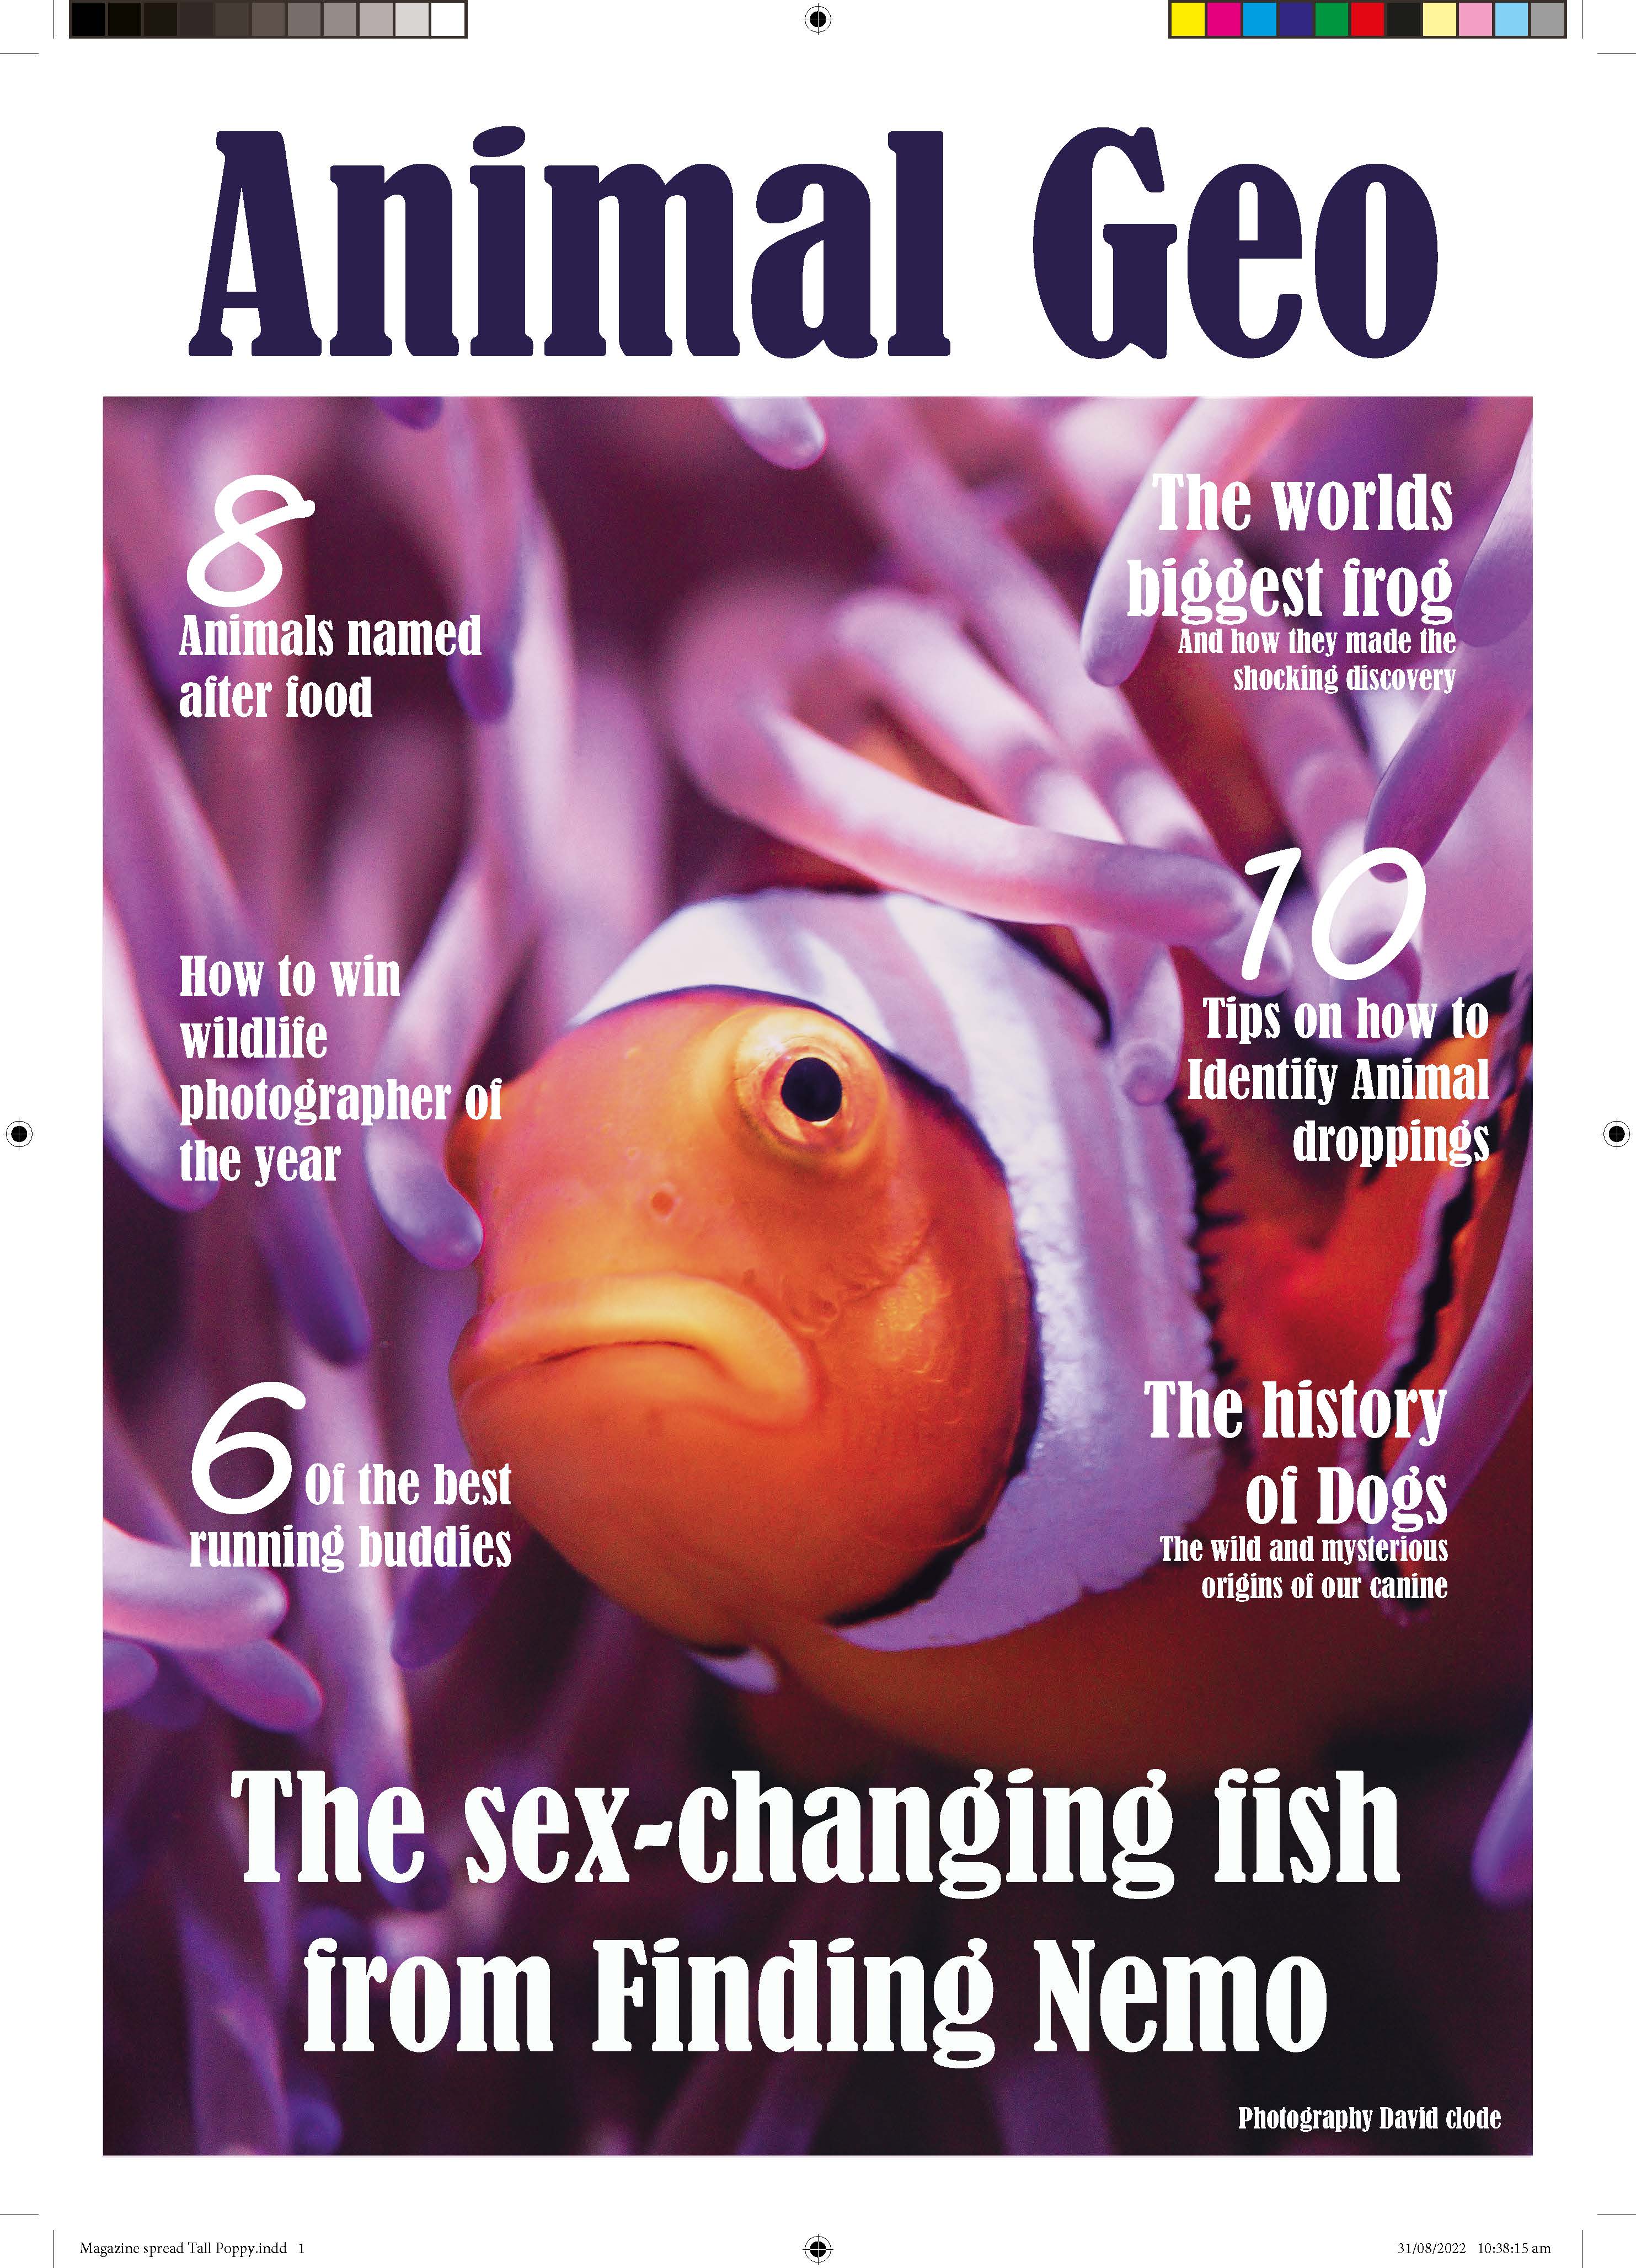
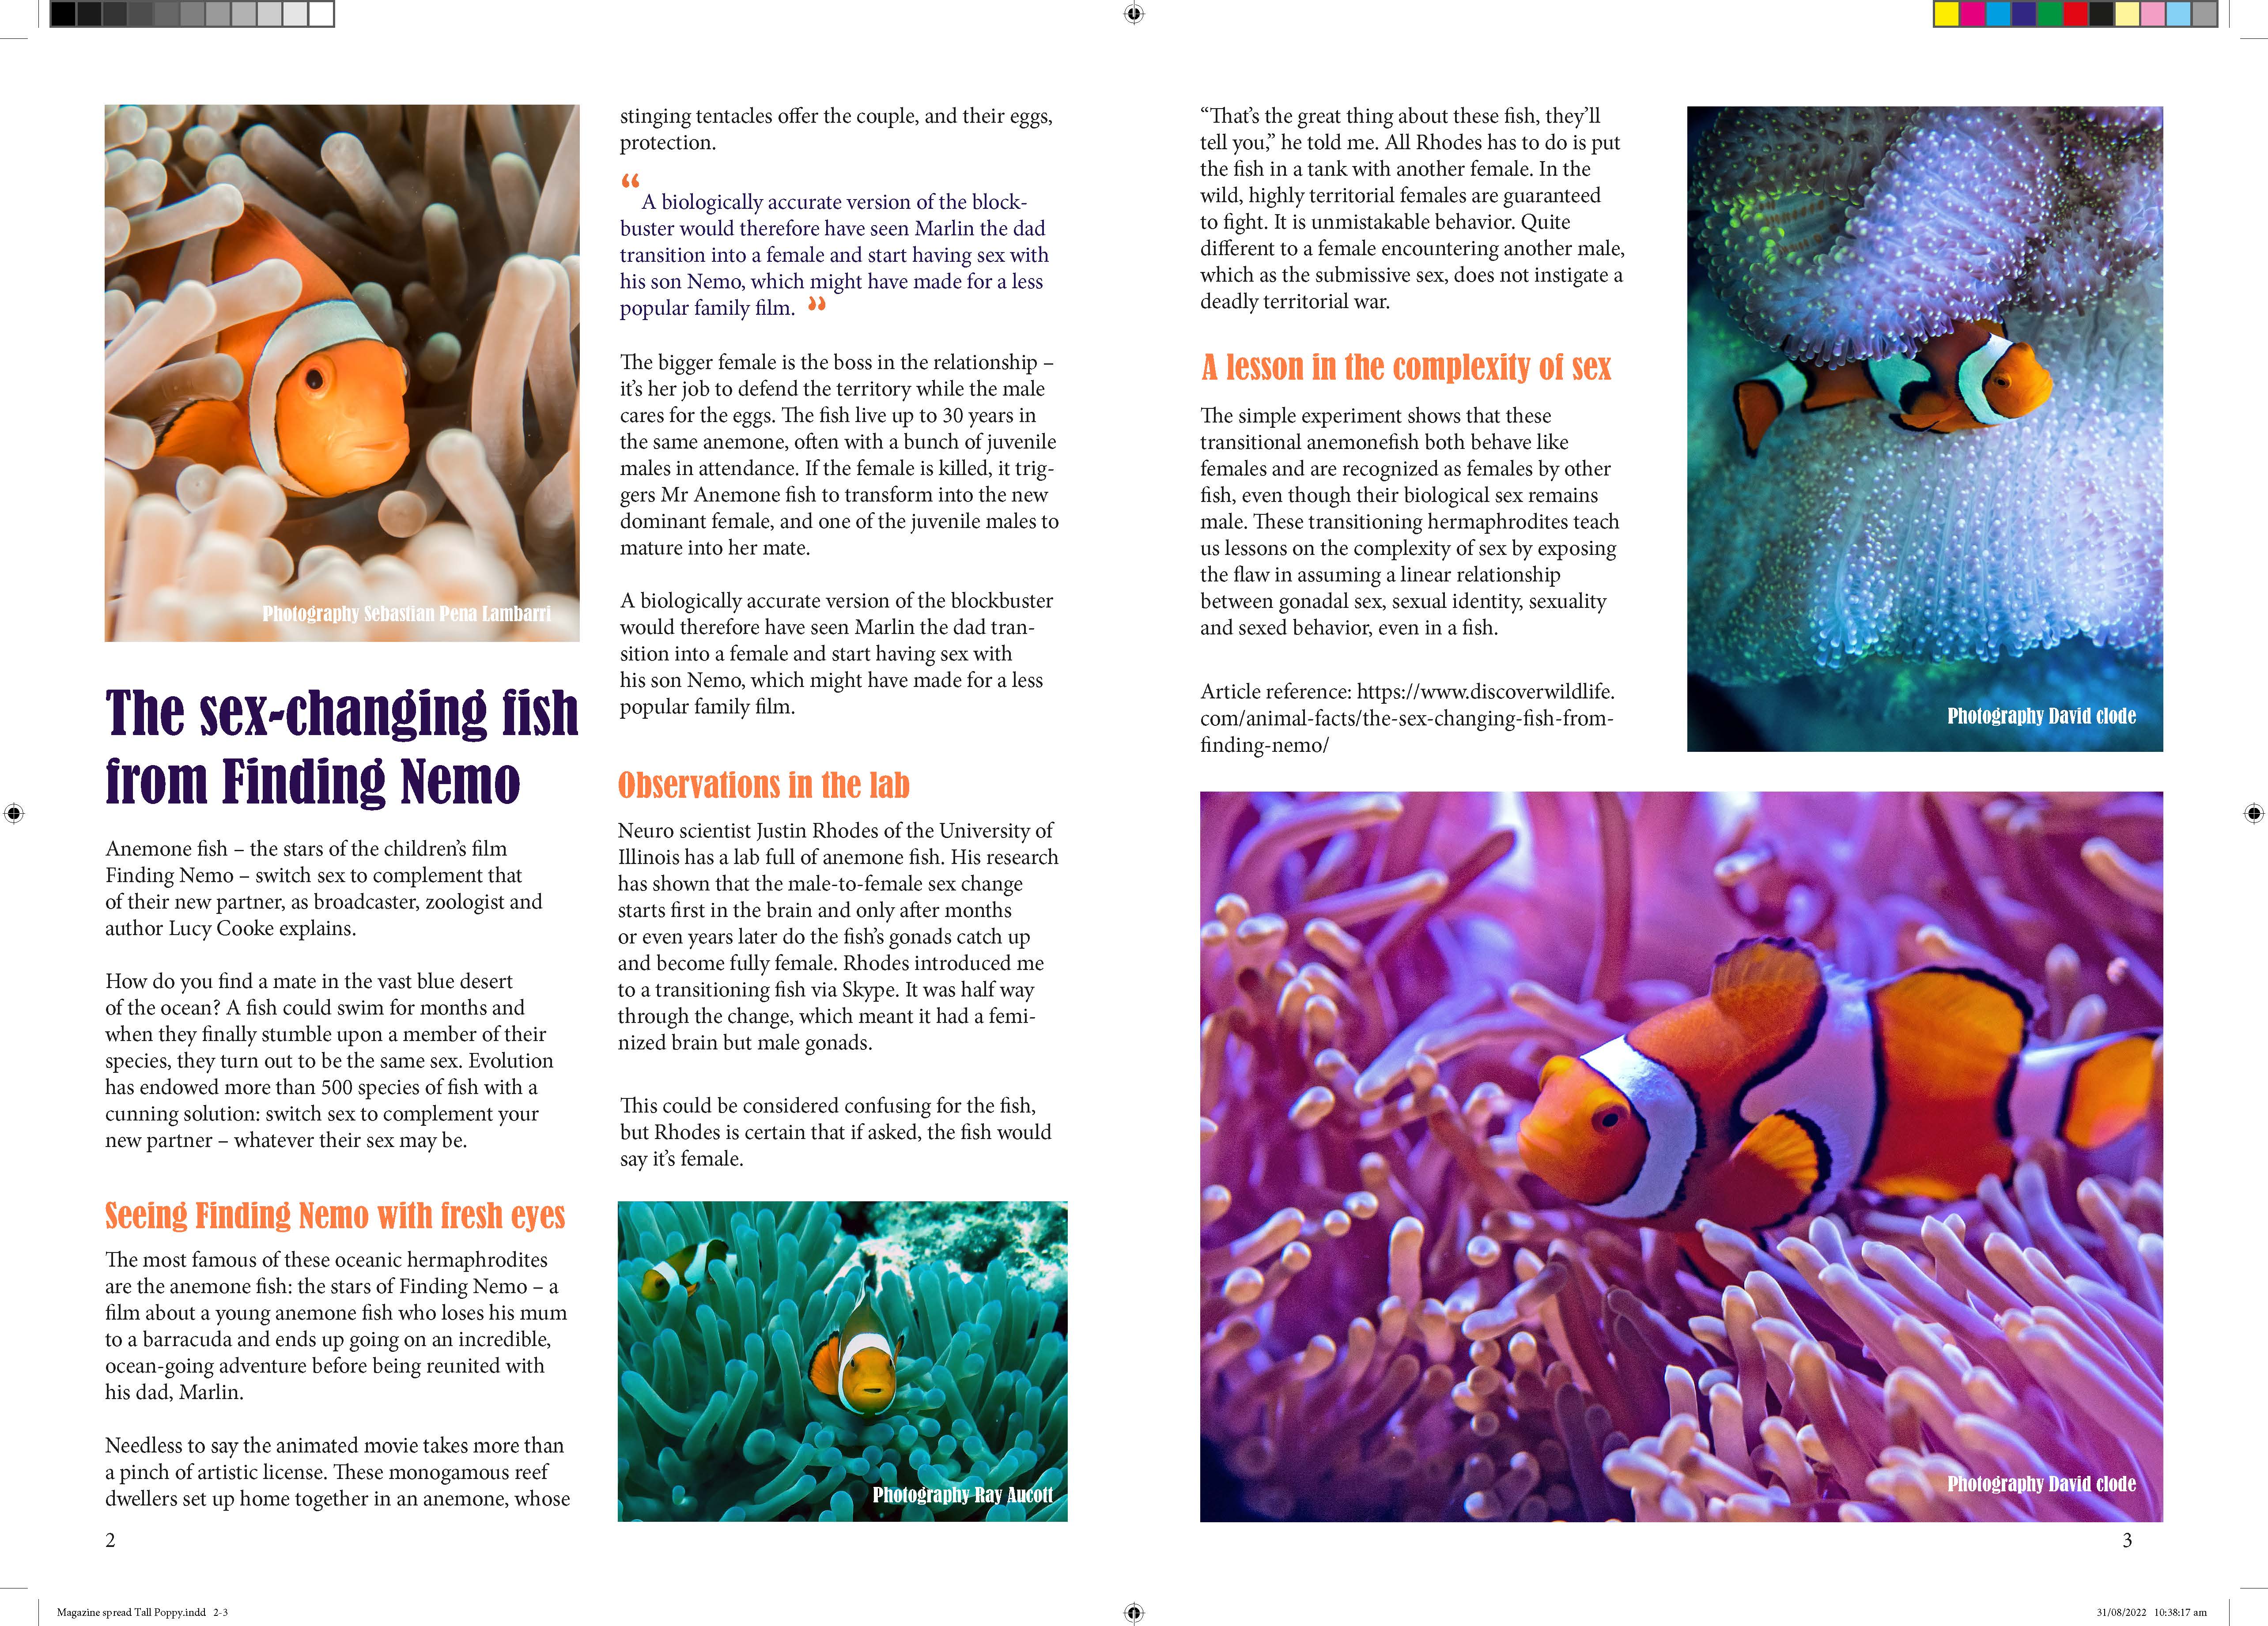
Student Examples
Example 1
Example 2

Example 3
Example 4