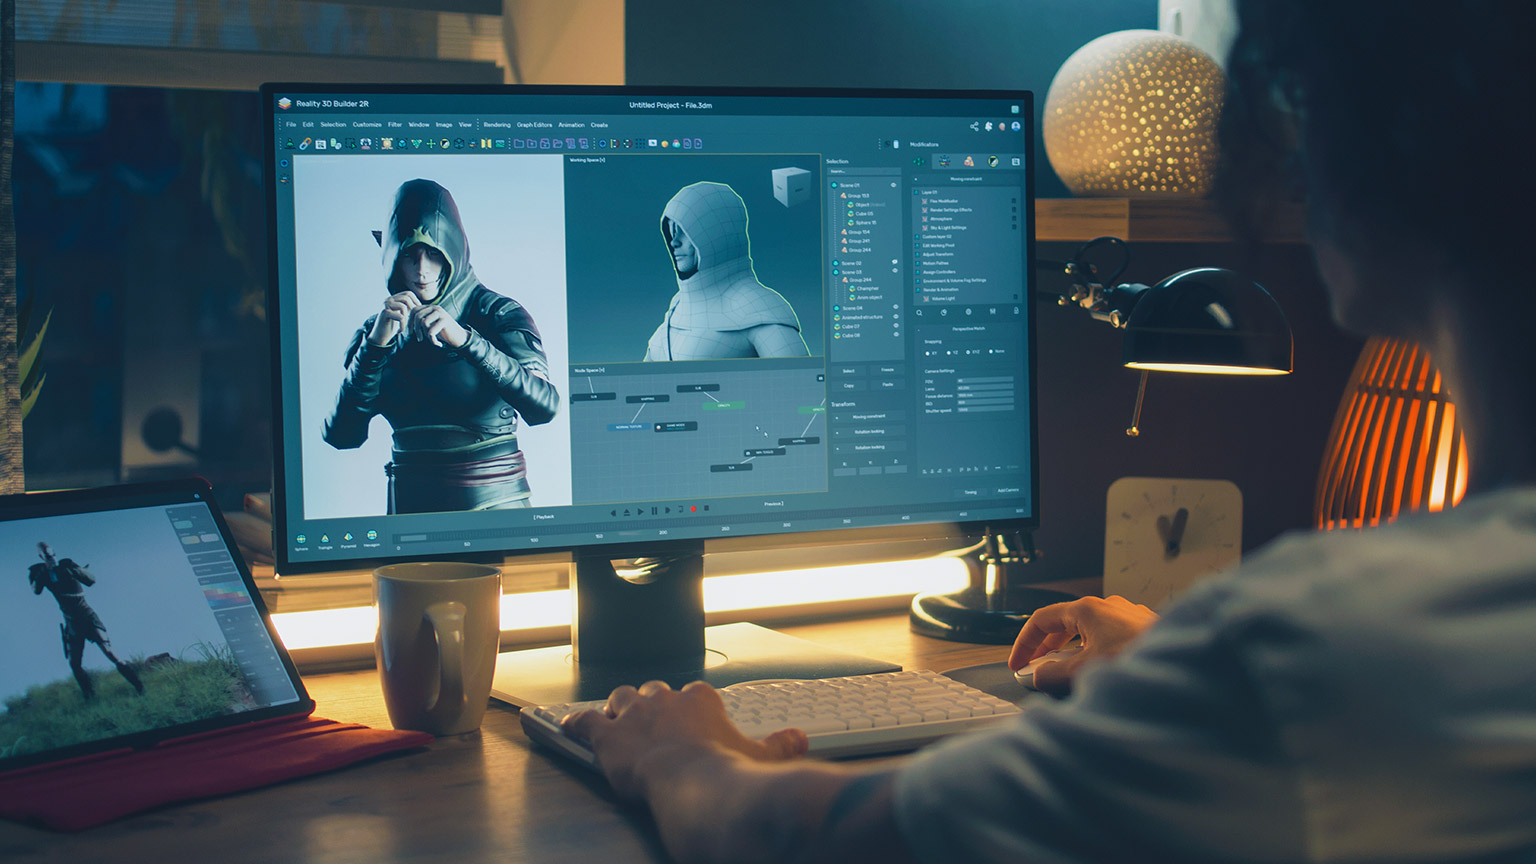
This unit introduces concepts around Unity’s camera system, including placement and management of cameras, and focuses on how to light scenes effectively.
Lighting in games can be used for a variety of purposes. It can be used to create an atmosphere, to set the mood of a scene, or to simply make a game more visually appealing. Good lighting can also help to make a game more immersive and make the player feel more connected to the game world.

| Welcome to the next Unity Learn series. | |
|---|---|
| Total Tasks: | 2 |
| Description: | In this series, you will look at fundamental lighting and best practice by experimenting with and optimizing different light sources. |
| Total Time Budget: | 5 hours 15 minutes |
Time budget: 4 hours 35 minutes
Description: The users will illuminate a scene using each type of real-time light (Directional, Point, Spotlight), simulate lighting coming in from windows with Area Lights, and bake the lighting to optimize the scene. Users will explore and modify these lights using the Light Explorer window as well.
Access Task 1:Working with Lighting in Unity
Time budget: 40 minutes
Description: Optimizing Scene lighting is not an exact science - your process usually depends on your artistic direction. For this reason, this document provides many different approaches, rather than one recommended workflow.
Access Task 2: Lighting Best Practices
Time budget: 40 minutes
Description: Optimizing Scene lighting is not an exact science - your process usually depends on your artistic direction. For this reason, this document provides many different approaches, rather than one recommended workflow.
Access Task 2: Lighting Best Practices
Welcome back!
Did you enjoy learning about lighting?
Let’s reflect on your Unity Learn experience and record them in the forum.
Cameras in Unity work much the same way as cameras in real life. They are used to capture images and video of objects in a scene. In Unity, you can use cameras to render regular 2D images or videos, or you can use them to render 3D images or videos.
| Welcome to the next Unity Learn series. | |
|---|---|
| Total Tasks: | 2 |
| Description: | In this series, you will explore cameras in Unity and how to use Cinemachine Camera to craft shots and build camera rigs. |
| Total Time Budget: | 35 minutes |
Time budget: 15 minutes
Description: In addition to the Cinemachine add-on, Unity offers a few stock camera options: orthographic cameras, great for retro 2D Games; perspective cameras, the classic 3D game and walkthrough standby; and physical cameras that work like film cameras, great for matching live-action footage as well as giving your project a cinematic feel, whether indie or big-budget blockbuster. In this tutorial, we’ll explore these, creating one of each Camera type for a specified purpose.
Access Task 1: Working with Unity Cameras
Time budget: 20 minutes
Description: Cinemachine lets you craft shots, build camera rigs, and dream up camera behaviours without any programming. In this tutorial, you'll add a Cinemachine Camera and Brain to your project.
Access Task 2: Cinemachine Cameras
Welcome back!
What was it like learning how to use the camera features?
Let’s reflect on your Unity Learn experience and complete the following activity.
Watch the following two videos on the use of camera in Unity and answer the accompanying questions.
- The challenges of video game cameras by Game Maker’s Toolkit. What are some of the issues with fixed cameras?
- Interesting camera setup.
Can you think of any games you have played where you have noticed something interesting about the camera?
Share your thoughts in the forum.