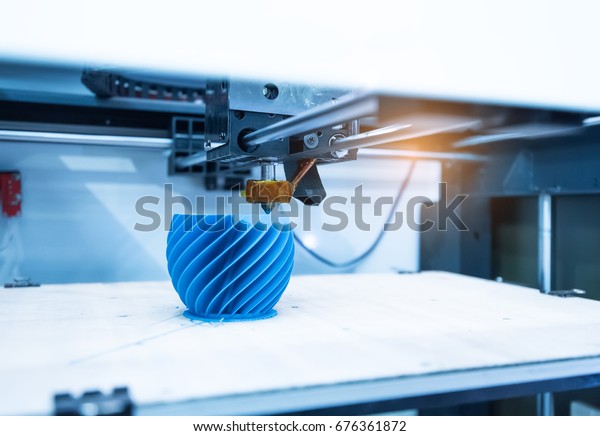
As 3D Printers have become smaller, easier to use, more affordable, and a wider variety of items can now be made, their popularity has continued to grow. Small business owners and hobbyists can readily access the technology, with products appearing only to be restricted by human creativity and ingenuity.
The use of 3D printing technologies in the manufacturing industry is now growing due to rapid developments in associated technologies. This includes more sophisticated blended thermoplastics and other materials, such as glass, ceramics and metal, as well as a range of products that can be made quickly and cheaply and replicated accurately from a prototype.
Origins of 3D Printing
The concept of 3D printing technology was published in May 1981, when Dr Hideo Kodama at the Nagoya Municipal Industrial Research Institute published details of a ‘rapid prototyping’ technique. This could be described as a layer-by-layer approach that involved printing photopolymers in multiple cross-sectional layers, called slices.
![[ADD IMAGE'S ALT TEXT]](/sites/default/files/3D%20Printing%20Origins.png)
The process of stereolithography (SLA) used currently involves printing cumulative profile slices based on a 3D digital design. A stereolithography type of process was referred to in a research paper as early as the 1960s.
This image to the left is a: 1"Schematic representation of the 3D printing technique known as Fused Filament Fabrication. A thin filament of plastic is (a) melted in an extruding head (b) and deposited to build the desired shape (c) slice by slice on a moving platform (e). This approach only requires fairly simple mechanics (very similar to the printing head of a 2D printer)."
It was also mentioned in an article published in New Scientist in 1974 by columnist David Jones, alias ‘Daedalus’. In the article, he facetiously suggested combining stereolithography with a laser, but it turned out that this crazy idea actually worked. Laser technology can be used industrially to create 3D shapes within a tank of light-sensitive polymer material. This process is said to be ‘reductive’ rather than the ‘additive’ process often used in 3D Printers.
This image to the right is a: 2"Schematic representation of stereolithography; a light-emitting device a) (laser or DLP) selectively illuminate the transparent bottom c) of a tank b) filled with a liquid photo-polymerizing resin; the solidified resin d) is progressively dragged up by a lifting platform e)."
![[ADD IMAGE'S ALT TEXT]](/sites/default/files/3D%20Printing%20Origins%202.png)
The number of industrial applications for 3D printing emerging in recent years has grown significantly, particularly in the areas of manufacturing, medicine, architecture and industrial design.
Applications for 3D printing can include:
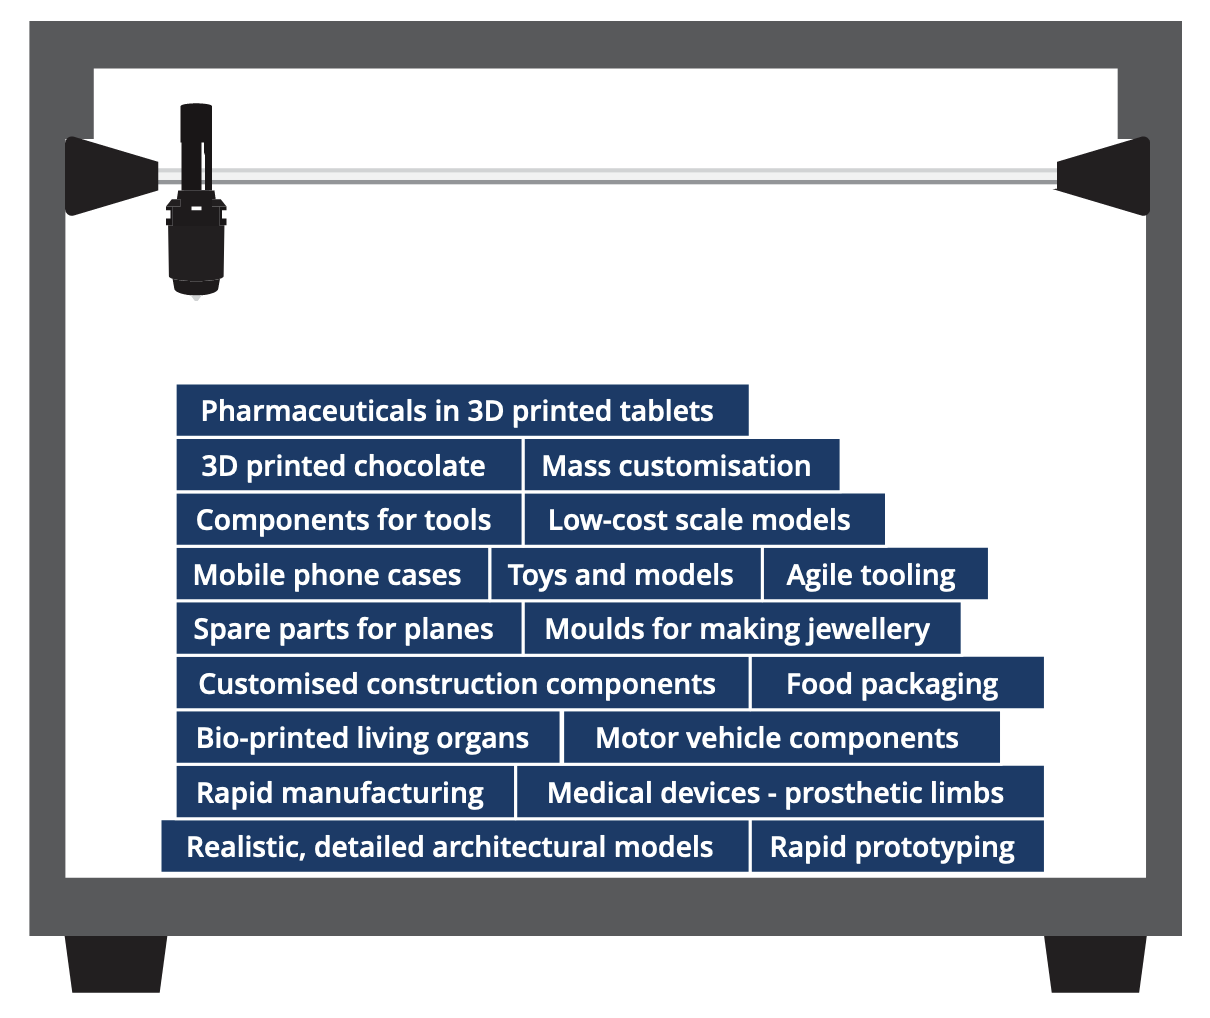
Swinburne is a partner of BioFab3D, where multi-disciplinary teams are driven to address surgical and clinical problems through the bioprinting of tissues and organs.
Watch the video below to learn more about BioFab3D.
3D printing process
The 3D printing process can be referred to as ‘additive manufacturing’, as the process involves laying down multiple layers of a thermoplastic material on the printer bed to build up a 3D profile determined by the 3D digital design. Functional plastics, metals, ceramics, wood, sand and other materials like chocolate are all currently used for industrial prototyping and production applications.
3D printing differs from the more traditional ‘reductive’ or ‘subtractive’ manufacturing methods of casting or moulding. Subtractive methods involve molten material being poured into a hollowed-out form, allowed to partially set and then the excess molten material is poured out of the mould, leaving a shell of material that is allowed to completely set within the mould. Moulding and casting can be wasteful and imprecise, although subtractive methods can be useful for some applications that are not suitable for 3D printing.
View the steps involved in the basic process of 3D printing:
Step 1
Step 1 Modelling
- A 3D design model is created using computer aided design (CAD) software. The model can be checked for common flaws, including unwanted holes and self-intersections.
- Once created and checked, the CAD file for the model is saved as a stereolithography (STL) or an additive manufacturing (AMF) file format. Alternatively, STL files can be obtained from hobbyist websites that share model files, or files can be purchased from commercial websites.
Step 2
Step 2 Printing
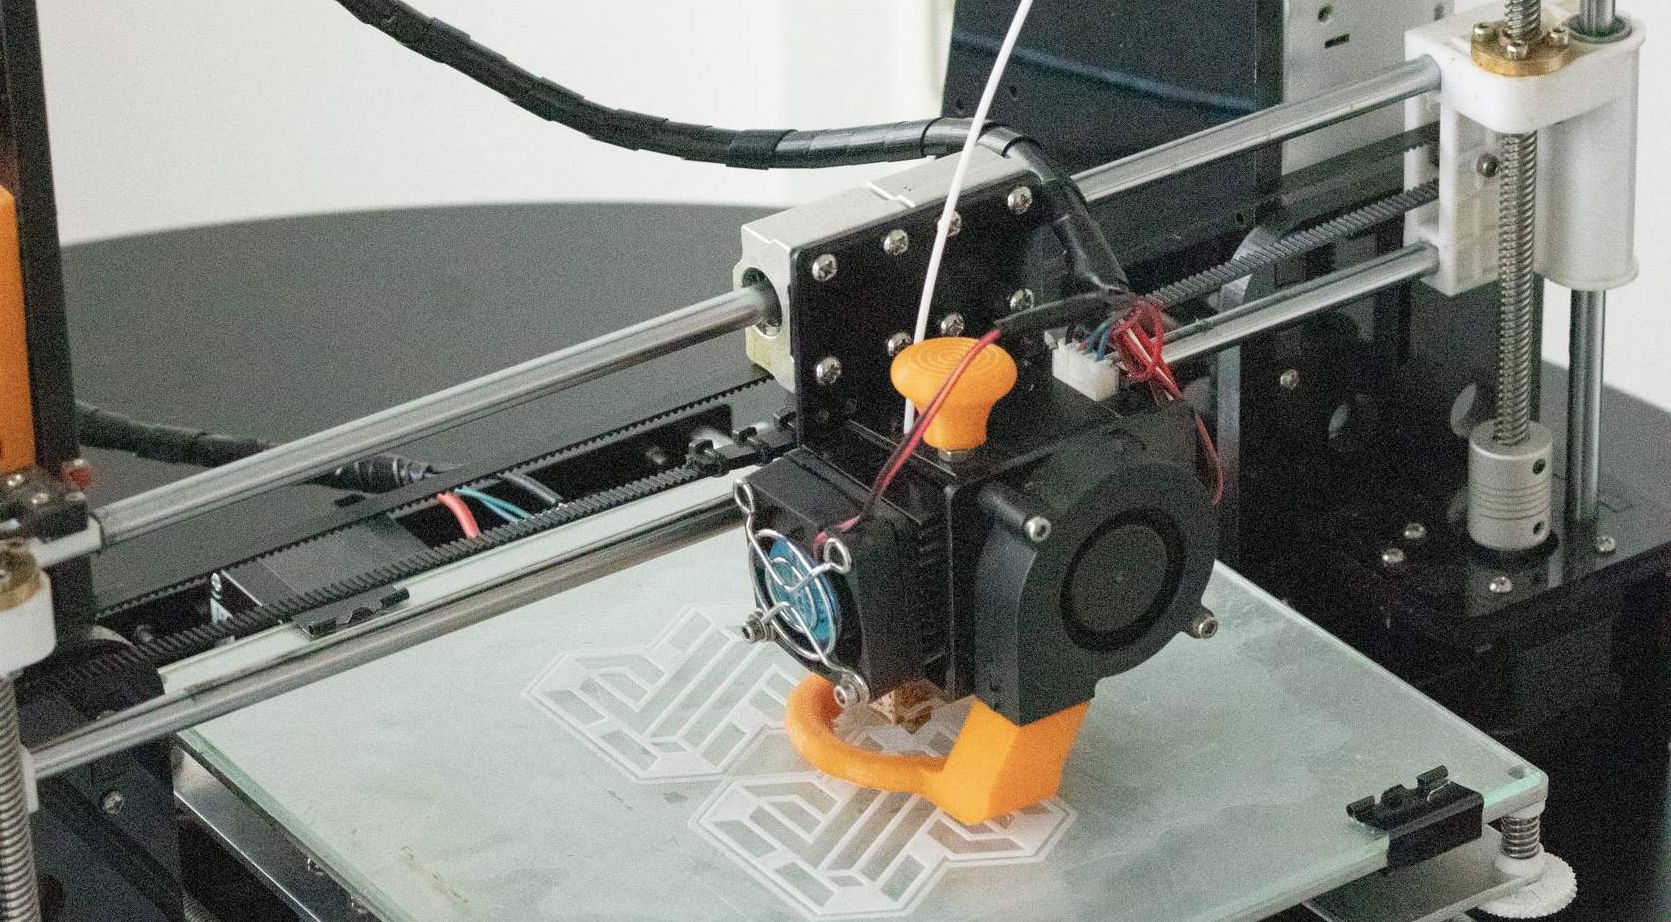
- The STL design file for the model is uploaded to the 3D printer, which can then use the instructions in the file to determine where and how the thermoplastic material will be deposited.
- The selected material is loaded, and the 3D printer settings are checked and adjusted for the model to be made. The printer bed needs to be levelled and the height of the delivery nozzle adjusted for the desired layer height of the extruded material. The bed surface should also be checked so it is smooth, and the filament material will adhere to the surface evenly for optimum results.
Step 3
Step 3 Finishing
- Finishing involves eliminating any superficial imperfections on the printed model and the removal of any supports that may have been included in the 3D design to support the model during printing. Some solvents can be applied to create a smooth polished surface, depending on the nature of the material used. Sometimes colour can be applied, again depending on the material.
The 3D design process involves using 3D (three-dimensional) modelling software to create a mathematically modelled mesh of flat surfaces (triangles) that represent the 3D model to be created.
3D computer graphics software has the capability to process the shape and dimensions of an image and develop a mathematical representation in three dimensions. The result is called a 3D model.
Learn about the 3D Product Design Process.
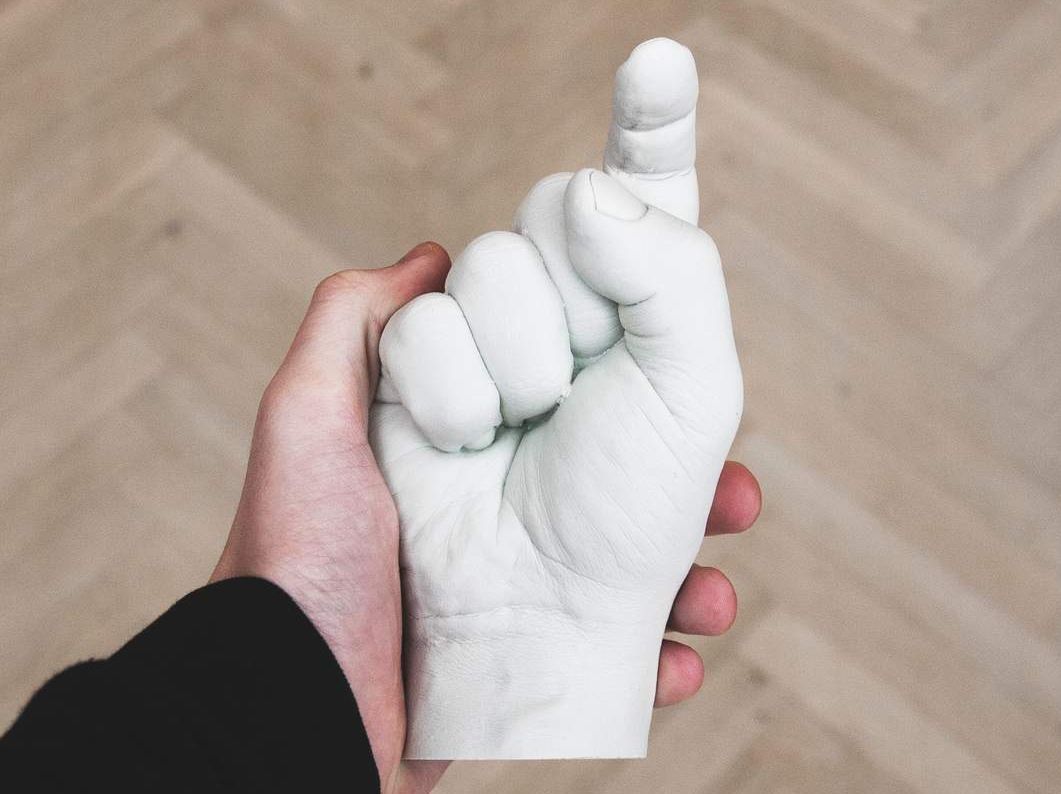
Traditional methods of prototyping commonly involved making a model by hand from a block of wood, plaster or wax, sometimes adjusting its contours with another material, such as plasticine, until the desired shape was achieved. This often made the product design process time-consuming.
3D printing can be used for rapid prototyping of a design and correcting any flaws before proceeding to manufacturing. Rapid prototyping speeds up the early stages of product development, saves time and money, and ensures confidence ahead of setting up the production equipment required for manufacturing.
A professional Industrial Designer or a Mechanical Engineer can design a 3D CAD model or a 3D computer model of your idea for a prototype. This can be expensive, depending on the size and complexity of the model. Alternatively, you can sketch your idea on paper and then use CAD software to draw your design. 3D printing can be used to create the prototype. Sounds simple, but sometimes it can take several attempts before developing confidence in adjusting the settings for a particular 3D printer to achieve the desired result. Practice and patience are required when starting to use 3D printing. The increase in its popularity as a hobby suggests that the time invested in mastering 3D printing can be worth the effort.
Computer Software for 3D Modelling
There are currently many 3D CAD software tools that can be used for 3D design. These vary in ease of use, intended purpose, cost and range of software tools provided.
TinkerCAD
Free 3D CAD software for beginners and children.
FreeCAD
Free 3D CAD software for product design and architecture.
Blender
Free 3D CAD software for modelling.
Fusion 360
3D CAD software for product design and electronics.
Rhino 6
3D CAD software for professional design.
AutoCAD
3D CAD software for industrial design.
Revit
3D CAD software for industrial architecture.
Maya
3D CAD software for video games.
Inventor
3D CAD software for mechanical engineering.
A 3D image to be used as a model can be drawn directly in CAD modelling software from a hand drawn sketch. Alternatively, a 3D image can be created from multiple scanned photographs if the CAD software includes this feature.
To Create a 3D Model
Each step in creating a 3D printable model:
Step 1
Draw 2D Cross-section
Draw a 2D cross-section image for the model on the software program’s horizontal xy plane, with x as the width and y as the length. Specific dimensions and cut-outs can then be adjusted using the software tools.
Step 2
3D Model
Use the software’s Extrude tool to virtually extrude the 2D image in the z plane to create the height and/or depth of the 3D model. Other drawing tools can be used in combination with the Extrude tool to create cut out areas and extensions for the final shape.
Step 3
Check Wireframe View
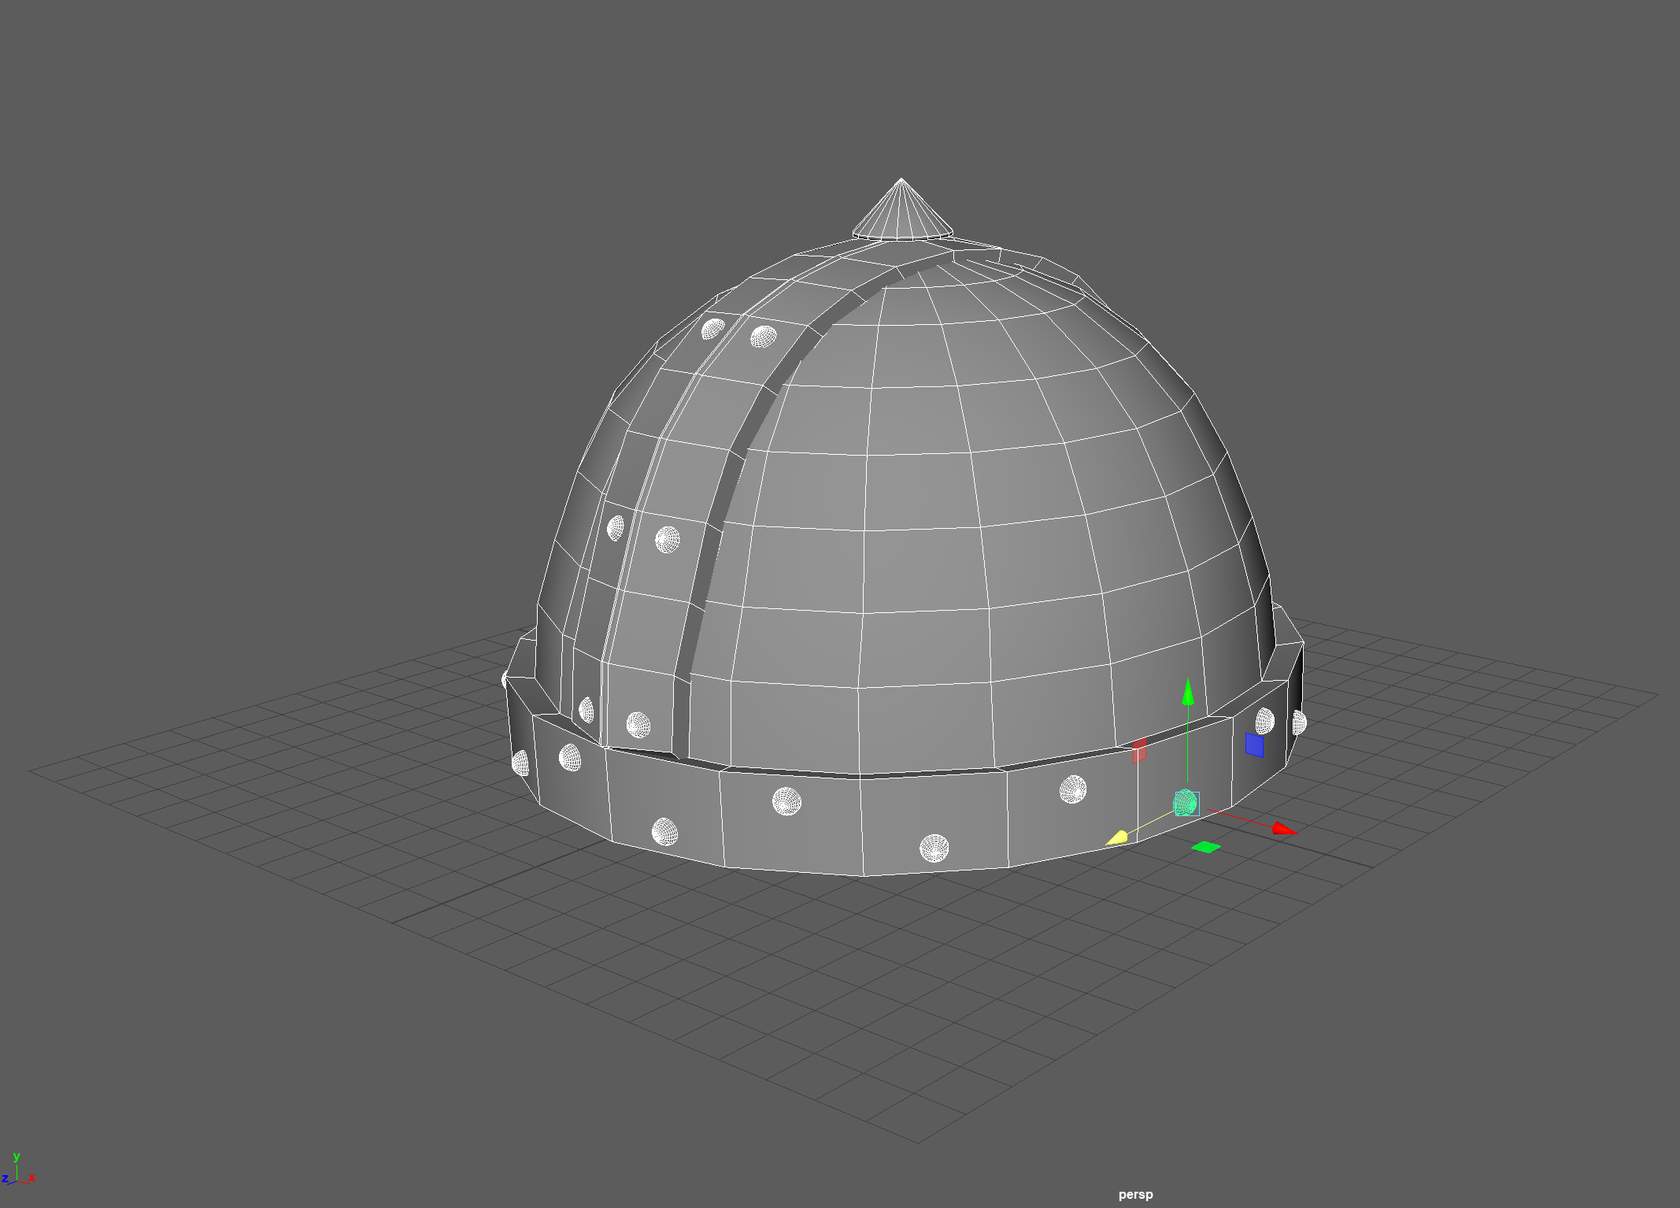
The Wireframe view (outline) of the model can be rotated to view all angles. Different perspectives of the model can be checked, and settings adjusted at this stage. Save the CAD file when you are happy with the design.
Step 4
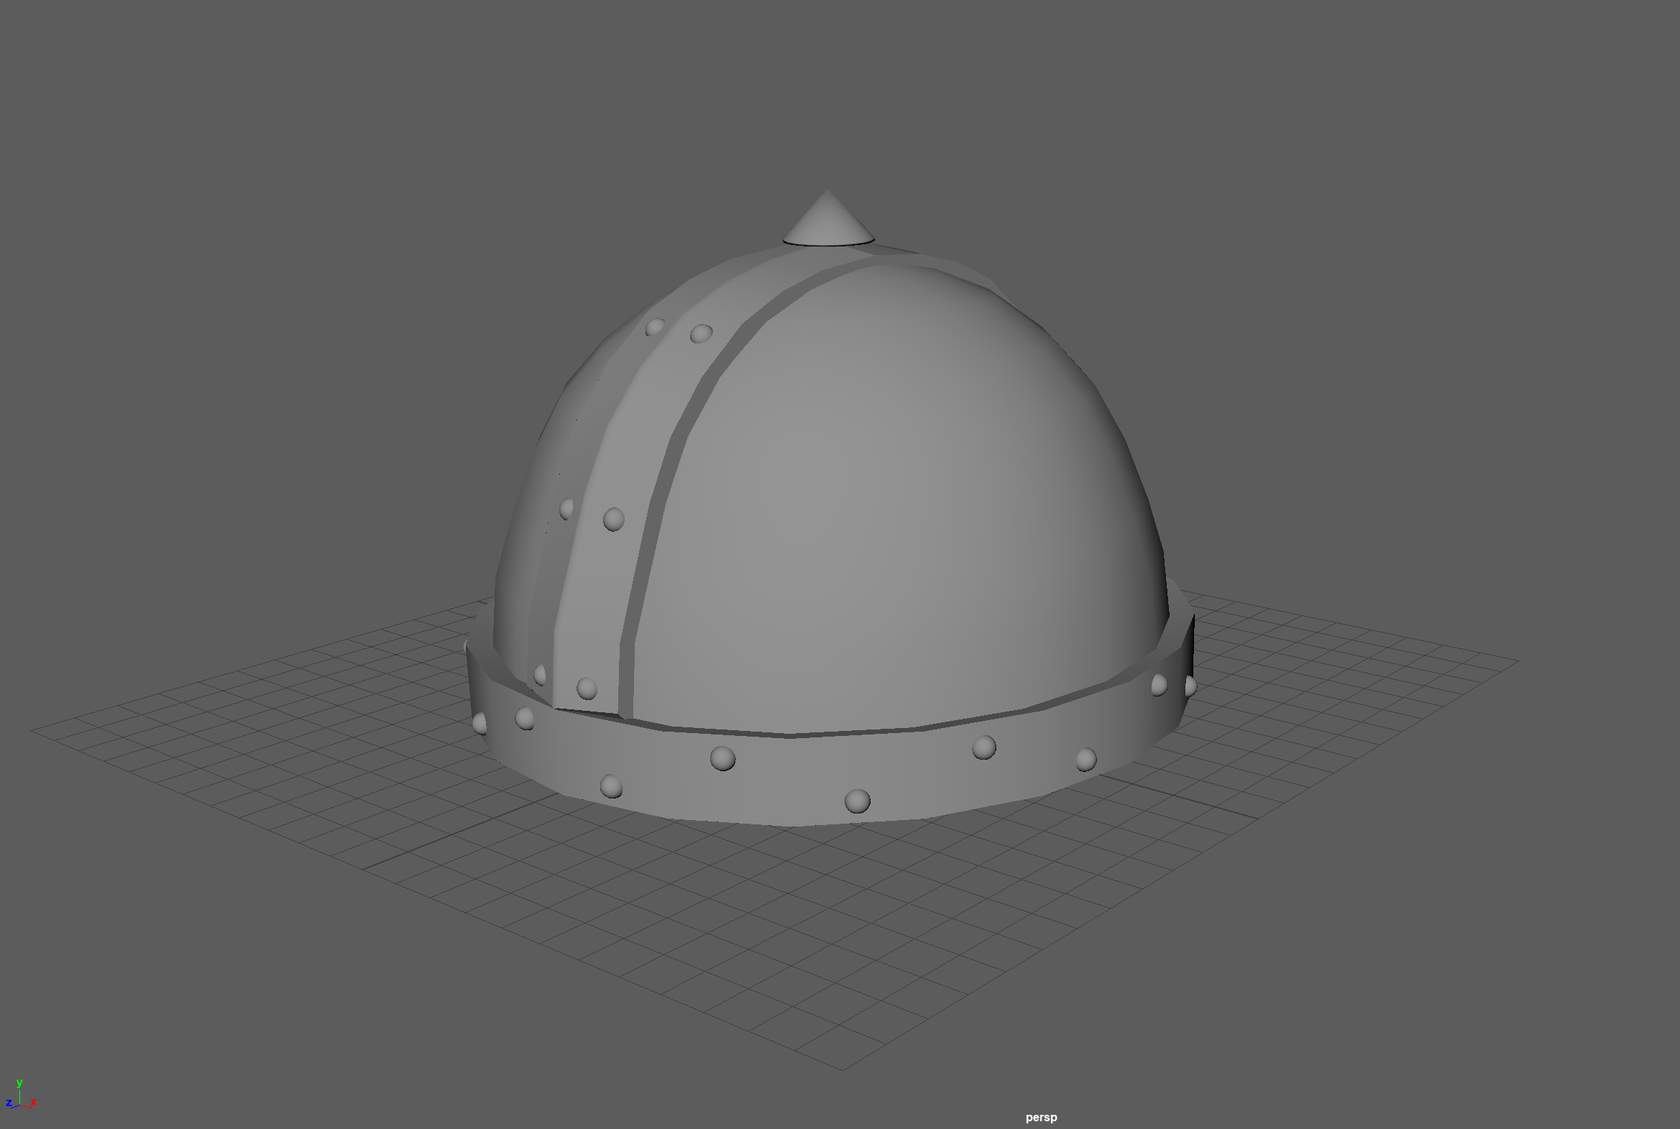
Render Finished 3D Model

Use the software Render tool to view the finished 3D model design. Go back to the Wireframe view if any adjustments are needed, then re-render the 3D model and resave 3D CAD model.
Step 5
Save CAD file in STL format
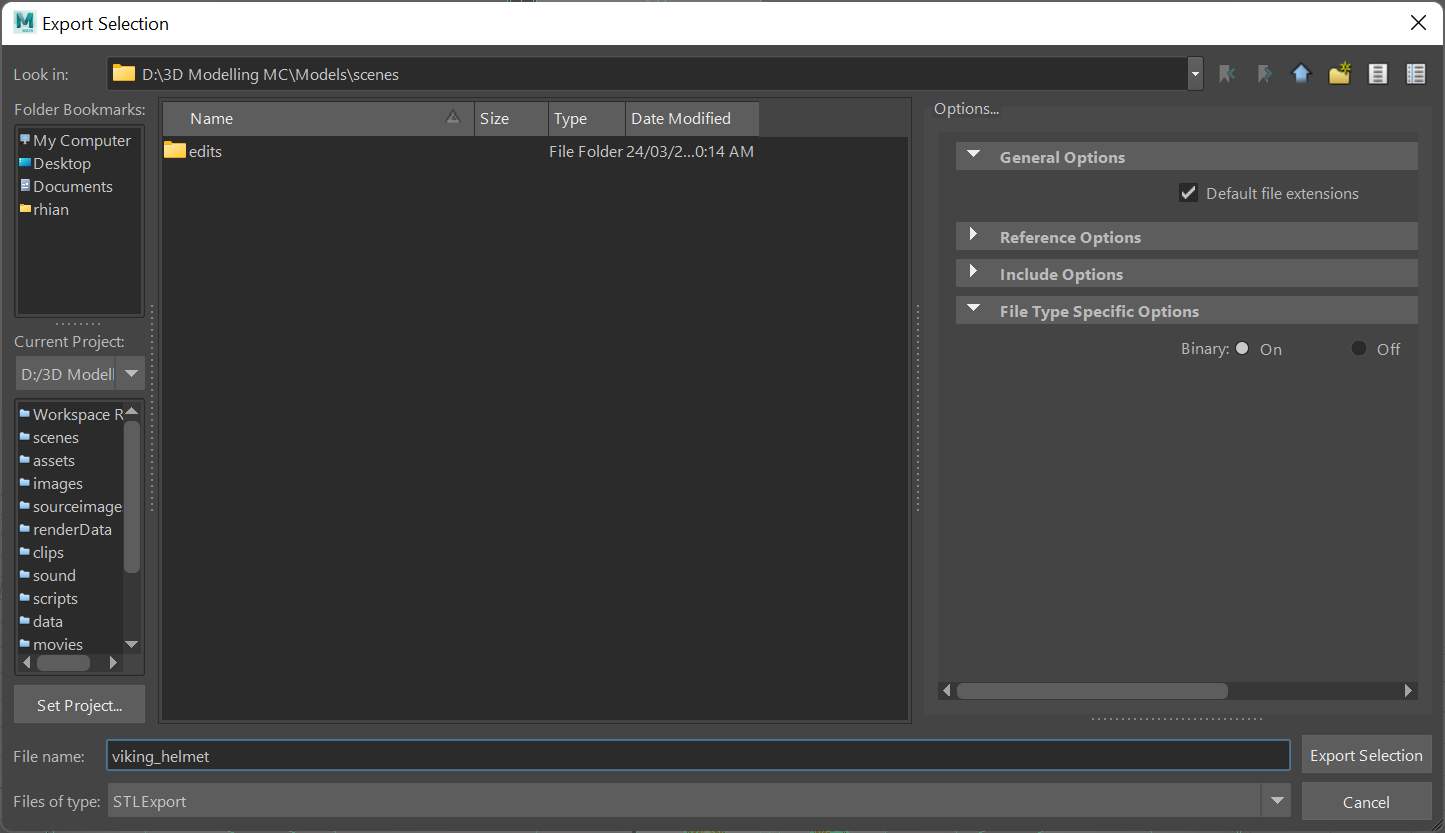
Save the finished CAD file in a printable file format, such as STL, so it is ready to upload to a 3D printer.
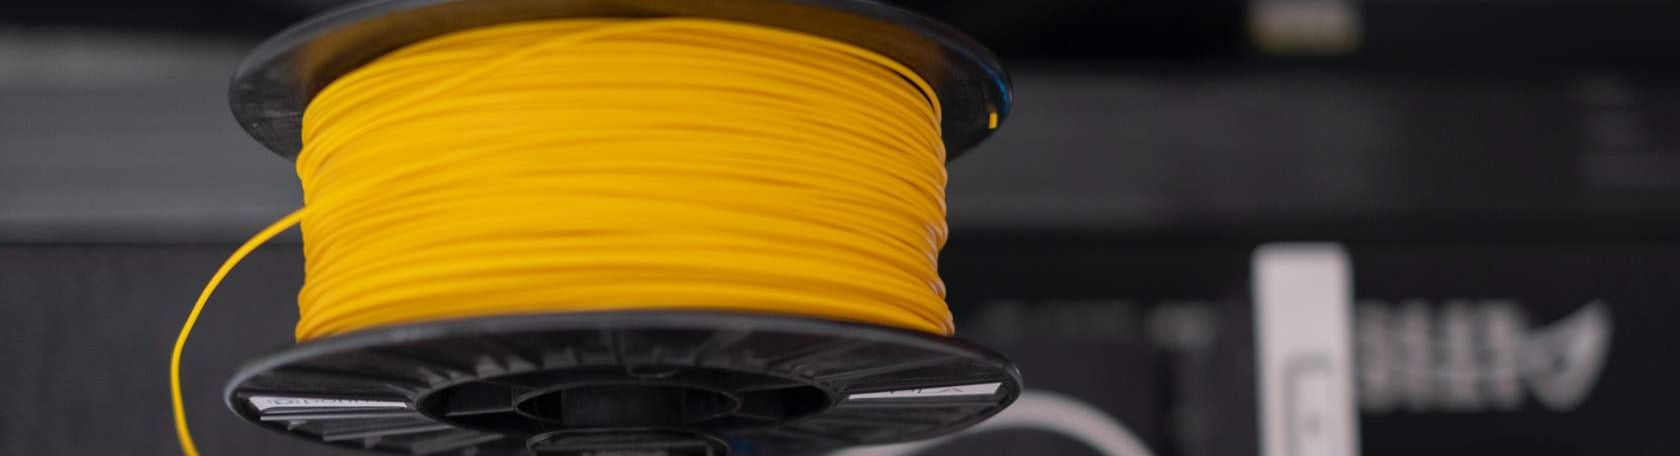
The three main categories of materials used in additive manufacturing are polymers, ceramics and metals. Polymers are the most used and readily available materials, but the development of new materials for additive manufacturing has increased as the technology has proven itself in industry, including the development of blended materials with more useful properties. Materials are typically produced as powders or filament feedstock on spools, although this may change with future developments.
Other interesting materials used for additive manufacturing include stem cells for bioprinting and pharmaceuticals. Additive construction is also becoming more widespread globally, with building materials such as glass, wood, metal and concrete now being 3D printed on remote building sites for convenience.
Learn about additive manufacturing with different materials:
Polymers
Common plastics used include polycarbonate, ABS (acrylonitrile butadiene styrene), nylon and PLA (polylactide), including soft PLA, as well as their recycled alternatives. All these materials can be used for 3D printing. Polymer materials are typically distributed in filament feedstock spools and can be used in material extrusion printers.
Waxes and epoxy-based resins can also be used for 3D printing. Some techniques employed involve mixing powdered polymers in different amounts to create a range of structural and aesthetic effects.
Ceramics
Ceramics are often used in powder-based additive manufacturing techniques. Silica and glass, porcelain, and silicon-carbide are common materials. Ceramic fibres can be combined with polymer or metal substrate materials for increased strength.
Metals
Metals are used in 3D printing for complex electronic components and circuitry. They are also used to produce mechanical and structural parts, as well as intricate working components. Metals can be deposited in liquid form with high-temperature techniques, sintered or melted from powder. Metals generally used for 3D printing include gold, silver, aluminium, cobalt chrome alloy, titanium, steel and stainless steel.
Watch the video below to learn about the 3D Concrete Printing Facility for Research in Construction Automation at Swinburne University.

Summary
This module introduced 3D printing, by outlining the many industrial applications, methodologies and technologies that are currently available to create 3D objects. You also learnt that 3D printing is not limited to industrial prototyping and manufacturing but can also be applied to create customised biological solutions, as well as a myriad of complex designs that would not be possible using more traditional methods.
Key topics covered included the 3D design process and the advantages of 3D printing when creating customised 3D products. Take the knowledge check below to test your understanding for this module.
Knowledge Check
Insert activity here.
Below are some links to find out more about 3D Printing.
Swinburne's Repairbot project is a collaboration between Tradiebot Industries, The Innovative Manufacturing CRC and Swinburne University.
Insert video here.
Links:
- Swinburne’s digital fabrication facility, ProtoLAB.
https://swinprotolab.com/about/
Press release - Swinburne’s Digital Construction Laboratory
https://www.swinburne.edu.au/research/strengths-achievements/specialist-facilities/digital-construction-lab/ - Swinburne’s Factory of the Future with 3D metal parts printer
https://www.swinburne.edu.au/research/platforms-initiatives/factory-of-the-future - Digital Construction Lab at Swinburne Uni - YouTube Channel
- 3D Printing for INDUSTRIAL with Siemens Additive Manufacturing
https://www.youtube.com/watch?v=cnlyYv_ItX0 - One of the first 3D printing communities: Thingiverse.
https://www.thingiverse.com/