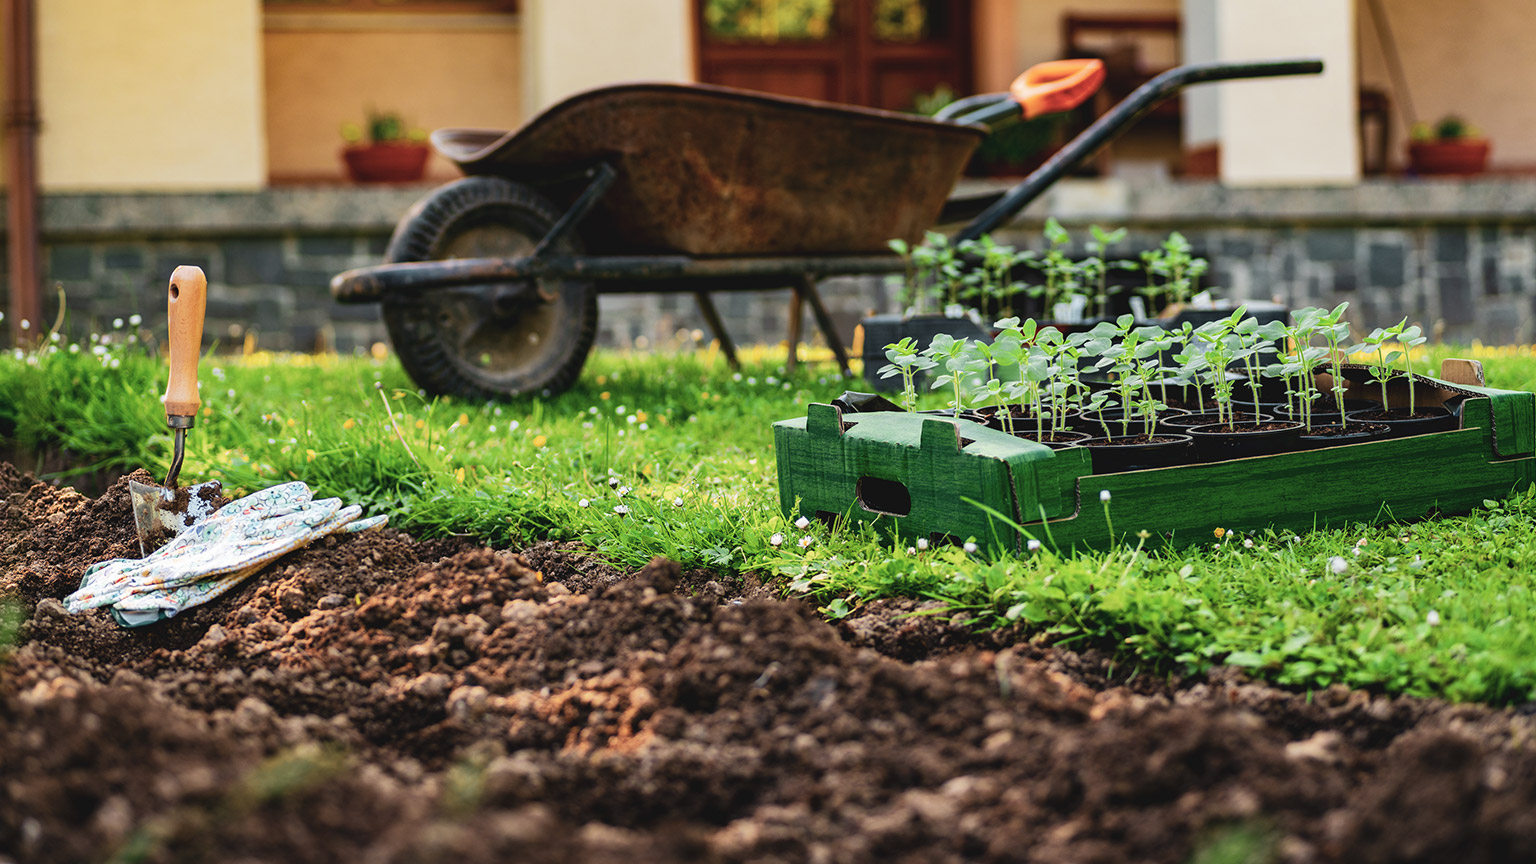
In this topic, we look at the steps taken to prepare a section of lawn or paddock and convert it into a permanent raised bed.
If you’ve decided to use a different garden bed, think about which of these activities apply to you, as you work your way through this topic.
Use this list to gather the equipment and materials you will need to prepare your site for planting.
Removing grass and weeds
- Space
- Tarp or herbicide
- Spade
- Landscape rake.
Cultivating the soil
- Spade or rotary hoe/tiller.
Setting out
- Wooden pegs or metal stakes – 400-600mm long
- A mallet or sledge hammer
- A stringline
- One or two tape measures - ideally one surveyor’s tape measure and one builder’s tape measure.
Mounding, levelling and aerating
- A garden rake (not a leaf rake), preferably a landscape rake
- A strong garden fork.
Adding and mixing amendments
- Your chosen amendments, such as compost
- Depending on quantity, a wheelbarrow and shovel to shift and add amendments
- A hoe, wheel hoe or rotary hoe
- If not using a rotary hoe, you’ll also want a garden rake (not a leaf rake), preferably a landscape rake.
The first thing we need to do is remove the grass and weeds so they won’t compete with our plants for water, nutrients, and light.
The four most common approaches are:
- Tarping – this involves putting a dark plastic film over the plants you want to remove, which will heat up under the sun and kill off the plants beneath it. You can buy heavy-duty polyurethane film from hardware or gardening stores or use recycled materials. For instance, a black thermal pool cover.
- Depending on the time of the year, you may need to leave the tarps on for between two and six weeks.
- If your site is exposed to the wind, make sure you weight the edges down so your tarp doesn’t blow away.
- Digging out – this is where you dig the top layer of sod and roots off. You can add the sod to your compost or flip it over and wait for the plants to die off before planting.
- Spraying – use a broad-spectrum herbicide such as one with the active ingredient Glyphosate. Mix the spay according to the instructions on the container, and using the correct safety equipment, spray onto the area. After one or two weeks, most of the plants will have died back, ready to be cultivated.
- Tilling – in this approach, you mow the grass and weeds down and then turn over the soil with a rotary hoe. This is not ideal because there is a chance that some of the plants will root back into the soil and grow again, but if you are short on time and don’t mind spending more time weeding later, this can work.
Other approaches include flame weeding, steam weeding, eclectic weeding and stale seed beds. If you’re interested in any of these, search for videos and information online.
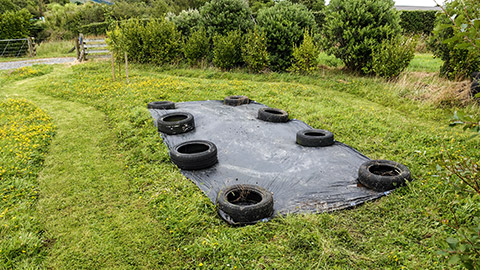
This old pool cover is being used for 'tarping' to kill off grass and weeds. It is held in place by old car tyres.
Use your chosen method to remove the grass and weeds from an area slightly bigger than your intended garden bed. In this case we want two (2) permanent raised beds of five (5) metres each. The tarp is 5.2m x 2.5m, so there is just enough space.
Once the grass and weeds have died down you are ready to get the soil ready for planting, called cultivating the soil.
| Cultivating | A process that involves turning over or tilling the soil. |
|---|
- If you’ve used tarps, remove these.
- Turn over the soil either using a spade, or a rotary hoe (also called a tiller). These can be hired from most hire centres and make light work of the the job.
- If using a rotary hoe, make sure the soil isn’t muddy.
- If it is the rotary hoe will make a mess of the soil and break up any good structure it may have had.
- Work the soil to a depth of 100-150mm.
- Keep breaking up the soil until it is friable (mostly medium and small-sized soil aggregates).
If your site is on a slope make sure that your garden beds run downhill rather than across the slope.
For this step you’ll need:
- wooden pegs or metal stakes – 400-600mm long
- a mallet or sledge hammer
- a stringline
- one or two tape measures - ideally one surveyor’s tape measure and one builder’s tape measure.
Permanent raised beds should be 750mm wide with a 500mm gap between them. At the edges, allow 100-300mm around to pull the soil up onto the mounds and create a drainage channel.
For our example the set-out plan looks like this:
A set-out plan for two permanent raised beds.
- Hammer two pegs into the grass just outside your cultivated area and in line with the edge of where one of the raised beds needs to be – one at each end.
- From one of the pegs hook a tape measure onto the peg and then pull it out at a right angle and walk to just outside the cultivated area. Lock the tape measure and leave it on the ground.
- Hammer a peg into the ground at the 750mm mark, another at 1025mm (1.25m), and another at 2000mm (2m).
- If you’re setting out more rows, add 500mm and then 750mm for each new row, for example, 2000mm (2m) + 500mm = 2500mm (2.5m) and 2500mm (2.5m) + 750mm = 3250mm (3.25m).
- Repeat steps 2 and 3 at the other end.
- Tie one end of the stringline to the first peg, about 300mm up from the ground, and roll it out as you walk to the other end.
- Wrap it three or four times around the second peg at 300mm height, then go to the peg at the 750mm mark.
- Wrap it around the peg and then go to the other end of the bed. Repeat as needed so you’ll create a zig-zag pattern.
Notice the zig-zag pattern made during the set out.
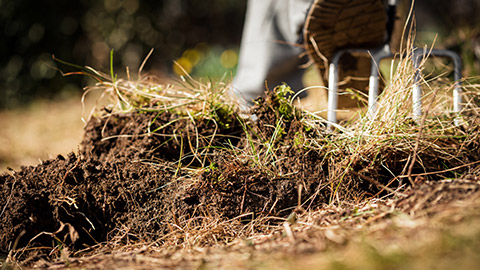
For this step, you’ll need:
- a garden rake (not a leaf rake), preferably a landscape rake
- a strong garden fork.
- Use the rake to pull the soil out of the drains and pathways and up onto the raised beds.
- Level the raised beds with the rake by dragging the soil around from the high points into any low points on the beds.
- When you’ve finished, your raised beds should be about 200mm higher than your paths and drainage trenches.
- Remove the stringline and pegs.
- Next, push your garden fork as deep as you can into one of your raised beds. You’re aiming to get it 300mm below the top of the bed.
- You might need to put one or both feet on the horizontal bar that all the prongs come off and jump to press it into the soil.
- Now pull back on the handle to crack open the lower soil horizons.
- Pull the fork out and repeat all along each bed about 300-600mm apart.
- Use the rake to smooth and level the raised beds and pull any rocks or loose weeds onto the paths.
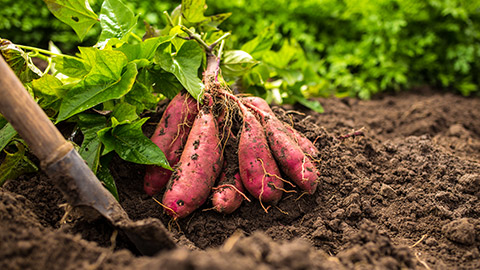
Kūmara has been a staple crop as long as Māori have been in Aotearoa.
Finally we’re going to add some goodies to the soil to make it better, so that the plants get off to the best possible start.
It’s usually a good idea to add some organic matter – probably compost or worm castings – to the garden bed as a starting point.
What else you might want to add you add will depend on your soil. If you have a clay soil that has poor structure you might want to add gypsum to help break it up. If the soil's sandy and very well draining you might want to add a lot of organic matter and consider adding a small amount of clay.
Activity - Māori soil science
Māori have been modifying soil by adding amendments to improve the growth of their kūmara crops since not long after they arrived in Aotearoa, NZ from Polynesia. Read this article, on ScienceLearn.org.nz and then answer the following questions about it.
To analyse and amend your soil, you'll need:
- your chosen amendments, such as compost
- a hoe, wheel hoe or rotary hoe
- if not using a rotary hoe, you’ll also want a garden rake (not a leaf rake), preferably a landscape rake.
Getting started:
- Spread your amendments across the raised beds, not on the paths or in the drains around the edge.
- If adding compost to well-structured soil, put down one bucket for every metre of length of 900mm wide raised bed. If your soil is sandier, you might want to increase this to two buckets.
- Use the hoe, wheel hoe or rotary hoe to mix the amendments in. You only need to mix the top 50-100mm.
- If you’re using a rotary hoe with a depth gauge, set this to a shallow setting.
- Use the rake to level the beds again.
- If you added gypsum or fresh compost, water the beds thoroughly and leave them for a week before planting. If you’ve used aged compost, your bed will be ready to plant into.
▶ Market Gardener's Toolkit (optional)
In this video, JM shows how they prepare their raised beds for planting. For smaller market gardens he recommends using a wheel hoe to mix in amendments. For an even smaller operation, you could just use a hoe and rake.
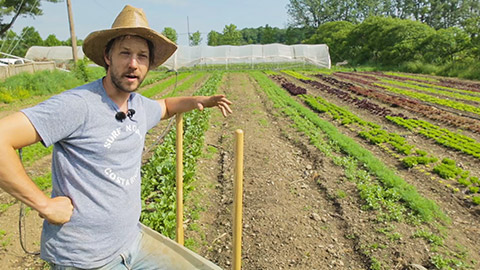
| Heading | Preparing the permanent raised bed system for planting |
| Timestamp | 33.13 — 34.02 |

The last thing you need to do for your site assessment is to pull all the information together to answer the questions:
- What plants am I going to grow on this site, now or soon?
- You must choose at least four (4) different fruit or vegetable species.
- Why have I chosen them?
- When choosing your plants, you should consider:
- your goals for gardening – for instance: to grow food, to grow plants for sale, to beautify my garden
- the soil – texture, structure and drainage
- exposure to sun and wind
- whether or not you get frosts in this part of the country
- if there are signs of pests or diseases on nearby plants
- the specific growing requirements of the plants you have chosen.
- When choosing your plants, you should consider:
- What do I need to do to the growing site to make it suitable to grow these plants?
- Basic steps to cultivate the growing medium.
- Any soil amendments that are needed to make the soil more suitable for your chosen plants.

Please work on Assessment 2 for this module. Click the "Assessment 2: Site Assessment Project" link in the content menu at the bottom of this module, complete the assessment and submit it for marking. Please ask your tutor if you require clarification on what is required of you.
