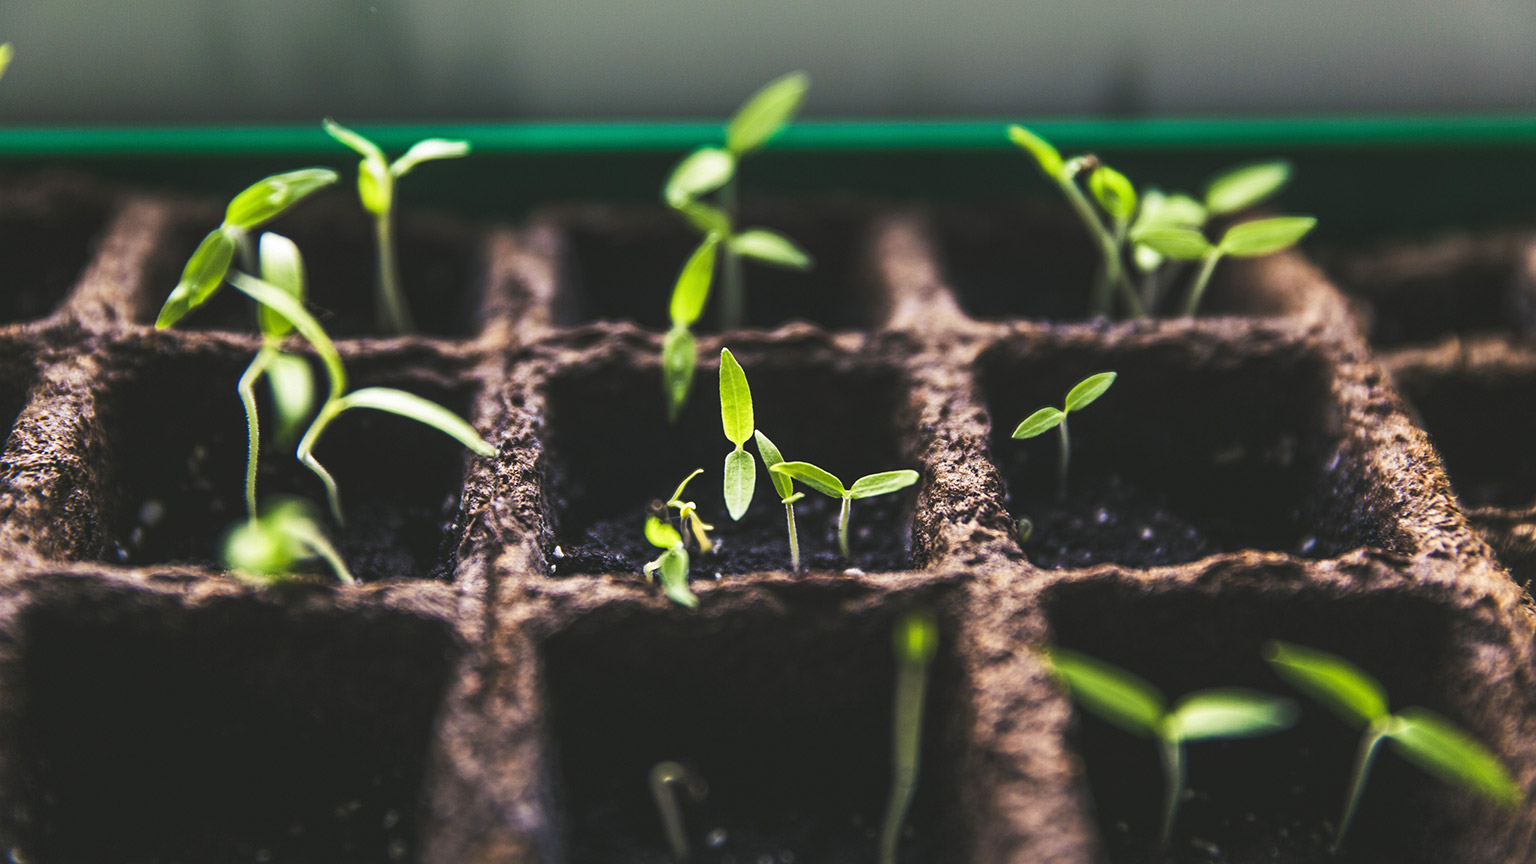
Plant propagation is the process of creating new plants. There are a few ways to do this, but in this section, we’re going to look at direct seeding and transplanting. In this image, the grower is about to sow a seed directly, but the seedlings there may have been transplanted or may have been seeded directly in place.
Planning ahead
Transplanting involves taking a plant that starts growing in one place and moving it to the location you want it to be for the long term. For example, if you buy a punnet of six tomato seedlings from your local plant nursery and plant them in large pots on your deck, you have transplanted the seedlings.
Another approach to transplanting is to grow your own seedlings from seed in trays or yoghurt pottles, or milk cartons, and when they are big enough, transplant them into your garden beds.
There are a number of advantages to starting seeds in seed trays and transplanting them:
- They are easier to water and keep warm because they don’t take up much space. Warmth is needed for the seeds to germinate (sprout). If you start seeds during early spring, you can keep them under cover until it’s warm enough for them to go in the ground without fear of frost killing them off.
- Small seedlings are usually more more easily destroyed by pests due to their size and softness of their tissue (leaves, stems, etc.).
- When they are in their seed trays, seedlings don’t take up space in your garden beds. You can be growing other crops, and then when you harvest those and reset (prepare for planting) your beds, the seedlings you plant are already days, if not weeks, further ahead than if you direct seed (put the seed in the ground in it's final growing spot).
Use the arrows to flick and turn through these cards to learn more about each method.
For this course, you need to grow your own plants from seed and we find seed trays to be the easiest and quickest method for you to get started.

To grow seeds in seed trays, you’ll need:
- seeds
- seed trays
- potting mix
- a board approximately 400-600mm long
- masking tape
- a permanent marker pen
- water.
Getting started
- Fill your seed tray with moist potting mix.
- Use the board to scrape off any potting mix that is above the height of the tray, onto your working surface (ideally a bench or table, but could be on a concrete path or driveway).
- Lift the tray about 300mm above the work surface and drop it, flat and level onto the surface. This will press the potting mix down into the tray.
- Place one seed in each plug of the tray.
- Cover the seeds with dry potting mix.
- Scrape this off with the board in the opposite direction.
- Put the potting mix you’ve scraped off back into the container you get it from - the most mix into the container with most potting mix and the dry into the dry potting mix container.
- Label the tray with the name of the seeds and the date you seeded it.
- Move the tray to its temporary home and water it thoroughly.
Growing your own seedlings from seed
Now it’s your turn!
For this course, you need to grow your own seedlings from seeds. We suggest you grow these in seed trays, yoghurt pottles or milk cartons ready to transplant when they are big enough.
Choose seeds that are suitable for the current season and your area of the country.
This will give you some time to prepare your garden beds. Take photos as you go, so you can add these to your Garden Journal (Assessment 1).
Keep your seed trays moist and watch for any signs of pest or disease damage.
▶ Market Gardener's Toolkit (optional)
JM shows how they plant seeds into seed trays (cell flats, seed plugs) for transplanting later.

| Heading | Seeding into seed trays |
| Timestamp | 08:49 — 11:46 |

Once your seedlings have reached about 50-100mm they are ready for move-in day to their permanent homes.
To transplant your seedlings into your garden beds you’ll need:
- your seedlings in their trays, pots, pottles or containers
- water
- for larger garden beds, a landscape rake with short pieces of hose that fit onto the tynes (prongs) is extremely useful.
Getting started
- Mark out where you are going to plant each seedling, this needs to be based on how far apart the plants need to be grown. You can find this information on the seed packet.
- You can do this by hand, by pushing two fingers into the soil to the same depth as the seed tray and pulling the soil aside.
- Or press a few short pieces of hose onto the tynes so they are the correct distance apart. Drag the rake along the garden bed. Then walk back along, making lines at right angles to the ones running along the bed using the rake.
- Give your seedlings a good watering while they are still in their trays.
- If the garden bed is dry, water it, or at very least the rows that you have just marked out.
- Take a seed tray to one end of the garden bed where you want to start planting and kneel down.
- Take a seedling out of the tray. If you’re using seed trays you bought from a garden centre or horticulture supplies store, you should be able to squeeze the bottom to make the soil plug lift up so you can grab it with your other hand.
- Plant the seedling.
- If you already created the holes in the bed, by hand, place the soil plug into the hole and press the soil back into the hole, around the soil plug.
- If you used the rake method to mark out your plant locations, make a hole in the soil by pushing two fingers into the soil to the same depth as the seed tray and pulling the soil aside.
- Repeat for each seedling.
- When all seedlings are planted, water the plants thoroughly, and keep the soil moist for the next week to allow the roots to grow into the surrounding soil.
▶ Market Gardener's Toolkit (optional)
JM shows how they transplant from cell flats (small seed trays) into in-ground raised beds.

| Heading | Transplanting in the organic market garden |
| Timestamp | 34:02 — 36:20 |

We’ve described some of the key reasons why you might choose to transplant, but it should be noted that not all plants transplant well. Crops that don’t transplant well include:
- root crops, such as kūmara, potato, carrot and radish
- grains, such as corn.
In these cases, we use direct seeding. Direct seeding is the process of putting a seed in the growing medium where you want it to grow, for the long term. Providing it's warm enough and the seed gets enough moisture, it will germinate. After that, your job is to keep giving the plant the key things it needs (light, air, water, nutrient, etc.) that match its growing preferences.
Like with transplants, you need to keep the soil most.
What you'll need for direct seeding:
- Seeds
- Water
- For larger garden beds, a landscape rake with short pieces of hose that fit onto the tynes (prongs) is extremely useful
Getting started
- Mark out spacing that the plant needs by using your finger, a stick, or a rake with pipe sections fitted and run it along the garden bed to show the location of the rows. Try to keep the row mark shallow — only 10mm or so.
- For plants that need to be spaced far apart, and/or have large seeds, such as pumpkins:
- Mark the spacing along the rows too, e.g. 1m.
- Open the packet of seeds and place one seed into each location you marked out.
- Repeat for each seed.
- For plants that grow closely together and/or have very small seeds, like carrots:
- You only need to mark the rows.
- Open the packet of seeds and use your thumb and forefinger to grab a pinch of seeds.
- Bend down and, holding your finger and thumb just above the row you’ve marked out, roll the seeds between your finger and thumb as you move your hand forward to let the seeds fall out into the row. How quickly you roll the seeds with your thumb and finger and how fast your move forward will determine the spacing of the seeds. This may take some practice to get right.
- Cover the rows lightly with a thin layer of soil by using your hands or a rake (without the pipe on the tynes), or hoe to move soil from just beside the rows onto the seeds.
- When all seeds are sown, water the garden bed thoroughly, and keep the soil moist from the date of planting until a week after the seedlings appear.
Activity - Sowing seeds
Take a look at the following image of a person sowing seeds directly. Based on the information you learned above, can you identify what isn't quite right about the technique?

When you think you know the answer, select the (+) sign to see if you are right.
This is a photo of a grower laying down silverbeet seeds in a trench. Did you notice how deep the trench is for these fairly fine seeds? Our instructions specify for you to "lightly cover with a thin layer" of soil. That trench is too deep for these seeds.
In addition, the seeds are too close together. You should shoot for 30cm between each seed. Otherwise, be sure to thin them when they become seedlings.

Just a reminder to work on Assessment 1 for this module. Click the "Assessment 1: Garden Journal" link in the content menu at the bottom of this module. Remember that you need to submit a Garden Journal each week to evidence your progress. Complete the assessment and submit it for marking. Please ask your tutor if you require clarification on what is required of you.