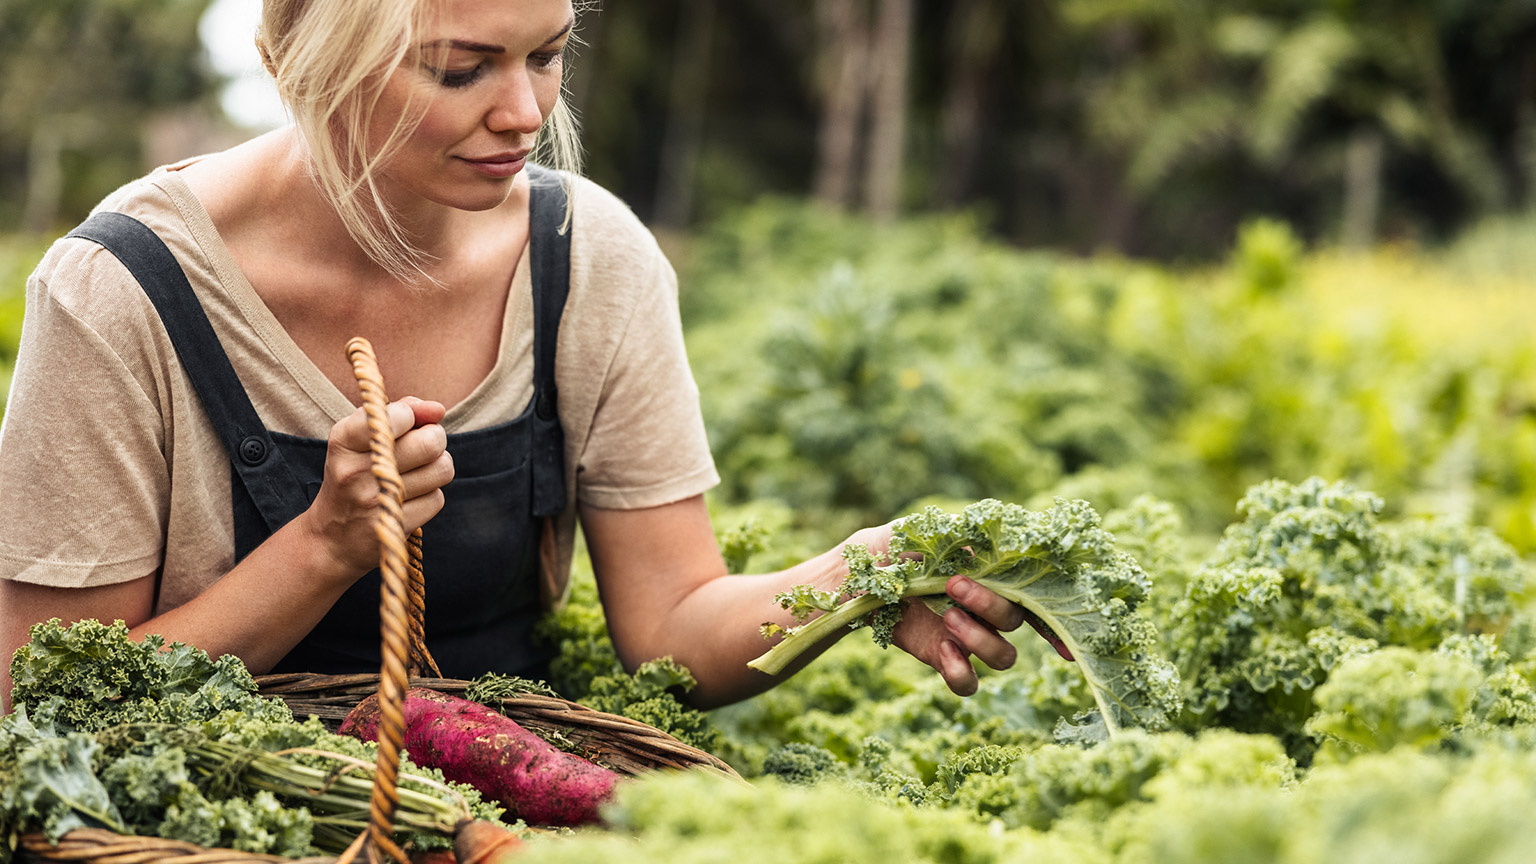
Kale (Brassica oleracea) is a member of the Brassica family, which includes other crops like broccoli, cauliflower, and cabbage. Greens are considered relatively resistant to pests and disease, giving you a satisfying bounty at harvest time.
At this point in the course, your efforts will hopefully have paid off! Some of your plants are ready to be harvested. In this topic, we’ll look at how to go about harvesting your crops, including:
- identifying the best time to harvest
- the harvesting process
- post-harvest activities.
To harvest crops at the right time, it's important to know how they look and feel when they are ready. This includes factors such as firmness and skin texture. Your own experience of shopping for fruits and vegetables can provide a valuable source of knowledge. By observing how these items look and feel when you purchase them, you can gain a general idea of when to harvest your own produce. In most cases, we'll pick our fruit and veggies at the same stage as the ones you see at the store.
Knowing which fruits and vegetables continue to ripen after being picked and which ones do not is crucial for optimal flavour and texture. While some fruits may become sweeter and more tender with time, others may lose their sweetness and become starchy.
Activity – Turn and learn: Benchtop ripening
For each of the cards below, determine if you think the item will ripen on the benchtop after it's been harvested or if it's all downhill from the moment it's plucked from the plant. Then turn it to see if you were right.
- Yes – It will continue to ripen after it has been harvested
- No – It will not continue to ripen and may become starchy rather than sweet
Source: Gardening Know How
Harvesting leafy greens and herbs
We grow plants, like lettuce (rētehi), silverbeet (kōrare), and watercress (wātakirihi) for their leaves. Plants need to be harvested before they bolt (goes to seed).
In commercial horticulture operations, it is common to cut these plants off at ground-level, or in some cases, pull up lettuce with roots still attached and sell the whole plant.
A more sustainable approach for home gardens and community gardens is to snap the outside/bottom leaves off and leave the plant growing. Then you can come back and get more later, and you won’t have whole heads of lettuce taking up the entire vege bin of your fridge!
| Plant | Harvesting notes |
|---|---|
| Lettuce |
|
| Silverbeet |
|
| Microgreens |
|
Harvesting stem crops

We want to harvest our stem crops, such as celery (tutaekōau/hereri/herewī) and rhubarb (rūpapa), when the stems are large and firm. We can snap the outer stems off at the base as we did silverbeet plants.
Harvesting fruit crops
Here we are talking about the botanical definition of fruit, which is the seed-bearing structure of the plant. Using this definition, tomatoes (tōmato), capsicum (rapikama), beans (pine/pīni) and corn (kānga) are all fruit.
| Fruit | Harvest notes |
|---|---|
| Corn |
|
| Beans, peapods |
|
| Apples, oranges, lemons |
|
| Capsicum |
|
| Tomatoes |
|
| Strawberries |
|
| Plums, apricots, other stonefruit |
|
Feijoas
These tropical-tasting fruits are called pineapple guava in other parts of the world. They should be left to fall to the ground as shown in the following image.
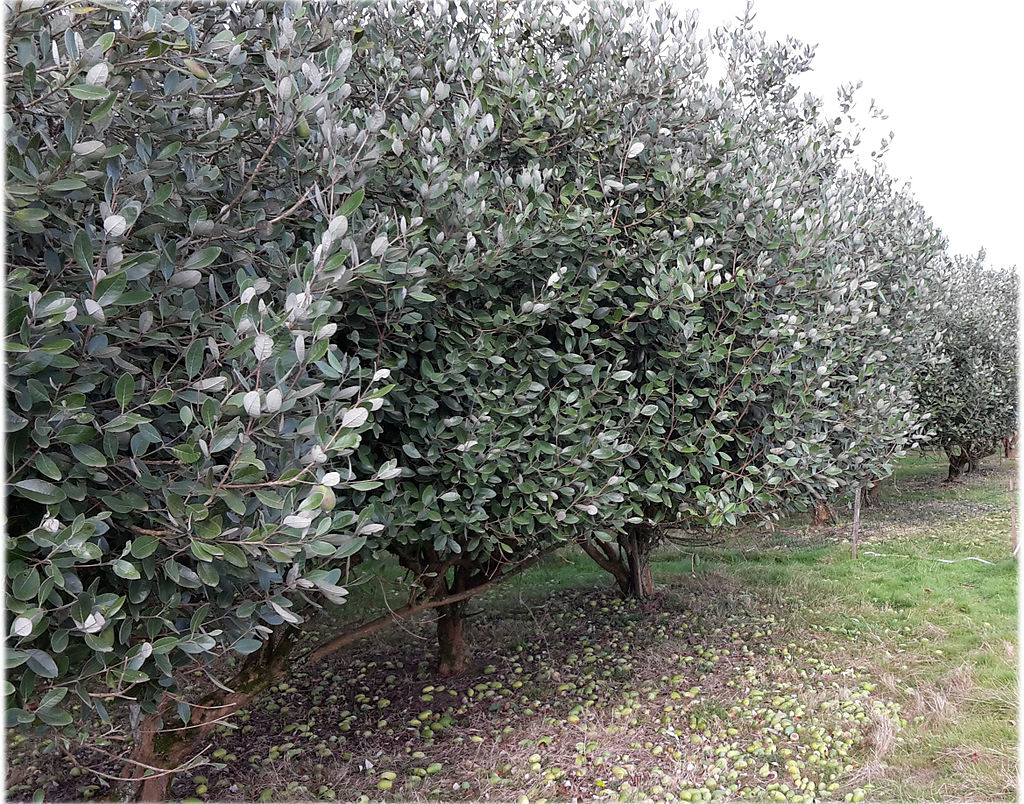
Source: https://en.wikipedia.org/wiki/Feijoa_sellowiana
Look carefully at all the feijoas on the ground in this image. Harvesting means picking them up.
If you anticipate a large harvest, you might want to lay down sections of shade cloth before the fruit ripens and falls. Then when it does fall, it's easy to wrap into the cloth and transport. The cloth can be reused as needed.
Harvesting root crops

A root crop is one where the root or underground stem is the part we harvest and eat. Carrots, beetroot, potatoes, kumera, ginger, onions, and garlic are common examples.
Harvesting notes
Carrots
Carrots (uhikaramea/kāreti) are ripe from about one month from planting. If you harvest them at this point, they will probably be small, but will still taste fine. Most of the crop will be ripe between two and three months from planting. If you leave them to grow much longer than this, they will become hard and woody, and not as sweet. Harvesting carrots is simply a case of pulling them up by the base of the stem, as close to the orange part as possible.

The orange part of a carrot is the root of the plant. When planting, the seed packet will indicate the expected size of the carrot. To check readiness, gently push away the soil at the base of the stem.
Activity - Watch and learn: Kumera harvest
Watch the following video by Sebastian J. Lowe and Wiremu Puke, which shows the harvest of kumera at Te Parapara Garden at the Hamilton Gardens.
When you are done, answer a few questions about what you learned.
potatoes
For a good crop of potatoes (rīwai), they need to be planted (covered) in loose, free-draining soil and continue to have soil mounded up around (covering) them as the growing season progresses. Alternatively, they can be grown in drums or towers, using compost or soil. The Tui website has more information. Watch their video about how to make a potato tower.
Activity – Preparing, planting, and harvesting potatoes
Watch the following video by Mitre 10 for useful information about growing and harvesting potatoes then answer the questions about it.
We can begin the post-harvest activities once we have gathered our crop.
The task breakdown
The following video by Vegetables NZ shows a commercial horticulture operation harvesting lettuce and carrying out post-harvest activities. The same key tasks apply to the home garden, community gardens, and smaller commercial horticulture operations.
Cooling
Many crops benefit from being cooled as soon after picking as possible.
There are a few ways to do this:
- For small harvests, take a bucket of cold water with you. Put the fruit and vegetables into the bucket as soon as you harvest them.
- For larger harvests, spray your harvested fruit and vegetables with cold water from a hose shortly after harvesting, or soak them in a bath of cold water.
Not all crops should be cooled
Kumera, potato, and brown onion are best left on the soil in dry weather to cure so that they keep (store) for longer. Then they can be placed directly into a cool, dark place for storage.
If you are growing crops for sale, you might choose to wash then just before you deliver them to your buyers.
Tomatoes should not be water-cooled or washed before storage, as excess moisture can cause them to split.
Cleaning
The first time the crop is spayed with, or placed into, water, is to cool it down to help keep it fresh, it won’t necessarily wash it clean.
Use a hose with adequate water pressure or a water bath to clean off soil, dust, bird poo, or other things that shouldn’t be there.
Sorting, packing and storing
For home gardens, this is simply a case of sorting through your harvest and deciding if anything needs to be discarded. If so, add it to your compost, worm farm, or bokashi bin. The rest can go in your fruit bowl or fridge.
For community gardens and commercial operations, this may involve a more specific set of steps based on the crops you’re processing.
▶ Market Gardener's Toolkit (optional)
JM takes us through the harvesting and post-harvest activities on the organic market garden.

| Heading | Chapter 10: Harvesting |
| Timestamp | 1:03:27 — 1:10:54 |
Sharing
Lastly, its time to share your produce. This may involve sharing it with your whānau, friends, community or selling it to the public.
Food safety
If you intend to sell your fruit, vegetables or herbs, you need to be certified and comply with the relevant food safety regulations. In most cases, this will be National Programme 1, but if you’re intending to sell your fruit and veges in frozen, dried, or dehydrated form, you’ll need to comply with National Programme 2.

If you’re in Auckland, Tauranga, Hamilton, Christchurch or surrounding areas you might like to look into becoming a grower for Ooooby (out of our own backyards).