In this topic, we’ll be talking about why we prune trees and shrubs, when, and how to prune.
| Pruning | The process of cutting parts — usually branches — off plants to improve their appearance or health, or encourage fruit production. |
It's important to prune trees and shrubs. Do you know why?
Activity – The benefits of pruning trees and shrubs
Pruning to support plant health
This involves removing:
- dead and dying branches
- diseased branches, leaves, flowers, and fruit
- crossing branches.
Crossing branches are removed because they will rub together and cause damage to the bark, which could wound the parts of the branch that transport water and nutrients around the plant. It may also make the two branches more susceptible to diseases.
Pruning to maintain size, shape, or appearance
Growers prune to a specific shape to improve light and access to the fruit, generally done in winter. For many common fruit tree species, winter pruning creates vigorous branch growth in spring. This is helpful when trees are young, and you’re training them towards a specific mature shape.
There are a number of strategies that can be used depending on what you want to achieve.
- Lifting – removing the lower branches.
- Thinning – selectively removing branches in the canopy (made up of branches and leaves) to let more light through.
- Crown reduction – cutting long branches back to the point where smaller branches come off — reducing the plant's overall size.
Hedging is another type of pruning you may be familiar with, however, we'll leave that for a later module.
Pruning and training to encourage fruit production
We can prune fruit trees to redirect energy from less important plant parts to the fruit. This is generally done in spring or summer. Summer pruning usually promotes less branch growth but more fruiting the following growing season.
Another way to get the bush or tree into the desired shape is to force it while it grows.
| Training | A horticulture term used to mean bending branches into a desired shape. |
One example you may be familiar with is espalier — where branches are bent and trained to grow horizontally as shown on this Pear (Pyrus) tree below.

Both pruning and training can give fruit greater access to light and air and make the fruit easier to harvest.
The following table shows what time of year you should be pruning specific trees and shrubs. Study it and then answer the following questions about the material.
| Plant | When to prune |
|---|---|
| Apples and pears | Prune in winter during the early years, until you’ve reached your preferred shape and size. After this, prune in summer after fruiting, to focus energy on fruit development for the next year. |
| Feijoas, olives, figs, citrus | The best time to prune your citrus trees is after the harvest season, but it's not something you have to do every year. If you live in a cold area that gets frost, wait until after the frost season is over before pruning. |
| Nectarines, peaches, apricots, plums |
After fruiting has finished, in late summer, it is the right time to prune — but not every season. Don't be tempted to prune in winter or risk the spores of silver leaf setting in - a disease stone fruits are prone to. If you prune in spring, you just encourage woody growth, while doing it in summer directs energy to fruit development for the following year. |
| Grapes, kiwifruit | In the winter, you can prune back to 3-5 buds. It's a good idea to tie back any long new branches or canes to train them into the shape you want. |
| Cherries, blueberries | Once the fruit has appeared in summer or autumn, it is safe to prune. It is not necessary to prune every year. |
Sources: Stuff and Tui Garden
Activity – When to prune what

Fruit tree pruning tools
- Secateurs
- Loppers
- Pruning saw (shown above).
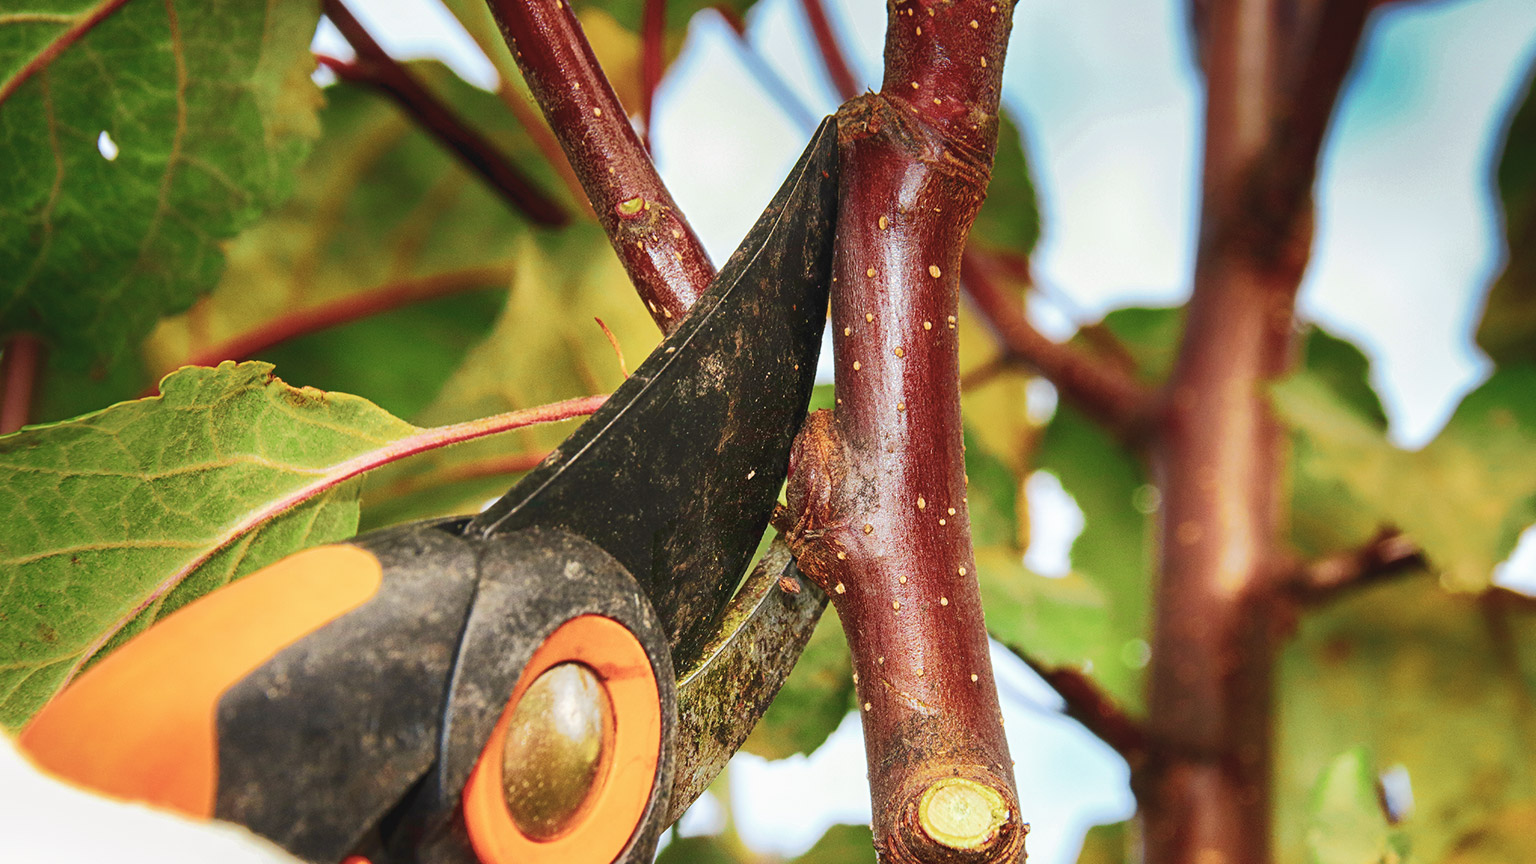
Secateurs
Secateurs are scissor-like clippers designed for cutting small woody branches.
There are two main types of secateurs:
- Bypass: These are the most common and produce the cleanest cut and can get close to the stem. They have a curved shaped blade. They are sharp only on the outer edge, which cuts down beside the anvil.
- Anvil: These are less common but are better when more cutting force is required, such as for removing deadwood. Anvil secateurs have an upper blade that is typically sharp on both sides and cuts down onto a flat or curved lower part — the anvil.
This video does a good job of pointing out the differences.
If you can only buy one pair of secateurs, we suggest getting a pair of bypass secateurs. Use a pair of loppers or a pruning saw if you need more force than you can apply with your bypass secateurs.
Loppers
Like secateurs, loppers are also available in bypass and anvil forms. Again, we’d recommend a set of bypass loppers unless you have a lot of large, hard branches that you can’t reach with a pruning saw.
| Bypass loppers | McGregor's Bypass Lopper 600mm | 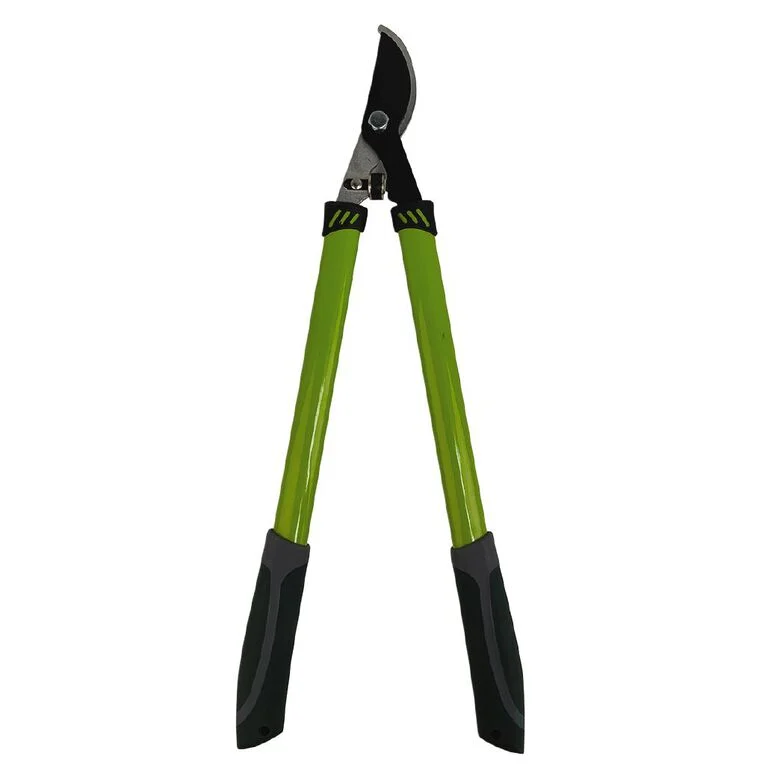 |
| Anvil loppers | Wolf-Garten Comfort Plus Anvil Power Cut Lopper RS750 | 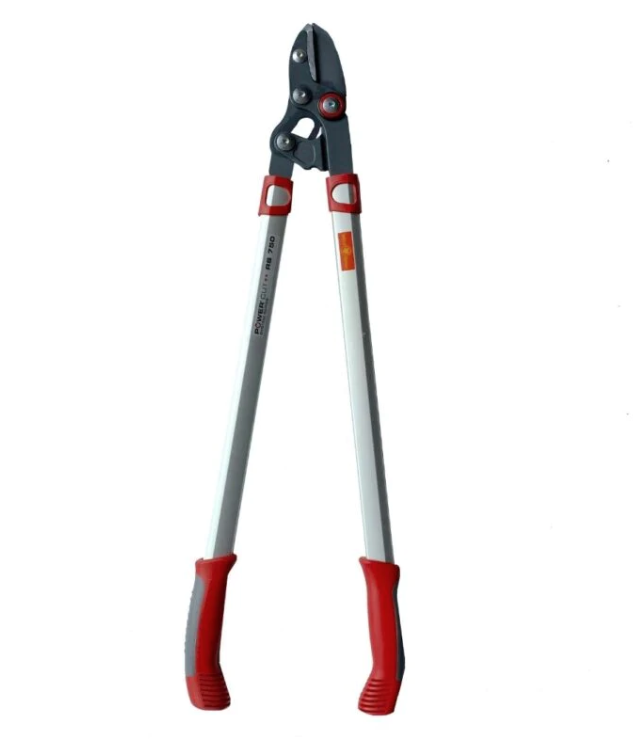 |
Pruning saws

Pruning saws are specifically designed for cutting live branches (wet wood). They are smaller, have differently designed teeth and their blades are much stiffer than saws used for carpentry.
Health and Safety Tip!
Take care when using pruning saws — they are extremely sharp! When cutting, make sure your other hand is well out of the way. If you’re using that hand to hold the branch to steady it while you cut, make sure you’re holding the part above the saw, so it can’t slip down onto your second hand as you cut.
Read this page, at Garden Products Review with detailed instructions to keep you safe while using this sharp but useful tool.
A high-quality pruning saw is a really worthwhile investment. Take a look at Silky saws' Gomtaro, which is used extensively by arborists and trusted for their sharpness, robust design and long life. When blunt, the blade can be removed and a new blade fitted.
Pole tools
Loppers and pruning saws are also available on long extension poles so you can prune branches that are higher off the ground.
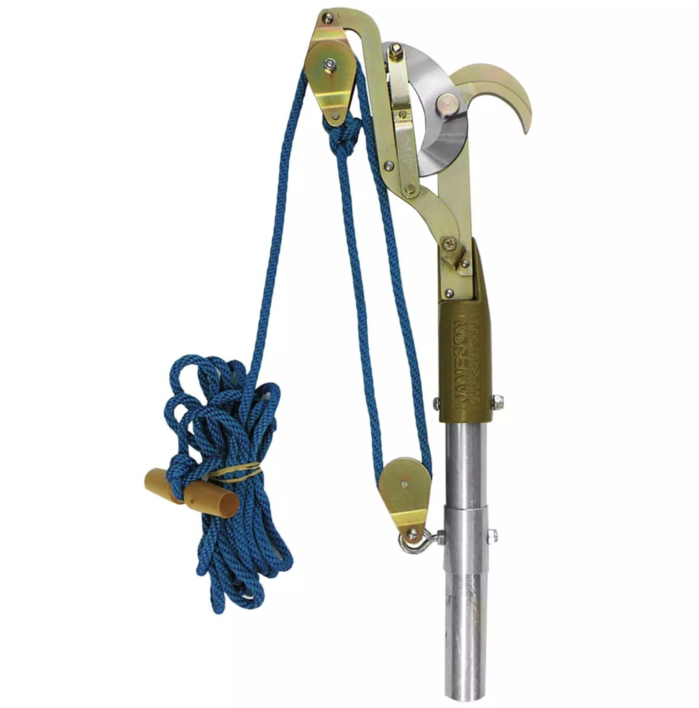
If you plan on buying pole lopper, try to get one that has the hook at the top like this one, which the bypass blade rotates up to. This way you can hook it over the branch and pull down gently on the pole to hold the branch in place while you cut it.
Methylated spirits
Wipe down the cutting surfaces of your pruning tools with methylated spirits between pruning each tree to avoid spreading infected sap.
In this course we’re interested in pruning to encourage fruit production. We’re going to focus on pruning pipfruit (apples and pears) and stonefruit (peaches, nectarines, apricots and plums) to create a good shape.
Considerations:
- Pipfruit generally perform best when grown into a central leader form.
- Stonefruit and citrus trees usually perform better in a vase form.
- Remove no more than one third (⅓) of the total amount volume of branches in one pruning session. If you need to take more off, come back to it the following year.
- Step back and look at the tree from different angles if you’re not sure what to do next.
- Pruning cuts should not be painted, according to the Royal Horticultural Society.
- If in doubt, call an arborist, especially for large or damaged trees. Safety first!

This image shows the two most common fruit tree forms: vase and central leader.
Have a plan
Pruning fruit trees to form a good shape involves the following steps:
| 1. Plant health |
Remove:
|
| 2. Structure |
|
| 3. Size and light |
|
In the following three videos, Kath Irvine from Edible Backyard provides a great introduction to how to prune fruit trees to create the desired shape and size.
1. Pruning Fruit Trees The Basics Step One The Shape 1
2. Pruning Fruit Trees The Basics Step Two The Framework
3. Pruning Fruit Trees The Basics Step Three The Branches
Pipfruit and stonefruit generally form fruit on two-year-old wood. The three types of cuts we use when pruning these trees are:
| Heading cuts | These are cut in one-year-old wood which encourage vigorous branch growth. Ideally these will be halfway along the section of one-year-wood and will be just past an outwards facing bud. |
| Shortening cuts | These are made in two or three-year-old wood and are used to stop the branch from growing, or redirect the growth into a smaller lateral branch. We cut through the branch some distance out from where it joins to the main stem |
| Thinning cuts | These are used to form the tree into the shape and size we want. We cut the branch that we don’t at the point where it joins the main stem. |
Head over to YouTube to watch this video from the University of California Santa Cruz Center for Agroecology where Orin Martin gives a detailed explanation and demonstration of how to prune pipfruit and stonefruit trees.
Make correct cuts
The UC Santa Cruz video above, showed how to make heading, shortening, and thinning cuts on small branches using secateurs, but from time to time we may need to cut larger branches. In these cases, we’ll be making thinning cuts and will need to use a pair of loppers or a pruning saw.
The following images show where, how, and on what angle to make thinning cuts. The three-cut approach shown for hand saws is important when there is a lot of weight in the branch. Doing it this way stops the bark from tearing – as would be the case if we simply cut from the top down right through the branch.


The image above is shown looking end-on at the lopper blades when making a thinning cut.
Watch the following video (start at 1:20) for a demonstration of the three-cut method of pruning.
Activity – Three-cut thinning
Keep practising, keep learning
See how your trees respond to your pruning and adjust your approach if needed. Fruit trees are pretty tough, so if you make a mistake, chances are it will survive, and you can try to correct it the following year.