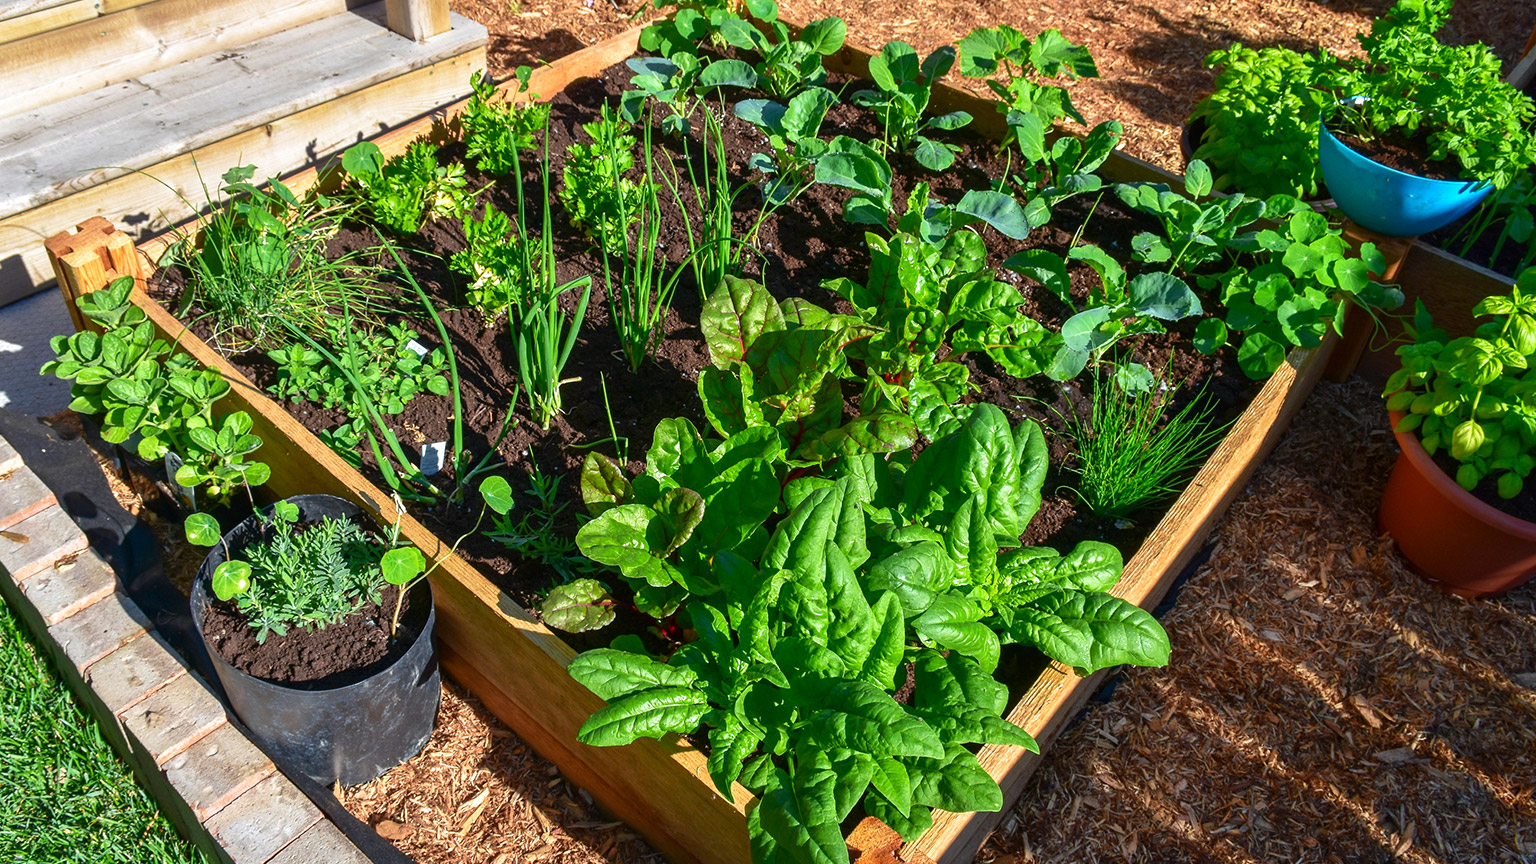
This flourishing garden makes the most of a timber-sided raised bed, planting bags and plastic pots.
To get the most out of your garden, you need to make a plan and work towards it. If your goals change, or the way you choose to achieve them changes, that’s okay, but it’s good to have a plan in the meantime.
In this topic, we look at three main plans.
- A planting plan
- A cropping calendar
- A garden calendar.
Before we do, let’s talk about overall garden design.
By this point in the course, you have carried out a site assessment and completed a site evaluation report. The purpose of these activities was to work out what plants will grow well in your climate and environment, and explain what tasks need to be carried out to get the area ready for planting.
You also prepared a garden bed for planting and started growing plants from seeds. The purpose of this was to get you started; to give you a taste of what it’s like to grow plants.
Now that you’re underway, it’s worth taking the time to do a little more planning and this starts with thinking about what you want from your garden in the long term.
Setting goals

Not all goals are created equally. If it isn't really achievable, or can't be measured, your goal needs more consideration.
Set a goal that is SMART!
- Specific: clear and precise
- Measurable: can be evaluated, assessed, allows you to know if the goals have been achieved
- Achievable: think about what you can actually do with the time and resources (such as money, tools, access to water) available to you; don't bite off more than you can chew
- Relevant: ties in with other goals you, or others around you have (sometimes Realistic is used instead)
- Time-bound: a time limit for achieving this goal, making it more specific, and measurable.
Activity – Setting goals
Review these example SMART goals and then set about creating your own.
- To grow enough fruit and vegetables for my whānau so that we don’t need to buy any all year, by the end of next year.
- To have completed ten garden journals over the next ten weeks.
- To implement at least two sustainable practices, before the end of this course, that I was not previously doing.
- Increase the soil fertility in my garden by incorporating organic matter, such as compost and cover crops within the next 6 months.
Work out the tasks that will achieve that goal
Let's take the first example above:
To grow enough fruit and vegetables for my whānau so that we don’t need to buy any all year, by the end of next year.
The tasks required are:
- Form a co-op (co-operative): Talk to classmates, friends, and whānau about working together so they grow some, I grow some and we share. (It’s easier to learn to grow a few crops well than all of them by yourself, at least in the first few years.)
- This could be a good way to meet your goal for fruit, as fruit trees can take several years before they are old enough and large enough to produce a good crop.
- Grow vegetables: Vegetables are quick growing; we should be able to harvest some within weeks and others in the following months.
- If we work on the principle of a co-op, we should speak to others in that group and work out which plants to grow.
- Plant fruit trees: Thinking a bit beyond our goal, if we plant fruit trees now, then in a few years, we’ll be able to harvest our own fruit and contribute lots to the co-op.
If you’re starting small, your goal may be something like: To grow three types of vegetables, year round.
For a goal like this, your tasks may look like this:
- Develop a crop planning calendar: Plan how to get the most out of the growing space available.
- Grow plants from seed: The most cost effective way.
- Look after the plants according to the crop rotation calendar.
When setting your goal and deciding on your tasks, consider:
- How much space do I have available and what type of garden beds am I going to use?
- This should be based on your site evaluation report.
- What do I want to grow: food, flowers, or ornamental (decorative) plants?
- If food, how many people do you want to feed?
- Based on your site evaluation report, what plants will grow well?
- What is your budget?
- For instance, fruit trees often cost $50 or more each.
- Vegetable seeds are usually less than $5 for a whole packet.
- What other site features do I need to consider?
- Size and shape
- Shade and shelter
- Access to water
- Site access – how easy or hard is it to get products (like large bags of compost or mulch) to the garden bed?
- What will you do now and what will you do later? When will you do those other things?
- For example: "I’ll water by hand until I’ve expanded my garden beds to 100m2."
With these thoughts in mind, now you can turn your attention to creating a planting plan — a drawing, or set of notes that show what to plant, at what spacing, where in your garden.
For fruit trees, it might be enough to say:
- Your rows of trees should be 6m apart and at least 3m from fences.
- The trees should be 4m apart within each row.
- No trees from the same family should be planted directly next to each other (e.g. apple then plum, pear – as apple and pear are both from the Rosaceae family).
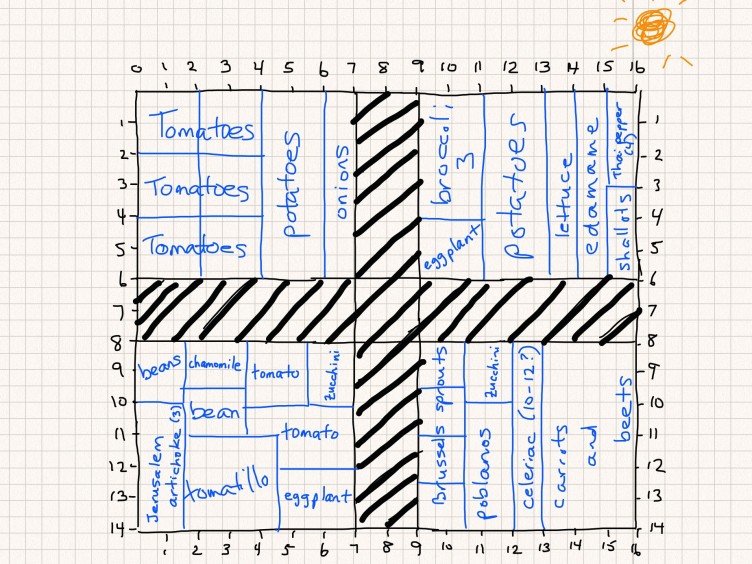
For a small vegetable garden, you might prefer to make a drawing of what you’ll plant. The grower who made the following image used graphing paper to plot out plans:
If you’re new to gardening, for this programme, we suggest you do the following:
- Limit yourself to 3-5 crops. Learn to grow these well before starting to grow other species.
- Grow some fast-growing crops (radishes, spinach, and rocket all mature within 30 days from sowing) so you can go through the full cycle of gardening tasks with those plants.
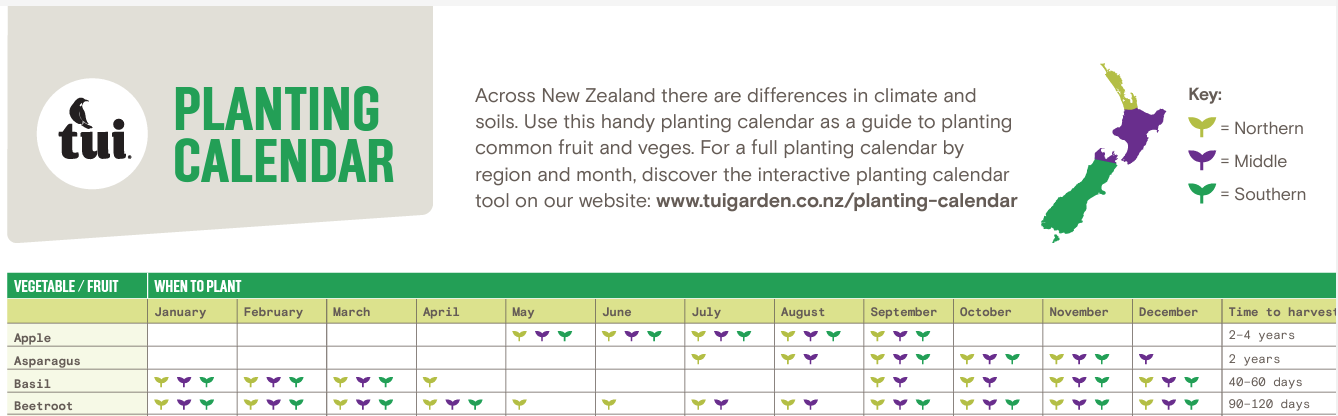
- A useful place to start is a planting calendar, like this one from Tui or the GardenGrow website.
- Use the calendar to get a rough idea of what you can plant now, then look online at Grower’s websites to find out about possible crops to plant now, in your location, and find out:
- whether to direct seed or transplant
- how far apart to plant the seeds or seedlings
- how deep to plant the seeds
- how long it takes for the seeds to germinate
- how long it takes until the crop is ready to harvest.
Remember we provided a list of some useful grower’s websites previously in the course.
For vegetables, you may be able to grow more in the growing season by planning out what to plant after harvesting your first crops. We call this a crop planning calendar.
Use a planting calendar, like the previously mentioned Tui one, to get a rough idea of what you can plant and when; then go to the grower’s websites to find out more details.
Here’s an example:
Let’s assume we live in Te-Whanganui-a-Tara (Wellington), which is in the middle (purple symbol) on the Tui planting calendar.
In one section of our garden bed —
- At the beginning of October, plant capsicum, which takes 80-100 days until harvest (harvest late December to early January).
- Remove capsicum crop residue and sow carrots, which take 50-65 days until harvest (taking us to mid-February to early March).
- Remove carrot crop residue and plant cauliflower, which that 90-120 days until harvest (taking us to mid-May to early July).
- Remove cauliflower crop residue and plant peas, which take 45-70 days until harvest (taking us to late July to last September).
Based on this rough plan, it looks like we’ll get four different crops in the same area by planting them one after another.
Now we can refine this by looking at specific growers’ websites.
According to King Seeds:
| Vegetable | The website shows that: | |
|---|---|---|
| Pepper Bell Colour mix | 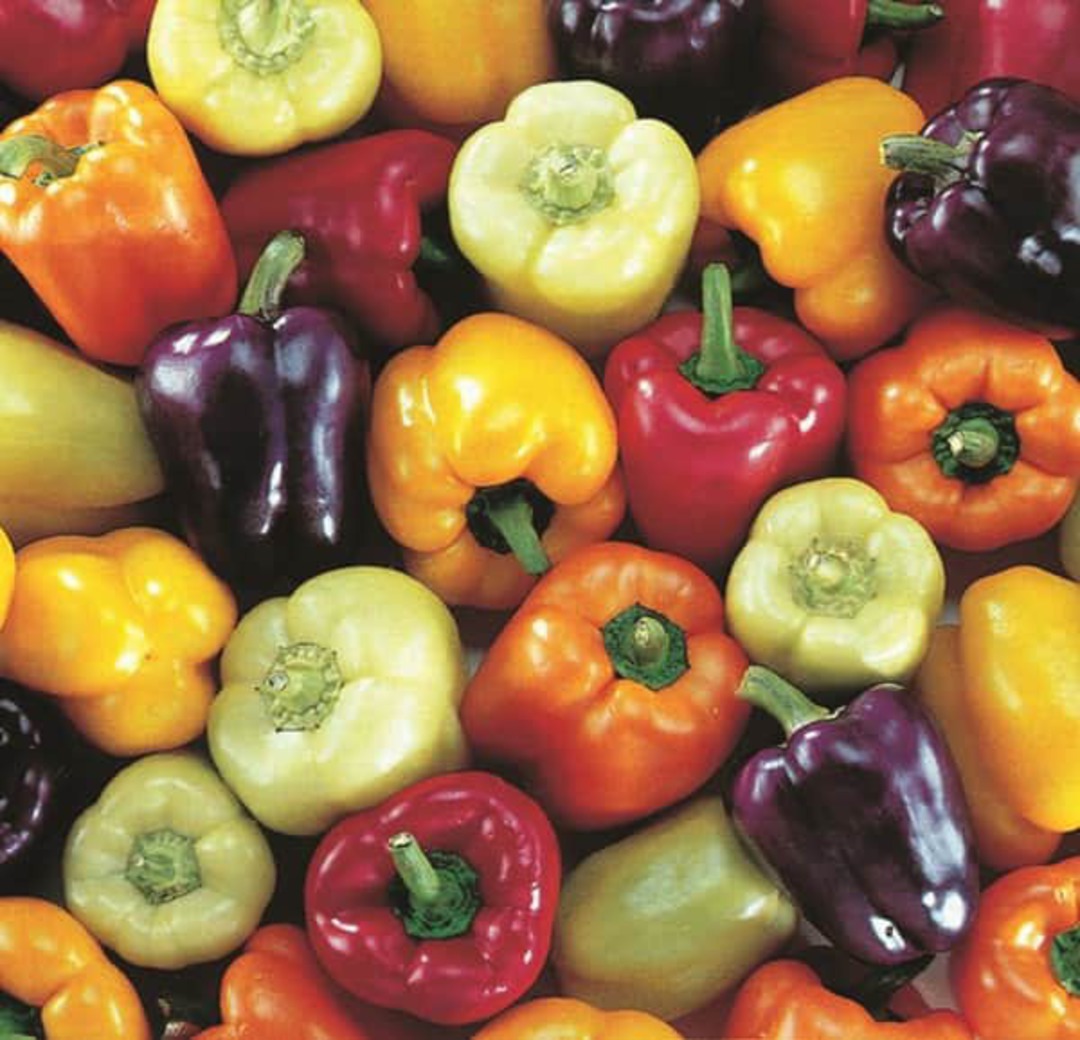 |
These take 8-20 days to germinate (let’s plan on 20) and 80 days from transplant.
|
| Carrot Purple Dragon | 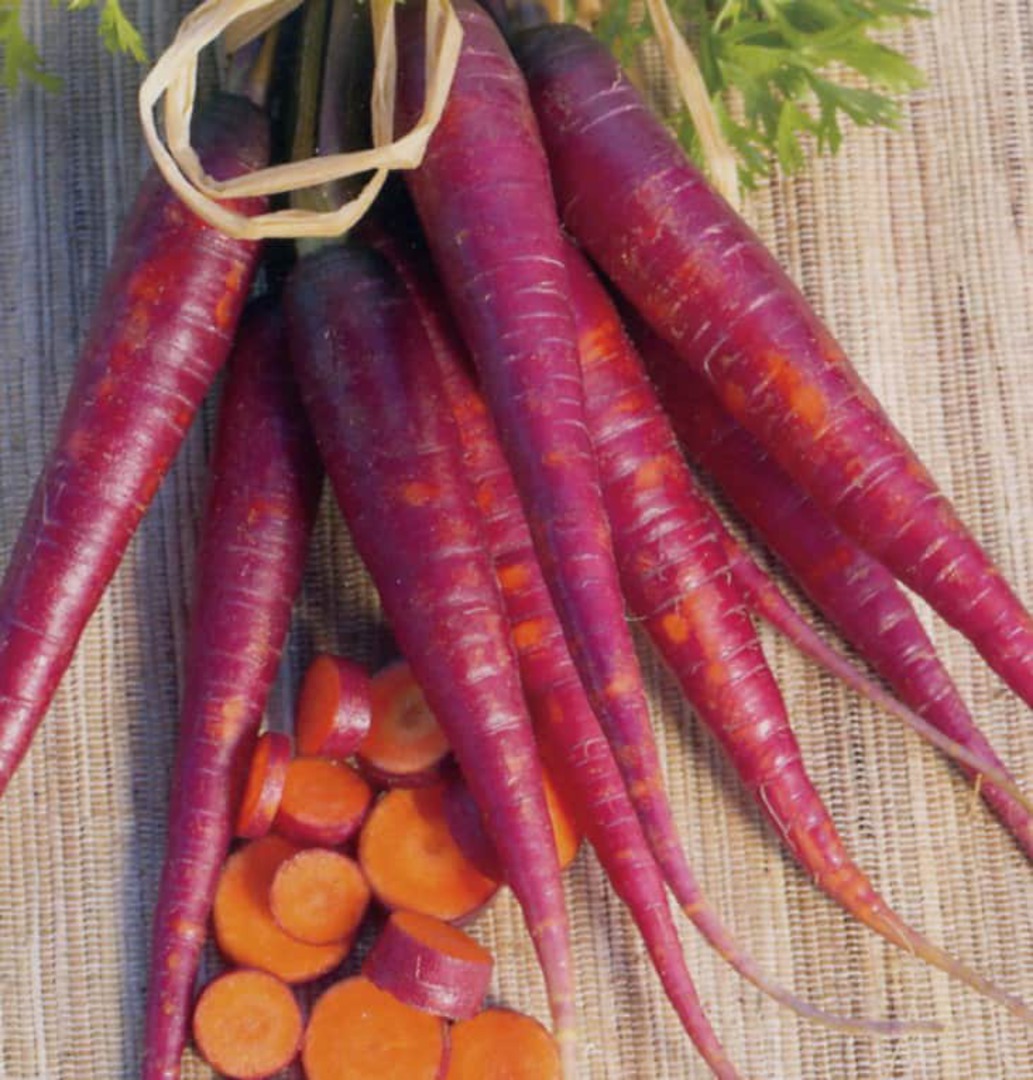 |
These take 10-14 days to germinate and are mature 75 days from direct seeding.
|
| Cauliflower Violet Sicilian | 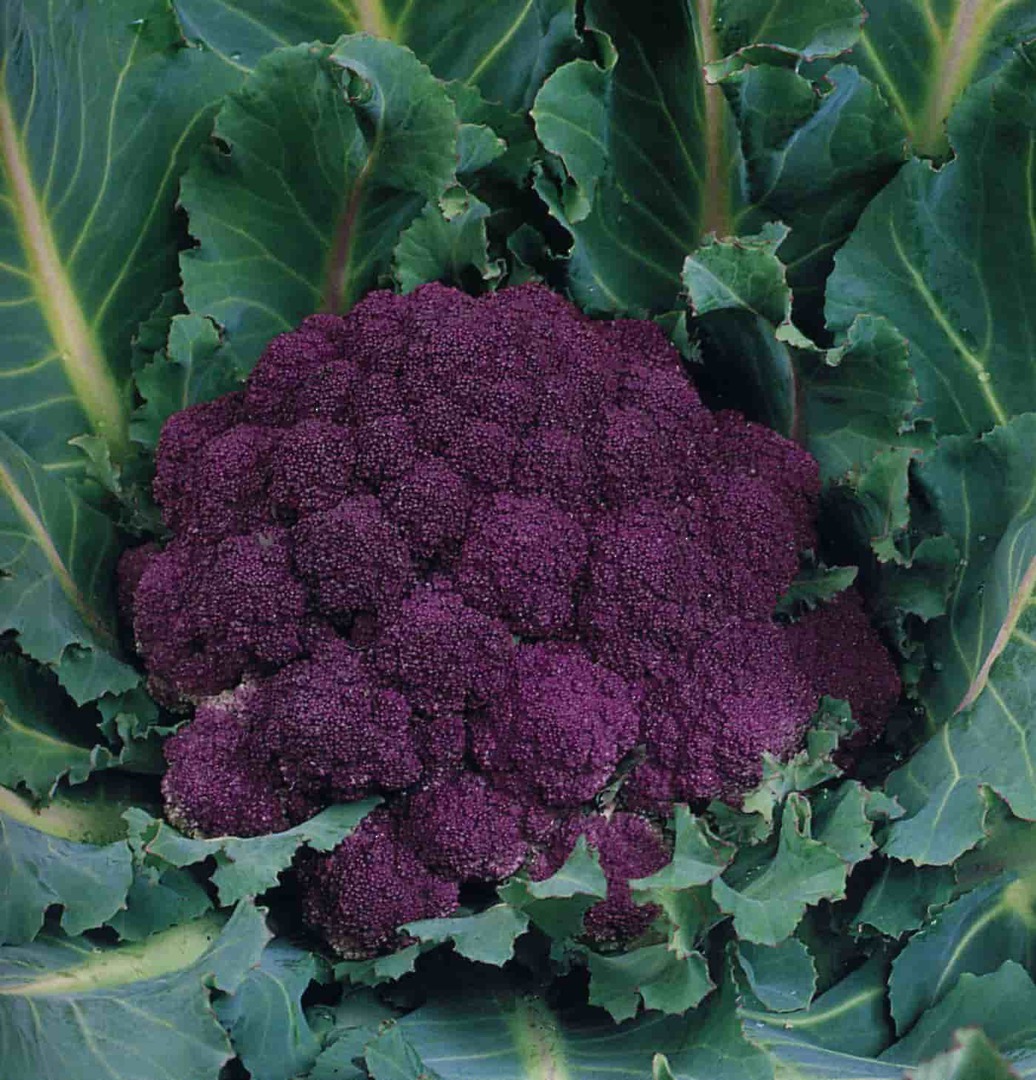 |
These take 5-7 days to germinate and mature 75 days from transplant.
|
| Pea Sugar Snap Dwarf | 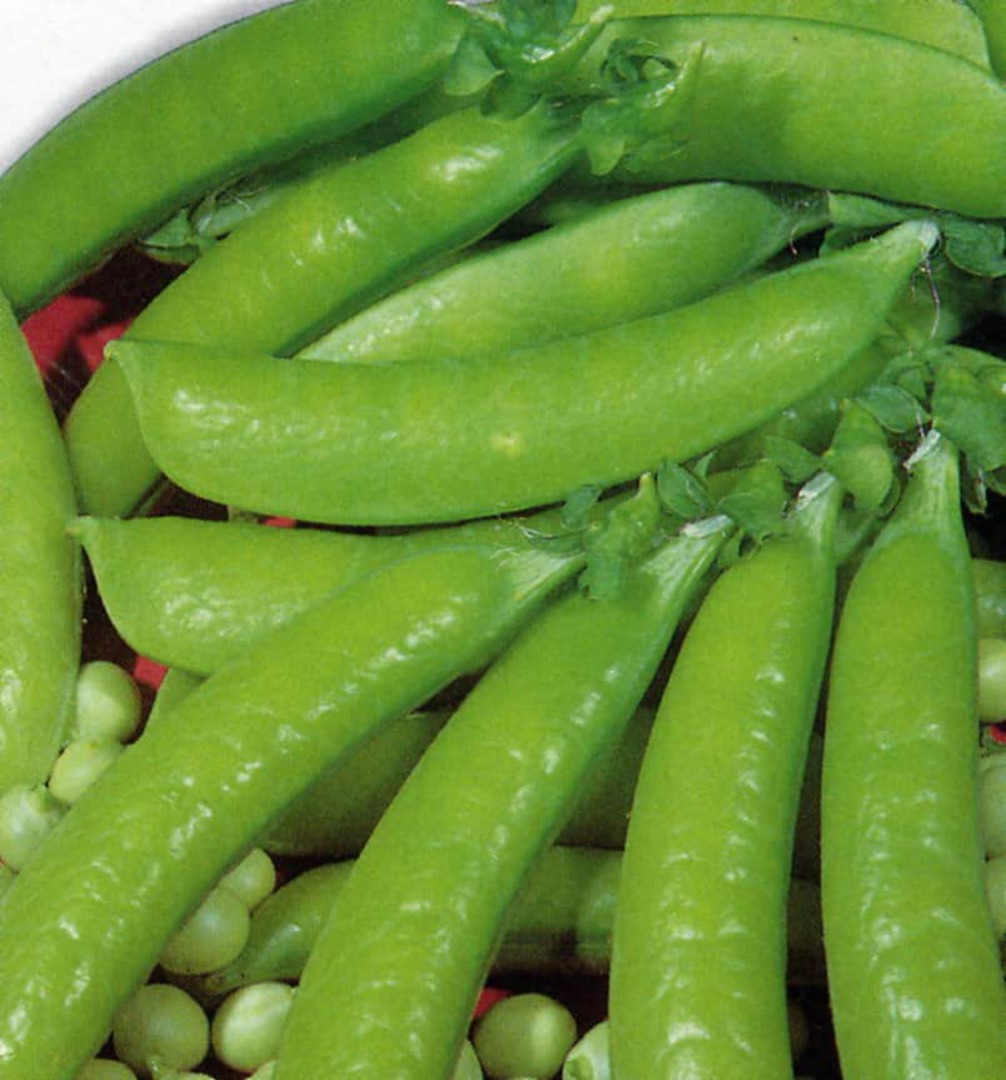 |
These take 6-10 days to germinate and mature 55 days from direct sowing.
|
image sources: King Seeds
You can see here that we’ve got three months over winter with no plants growing, which is different to our initial plan. In part this was due to the fact that peas are not frost hardy, so we wanted to plant them earlier and harvest them before a major frost.
But it’s also due to careful planning:
- We were more specific about the growing periods of these plants, based on the actual varieties we wanted to grow.
- We plan to start our transplants in seed trays before the crop they are going to replace is removed.
- Likewise, we plant to direct sowing before the previous crop has been removed.
This means we could grow a winter crop, such as silverbeet — perhaps this lovely rainbow variety — during the period from late June until early spring.
Crop planning is a time-consuming process, especially if you consider that you should do this for each area of your veggie gardens, but it helps yield crops throughout the year.
Alternatively, for some plants, you could choose to plant the same crop in the same place once the first plants have been harvested. For instance, radishes, rocket, and silverbeet can be planted year-round.
One word of warning, though it’s not good practice to keep growing the same type of plants in the same location year after year. Instead, you’re better to use an approach called crop rotation.
The reason for not planting the same plants in the same place each season is to help prevent the build-up of pests and diseases in the soil by disrupting their life cycle, and to keep your soil healthy. Crops from the same families are more likely to be affected by the same pests and diseases.Tui Garden
Use the garden calendar to organise and keep up with your tasks, which not only reminds you what to plant, where, and when, but other garden tasks.
What to plan and record
Your garden calendar could take the form of a diary, or a wall planner. Make sure to include:
- What to plant, where and when, for example:
- find 5 February and write on that day, “Sow 20 Violet Sicilian cauliflower seeds in seed trays” or shorten to “20x VS cauli in trays”, or
- find 5 December and write “Direct seed 5 rows of Purple Dragon carrot in bed 1, block 2”. This could be shortened to “DS PD carrot 5r B1b2”. You can come up with your own system of codes and abbreviations.
- What to harvest, when and where, for example:
- “Harvest half of Purple Dragon carrots from bed 1, block 2”.
- When to check plants for pests and diseases based on their most likely occurrence.
- When to check plants for signs of water stress and consider irrigating.
- When to cover crops with row covers (for pest prevention, wind protection or warmth) and when to remove them.
- When to tarp or remove crop residues, apply compost, and reset beds for planting.
- When to prune trees.
Watch the following video for tips and ideas how to create your own garden calendar.
Maramataka: Growing by the moon
The Māori concept of maramataka is a planting calendar based on the phases of the moon.
Source: Natural Sciences Image Library of New ZealandTraditionally, Māori measured time according to the nights rather than the days. Nightly cycles began with the new moon. Each night of a lunar month was named and described according to how favourable or unfavourable it was for fishing, eeling, or planting.
For example, using maramataka, the following days in February 2023 are considered good days to work in the māra (garden):
- 2-3
- 6-8
- 13-15
- 17-18
- 23-28.
You can find out more information about maramataka, including downloading the current calendar and interpretations.
You might find it useful to use maramataka to plan out the most productive days to carry out your work in the māra and use this to inform your crop planning calendar and garden calendar.
Moon planting through the ages
The concept of planting by the moon phases isn’t unique to Māori traditions. Many organic gardeners will choose specific plants to transplant or seed based on the waxing or waning phase of the moon.
Vegetables and fruits we eat from above the soil, like tomatoes and cucumbers, should be planted while the moon is growing larger, drawing the sap up and into the areas we want energy.
Foods that remain under the soil such as potatoes, beetroot, and carrots should be planted or transplanted during a shrinking (waning) phase of the moon because it drives the sap downwards to the roots of the plant — the parts we eat.
Learn more at the Organic Edible Garden.

To become an excellent gardener, make a habit of observing (looking carefully) and recording.
Observe:
- The land and nature around you:
- What gets damaged by storms, floods, drought?
- Your site:
- Where does the water pool after heavy rain?
- Where does the soil dry out first during summer?
- How much rain fell each day?
- What was the temperature each day?
- Your plants:
- What’s growing, and what stage is it at?
- What grew really well? Why do you think it did so well?
- What pests or diseases did you find, when and on what plants?
Record what you see:
- Keep a diary. This could be the same diary you used to record your garden calendar.
- Keep these for several years.
- You’ll find them useful to look back through and remember what you grew that year and to pick our trends, for instance, every year we get white butterflies during December and January; “I must remember to put crop covers on this coming year”.
Experiment; try new things:
- See if anything grows in areas of the garden you don’t expect them to.
- Plant plants that are just outside the growing conditions of the site and see how they do.
- Record the outcome of your experiments.
Congratulations! You have completed the learning for module 2. Please ensure you read the instructions carefully to submit your assessments.