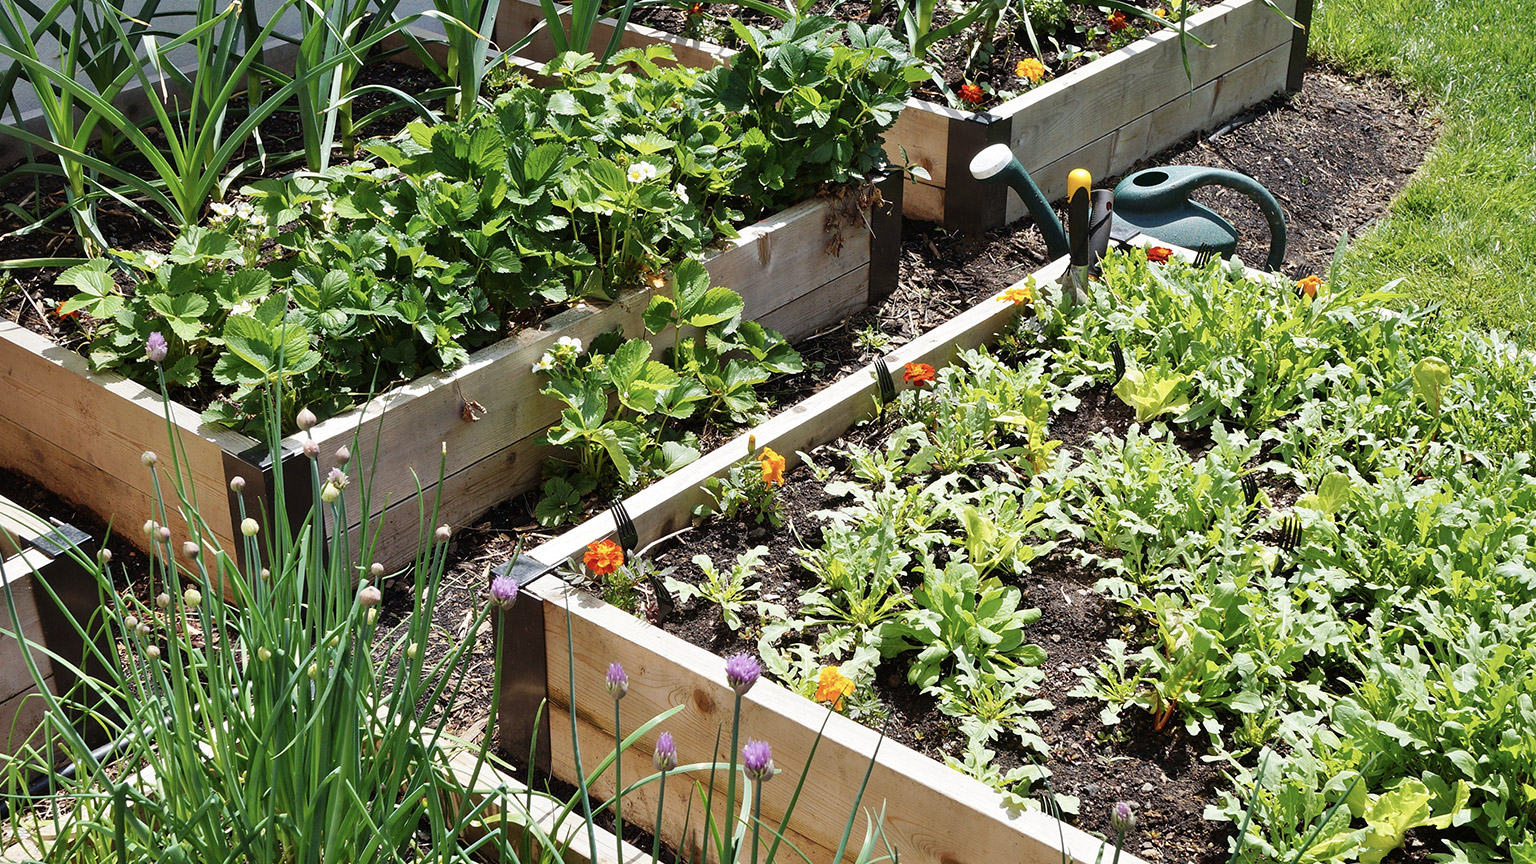
The main focus of this module has been on the composition and properties of soil. In the next two sections, we’re going to look at how we apply this understanding to our garden bed planning and care.
As a reminder, take a look at these photos of the process of forming in-ground raised beds.

Removing the tarp.

Loosening the soil with a rotary hoe so that it can be mounded easily. Note the dead leaves and roots of the grass, which has started to break down and provide nutrients to the plants we’ll grow in this garden.

Close-up of the soil after rotary hoeing. It is well structured, has visible organic matter and is friable.

Measuring the bed width and hammering in pegs.

Setting out the stringline.

Raking the soil from the path onto the garden beds to mound them up.

Raking the beds level, pulling the soil up against a boot to keep the bed edge in line with the stringline.

Aerating the soil by pressing a garden fork into the bed and pulling back on it to open the soil up.

Mixing compost into the soil using a hoe.
Now we can water the soil and then grow plants in it. We won’t turn these beds over again but we will add more compost before planting the next crop.
Why do we do it that way?
Let’s take a minute to consider what we’ve done here, and how those tasks relate to our knowledge of soil.
- Protected the soil while we killed the plants that were growing in it.
- We used a tarp to kill off the cover crop and help it decompose, rather than use a herbicide, which would damage the biology of the soil.
- We made the soil less compact
- We used a rotary hoe to break up the soil to make it easier to work with.
- While it’s not ideal to turn over soil in this manner, the idea is to form the beds once and not disrupt the soil after that.
- We used a rotary hoe to break up the soil to make it easier to work with.
- We put care into the dimensions of our garden bed
- We used stringlines to set out the size and locations of the beds. This helped ensure the beds are the same width the whole length, which will mean we can stock them with the right number of rows of plants all along.
- This will also make it easier for us to measure out ingredients.
- We used stringlines to set out the size and locations of the beds. This helped ensure the beds are the same width the whole length, which will mean we can stock them with the right number of rows of plants all along.
- We broke up the soil again and went deeper
- We aerated the soil to a deeper depth using a garden fork. This helps let air and water move deeper into the soil profile.
- We amended the soil with compost
- We applied compost to the raised beds to add organic matter – which aids soil structure and adds nutrients to support plant growth.
- We mixed compost into the top few centimetres of the soil using a hoe.
- It's easier to mix the compost into the soil using a hoe than a rake, and lower impact than to dig it over with a spade.
- We mixed compost into the top few centimetres of the soil using a hoe.
- We applied compost to the raised beds to add organic matter – which aids soil structure and adds nutrients to support plant growth.
The following images show the process of timber-sided raised beds from two medium-sized (1600x1000mm) pallets.
If you want to build garden beds from old pallets, look for ones marked HT. This means they are heat treated rather than chemically treated. It should be noted that the timber won’t last very long when it’s in contact with the soil, so you may need to replace parts of it over time.

Start by dismantling the pallets into their component parts. Wear appropriate safety equipment, such as hand, foot, eye and ear protection.

Cut the components to length then assemble them using nails or screws.

Position the components in the right place then join all sides together. For this project we’ve cut the pallet supports into 300mm lengths and used these at the corners and in the middle of the long sides.

If you’re worried about weeds or grass coming up in your raised bed, place cardboard under the frame then cut off the excess so the cardboard is flush with the outside edges of the frame.

Fill with topsoil, or a mix of topsoil and compost.

Water thoroughly. This will help consolidate the fill. If you want the growing medium to be at the same level as the top edge, you may need to add more after watering.
Why do we do it that way?
So, what have we done here, and how do those tasks relate to our knowledge of soil?
- We opted to use heat-treated (HT) pallets so that there are no chemicals that could leach into the soil and disrupt the soil biology.
- We put cardboard down to suppress the grass and weeds. This will decompose over the next few weeks, after which the worms and other organisms from the soil below will be able to move into our compost.
- We opted for a balanced mix of compost and topsoil but good-quality topsoil with a thin layer of compost would have worked well too.
- An alternative approach is to use a lasagna garden method, which is introduced in this video by Garden Fork.
Planter box

An alternative to the garden beds above is a planter box. A planter box is similar to a timber-sided raised bed, but is usually smaller, and may have legs and feet that lift if off the ground. They are great for on decks and patios. The one shown above can even be rolled around to capture optimal sunlight at different times of the year.
This Sustainability Trust webpage describes how to build a planter box from old pallets: Make a pallet planter for small spaces.
Hügelkultur

Another alternative is hügelkultur, which literally means “mound bed" or "mound culture", is a horticultural technique where a mound constructed from decaying wood debris and other organic, compostable plant materials is planted as a raised bed.
There is little scientific evidence to support the hypothesis that huge mounds produce greater yields than other gardening approaches, however, many home gardeners describe the growth produced favourably.
If you have access to a lot of woody material but your soil isn’t great, this could be worth a try. One issue with this approach is that over several years the bed will flatten as the woody material decomposes, at which time it may need to be rebuilt.
Chalker-Scott suggests experimenting with hügelkultur and comparing the results with traditional gardening approaches, or turn to science-backed approaches such as in-ground raised beds topped with compost and wood chips. Download Chalker-Scott's PDF for more information if you want a deeper dive.
Watch
In the following video by Growfully with Jenna, she shares her journey and shows plants growing in one of the Hügel mounds: