In Module 2, we learned how to make compost and how worm farms can be used to produce vermicompost — a type of compost high in plant nutrients.
This topic describes how to add these and other soil amendments to your soil to help improve it.
Soil amendments may be found in your home in the form of composted kitchen scraps, at the garden store in a packaged product, or even on the side of the road in the form of horse poo at $2-5/bag.
The most common soil amendments are:
- compost and vermicompost
- manure
- organic mulches
- blood and bone
- seaweed tonic.
For each of those, you'll need to know:
- when
- how much to apply
- how to apply it.
Note that you don’t need to apply all of these amendments. Using the considerations you are learning in this module, you can pick and choose the ones that help you build your soil as needed.
Adding compost or vermicompost
As a general rule of thumb add compost:
- Before planting: For annuals or new perennials – Mix compost into the top 5-10cm of soil prior to planting. If the compost is fresh (rather than aged) mix it in a week or two before sowing or transplanting. If the compost is aged, you can add plants immediately after mixing it with the soil.
- Topdressing during the growing season: This is particularly useful for gross feeders – those plants that require a lot of nutrients. Spread a thin layer (about 1cm) of compost around the base of established plants, being careful not to mound it against plant stems. This can be done once or twice during the growing season, preferably in early spring and mid-summer.
- At the beginning of the growing season: For perennials – such as trees – add 5-10cm on top of the soil at the beginning of spring each year. You probably won’t need to top-dress during the growing season.
The following table shows the amount of compost you’ll need for a range of different application rates.
| Rate | Area covered by 1m3 | Amount needed to cover 100m2 |
|---|---|---|
| 1cm deep | 100m2 | 1m3 |
| 5cm deep | 20m2 | 5m3 |
| 10cm deep | 10m2 | 10m3 |
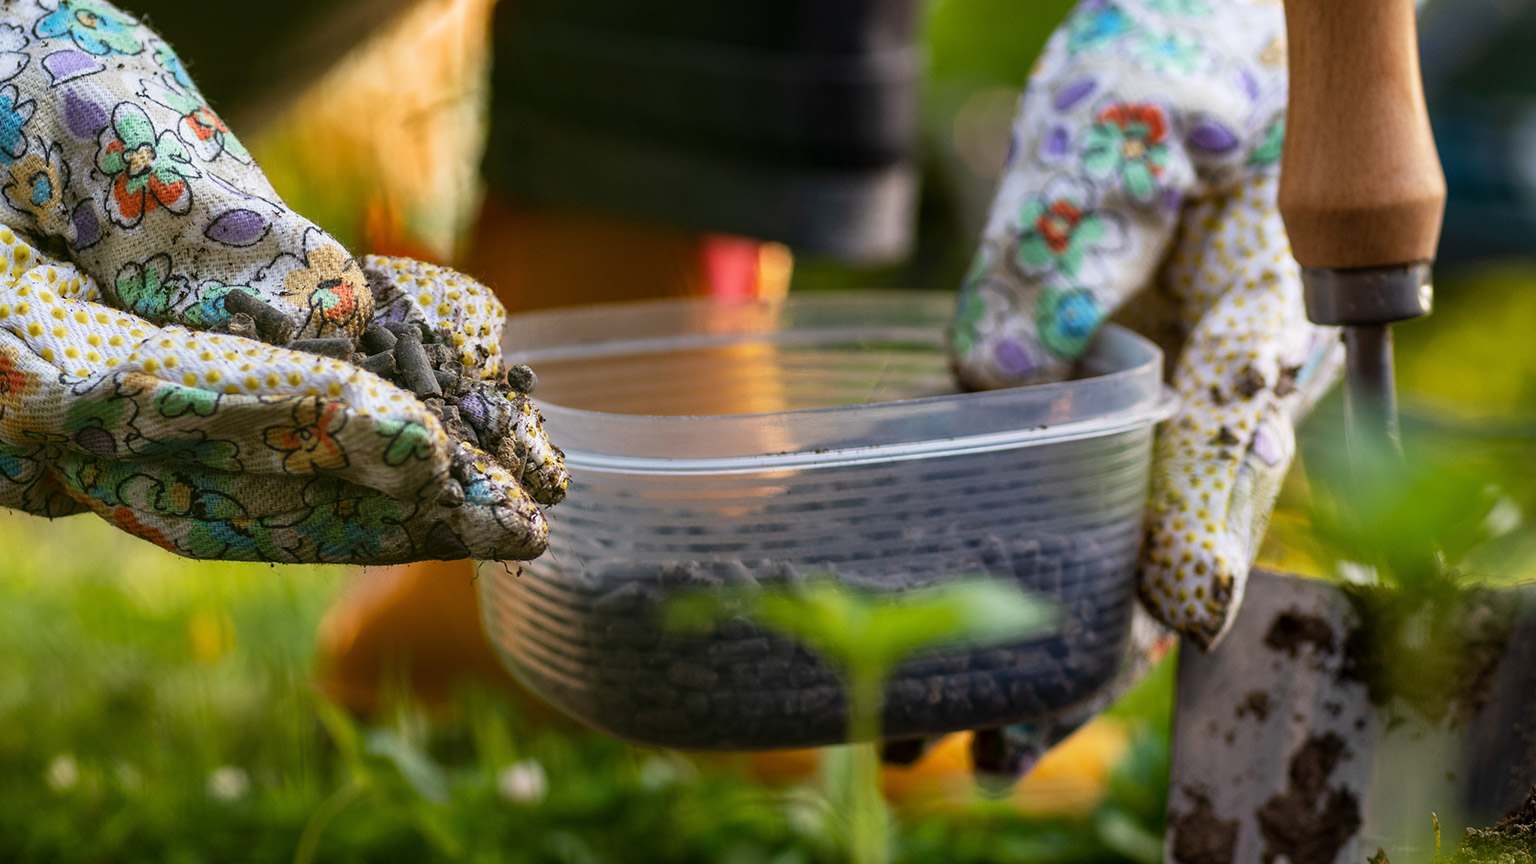
Adding manure
| Before adding manure, it's recommended that you conduct a soil test to determine its nutrient composition and pH level. This will help you understand the specific nutrient requirements of your soil and plants. The test results can guide you in determining the appropriate amount and type of manure to add. | 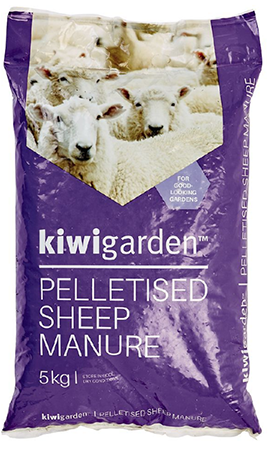 |
Different types of manure offer varying nutrient profiles and characteristics. Some commonly used manures for gardens include:
- Cow manure: It is readily available, has a balanced nutrient content, typically has a pH range of 6.5 to 7.5 and is relatively mild in odour.
- Horse manure: Horse manure tends to be high in nitrogen and can be mixed with other organic materials for a balanced nutrient profile, it’s pH can vary depending on factors such as diet and bedding material (the bedding material is what is used in the stables – straw bedding is more alkaline which wood shavings and sawdust are more acidic). On average, it tends to be slightly acidic with a pH range of 6.0 to 7.0.
- Chicken manure: It is high in nitrogen and can be quite potent. It's best to compost it before using it in the garden to reduce the risk of burning plants due to its high nitrogen content. Fresh chicken manure can have a pH range of 5.5 to 7.0. However, after composting, the pH tends to stabilise and can become more neutral.
For garden beds, a general rule is to apply 3-5cm of composted manure per year. Work it into the top few inches of soil before planting.
For potted plants, use a smaller amount, such as a handful or two mixed into the potting soil when planting.
It is best to compost manure before using it in the garden. This helps reduce potential weed seeds, pathogens, and odour. Additionally, composted manure provides a more balanced nutrient release, making it less likely to burn plants.
It's best to apply manure in autumn or early spring before planting. This allows time for the nutrients to break down and become available to plants.
Adding organic tree mulch
| Adding tree mulch will help suppress weeds, retain moisture, and help regulate temperature. The best time to add organic tree mulch to garden beds is in early spring or late autumn. Applying mulch during these times helps conserve soil moisture, regulate soil temperature, and suppress weed growth throughout the growing season. Avoid applying mulch when the soil is excessively wet or frozen. | 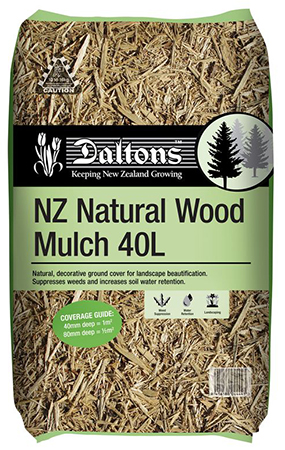 |
Apply a layer of organic tree mulch that is approximately 5-10cm thick. This thickness helps with effective weed suppression, moisture retention, and soil insulation. Be careful not to pile mulch against plant stems or tree trunks, as this can lead to excess moisture retention and potential disease or pest issues. Leave a small gap around the base of plants and trees to prevent contact between the mulch and the stems or trunks.
Replenish the mulch layer annually or as needed to maintain the desired thickness.
Refer to the table above (for compost) to work out how much mulch you need for the thickness you are aiming for, which we have indicated is usually 5-10cm thick.
Adding straw
| Straw can be used as a mulch for the same reason as organic tree mulch – to suppress weeds, retain soil moisture and regulate soil temperature. |  |
Plants that generally thrive with straw mulch:
- Strawberries: Straw mulch is commonly used in strawberry cultivation. It helps suppress weeds, conserves soil moisture, and protects the berries from direct contact with the ground.
- In cold areas, strawberries can be overwintered by covering the plants and surrounding soil with straw when the plants go dormant and removing it before spring. More information can be found on the University of Minnesota Extension website: Adding and removing straw mulch for strawberries
- Tomatoes: Tomato plants can benefit from straw mulch as it helps retain moisture, prevents soil splashing, and reduces weed growth around the plants.
- Potatoes: Straw mulch is often used as a protective layer for potatoes, rather than mounding soil onto the shoots. It helps maintain consistent soil moisture, prevents sunlight exposure to tubers (which can cause greening and reduce yield), and inhibits weed growth.
- Check out the video, No digging! Grow the best potatoes in straw below from GroVeg where Ben Vanheems shows how to grow potatoes in straw.
- Garlic: Garlic bulbs appreciate the insulation provided by straw mulch during the winter months. It helps regulate soil temperature, conserve moisture, and suppress weed growth.
- Asparagus: Asparagus beds can benefit from a layer of straw mulch. It helps insulate the soil, reduce weed competition, and retain moisture for the asparagus plants.
- Blueberries: Blueberry bushes generally thrive in acidic soil conditions, and straw mulch can help maintain the desired pH level. It also helps conserve soil moisture and suppress weed growth.
- Perennial flowers: Many perennial flowers, such as daylilies, can benefit from a layer of straw mulch around their base. It helps regulate soil temperature, retain moisture, and inhibit weed growth.
When using straw as a mulch during the growing season, lay it down to a depth of 5-10cm and pull back from plant stems slightly. Ensure that the mulch covers the entire root zone of each plant, extending a few inches beyond the drip line of the foliage and add more straw over the season as it starts to decompose.
Watch:
Adding blood and bone
| Blood and bone meal is a natural organic fertiliser that is rich in nitrogen and phosphorus. It is a slow-release fertiliser, so a single application generally provides nutrients for several weeks or even months. |  |
Blood and bone meal can be incorporated into the soil before planting to provide a nutrient boost for your plants. It helps ensure that the essential nitrogen and phosphorus are available during the early stages of growth.
You can also use blood and bone meal as a mid-season fertiliser to provide supplemental nutrients to your plants. This can be particularly useful for gross feeders or plants that show signs of nutrient deficiency. Apply a light layer of blood and bone meal around the base of the plants, keeping it away from direct contact with the stems or foliage.
Gently work the meal into the top layer of soil and water thoroughly afterward to help the nutrients penetrate into the root zone.
Always follow the specific instructions provided by the manufacturer for the application rates and guidelines.
Applying seaweed tonic
| Seaweed tonic, derived from seaweed or kelp, is a natural and beneficial organic fertiliser for gardens. It contains various nutrients, trace elements, and plant growth-promoting compounds. Seaweed tonic tends to be higher in potassium and trace elements, while blood and bone meal is richer in nitrogen, phosphorus, and calcium. | 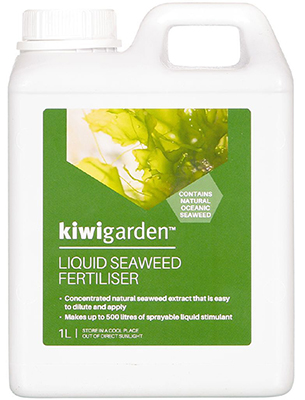 |
Seaweed tonic can be applied in liquid form applied to the soil or as a foliar spray.
- Liquid application: Dilute the seaweed tonic according to the manufacturer's instructions. Generally, a dilution ratio of around 1:20 (1 part seaweed tonic to 20 parts water) is commonly used. Apply the diluted mixture to the soil around the base of plants, avoiding direct contact with foliage.
- Foliar spray: Dilute the seaweed tonic according to the manufacturer's instructions, usually around 1:50 or as recommended. Spray the diluted mixture directly onto the leaves, ensuring thorough coverage. Apply early in the morning or late in the evening to minimise evaporation and maximise absorption.
Seaweed tonic can be applied at various stages throughout the growing season to support plant health and growth. Here are some recommended timings:
- Early growth stage: Apply when plants are in their early growth stage, such as after transplanting or when seedlings have established a few leaves. This helps provide a nutrient boost and promotes healthy root development.
- Active growth: Apply during the active growth phase of plants, typically in the spring and summer. This can help enhance overall plant vigour, encourage flowering, and increase fruit or vegetable production.
- Stress periods: Apply during periods of stress, such as after extreme weather events, disease or pest pressure, or when plants show signs of nutrient deficiency. Seaweed tonic can help improve plant resilience and recovery.
Seaweed tonic can be applied at regular intervals throughout the growing season. Follow the recommended application frequency provided by the manufacturer. As a general guideline, applying every 2 to 4 weeks during active growth.
Always refer to the specific instructions provided by the manufacturer for the correct dilution ratios, application rates, and timing.
Let's see how much of that sank in with this short scenario-based activity.
Activity – Protect your pansies
Scenario
Your next job requires you to plant a bed of pansies (Viola × wittrockiana). Take some time and research what pansies need to thrive in New Zealand, and then answer the following four questions. This quiz will progress automatically, and each question has only one correct answer.
Activity - Which mulch would you choose?
Mulch is important to use in the garden. Which mulch type would you pick for the situation?

Leaf mould is a type of soil amendment that is created through the decomposition of fallen leaves. It is the result of a slow and natural decomposition process that occurs when leaves break down over time, typically over the course of several months to a year or more.
Leaf mould refers to the dark, crumbly material that is left behind after the leaves have decomposed. It has a high organic matter content and serves as a valuable addition to improve soil structure, fertility, and moisture retention.
Rich in organic matter, leaf mould is pH neutral and teems with beneficial microorganisms, such as bacteria and fungi.
The following page on the Kings Plant Barn provides information about how to make your own:
How to make your own leaf mould