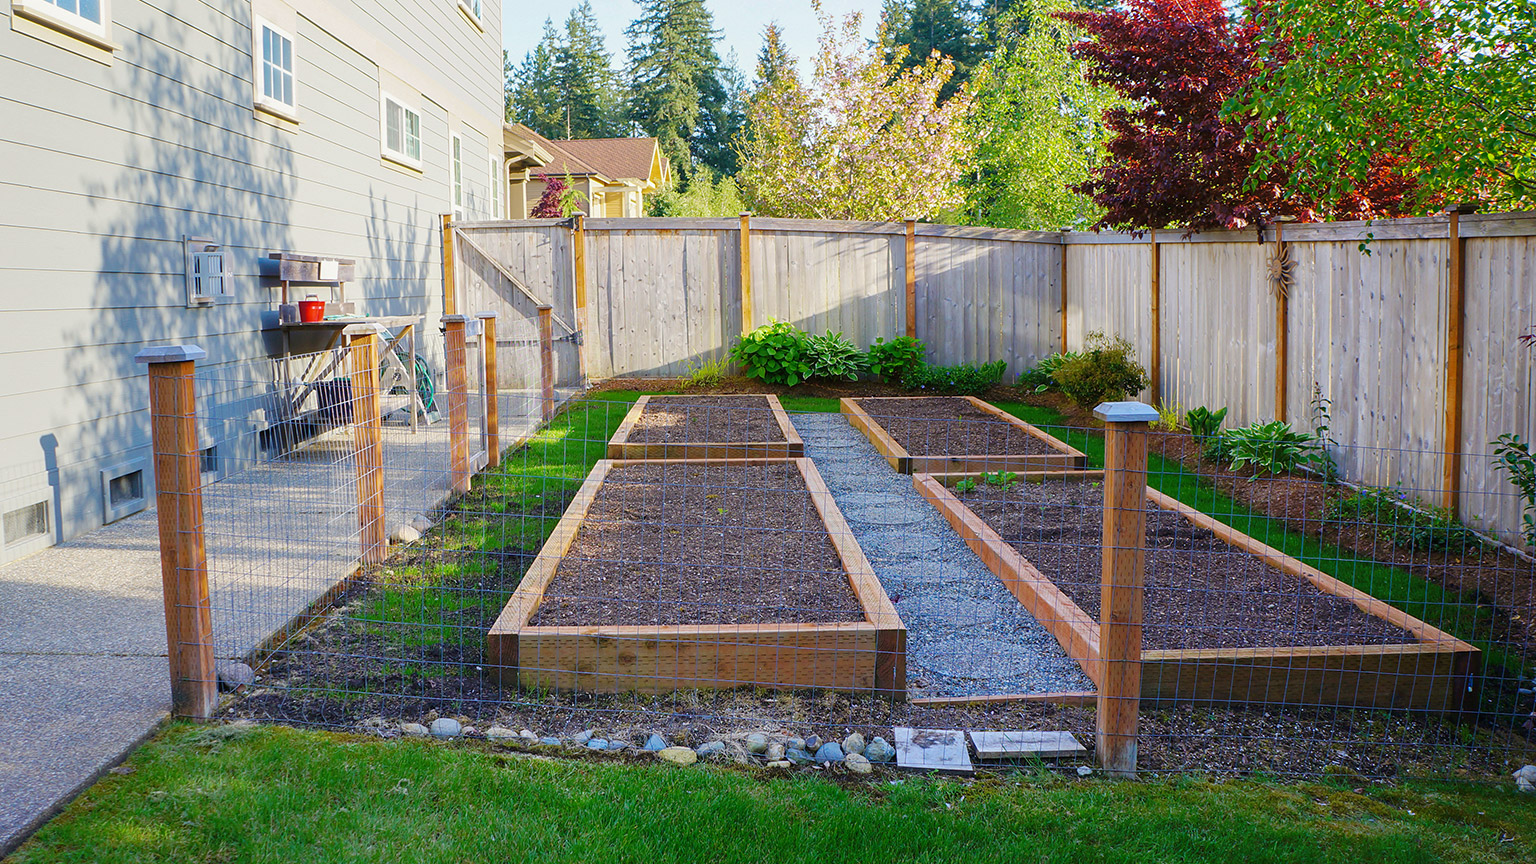
The planning of this suburban garden would have included the pathways as part of the layout.
In this course's last topic, we talk about projects you might like to carry out to make your garden even more plentiful. Specifically, we’ll direct you to some resources that may be useful if you’re looking to create paths, form shelter from the wind, or try indoor growing.
If you forget to plan pathways in your garden, what may be the consequences?
Take a moment and think about the following considerations and questions when planning your garden pathways. Challenge yourself to anticipate the information you will find before expanding the question labels to learn more.
You may be surprised how much you already know!
- To keep your shoes clean, so they don’t get grass clippings on them.
- To keep your feet dry while the surrounding lawn ponds with water over winter.
- To make it easier to get your wheelchair or wheelbarrow to and from your raised garden beds.
- Do you need to allow extra space to turn your wheelchair or wheelbarrow around on the path?
- How hard does the path need to be?
- How smooth does it need to be?
- Does it need to be strong enough for your ride-on mower, trailer, or car to drive across it from time-to-time?
- Does it need to let water percolate into the soil?
- As severe weather events become more frequent and extreme, try to choose a design that will allow water to percolate the soil rather than run-off into a stormwater drain. This is particularly important for large areas such as driveways.
- Does it need to allow water to drain from one side to the other?
- If so, you may need to install drainage pipes in the base course at specific points along the path. Base course is the hard layer that the top course, or pavement sits on. It’s essential for paths will have heavy loads put on them.
There are a huge range of materials to choose from when designing a new pathway. Select the materials that fit within your budget and meet the requirements you determined when considering your design.
Wood chip paths
Wood chips are a relatively cheap material to form a path. It leaves a soft, spongy surface which is highly permeable and will let water through.
These two videos by Urban Farmstead show three different ways of creating wood chip paths:
And this one:
Gravel or crushed lime paths

Gravel (shown above) and crushed lime paths both provide a firmer surface than wood chips and will tolerate greater loads.
Crushed lime paths generally provide the hardest surface of the two but does not allow water to pass through once compacted. Crushed lime paths should be installed so they are slightly mounded in the middle, so that water will run off to either side.
Gravel paths need to have hard edges to stop the gravel working its way out into the surrounding lawn or garden areas.
Edging crushed lime paths is optional.
Watch the first 2:05 of the following video by Wickes, which shows how to install a gravel path:
Paver or brick paths
Pathways constructed from pavers or bricks laid on a suitable base course provide an extremely hard, and durable surface that should last for decades with minimal maintenance. The downside is that they are expensive, and time consuming to construct. Sometimes it's possible to buy second hand pavers or paving bricks, which can help reduce the overall cost.

Watch the Wickes video above, now from 2:05 onwards for an overview of how to install pavers and bricks.
Maintaining pathways

To keep your pathways in good condition you’ll need to give them a bit of love and attention from time to time.
Wood chip pathways will need to be topped up every few months, as the lower layers of wood chips break down.
Gravel paths may need to be topped up too, as the gravel settles, or in some cases migrates to surrounding areas.
All paths will need weeding, to a greater or lesser degree. For paved or bricked paths its best not to pull weeds out as doing so can break up the mortar. You’re better off using a flame weeder, steam weeder, or herbicide (applied as a spray or using a herbicide applicator).
Salt may discolour your bricks or pavers, so test these options on a small area before committing to doing the whole path this way. Likewise, some bricks and pavers may be discoloured by heat treatments, like flame and steam weeding.
Keep bricks and pavers clean so they don’t become dangerously slippery. This can be achieved by washing with a dedicated outdoor surface cleaning product like Wet & Forget Rapid Action.
Brick and paved path repairs
In some cases, brick and paved paths may need to be repaired. The following two videos by Western Interlock demonstrate some common problems and how to fix them.
And this one:
Planning perfect paths
Are you a landscaper at heart?
This activity has given you a chance to think beyond horticulture and into landscape design. If you would like to learn more, check out NZMA for more courses that will extend your skills and knowledge.

Alternatively, solid, or permeable fences can be used to block or slow down wind. These take up far less space and are quicker to form but are generally more expensive.
Windbreaks from hedges and trees
This short activity will provide a refresher or a summary of why windbreaks are used. If you don't get the answer at first, be sure to view the solution before moving on with the programme.
When deciding what to plant and where, a little planning is useful. Remember that trees you plant on the northern boundary will cast shadows onto your site which will be longest in winter when light intensity is already low.
Effective windbreaks formed using trees and shrubs often require a significant depth of planting. This may not be a problem in rural areas but is not feasible in the city. Instead, effective urban windbreaks can be achieved by growing hedges 1-2m deep or blocking the wind using fences.
Fences for shelter from the wind
There are several ways to build fences to shelter your plants. We’ll take a look at a few here.
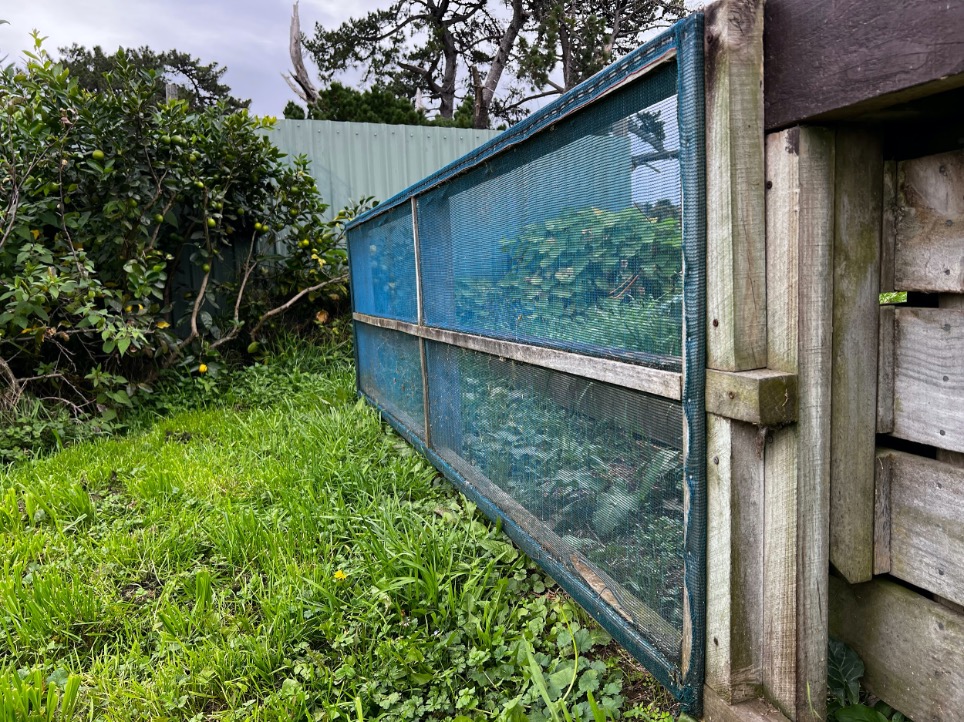
Windbreak fabric fences
One cost effective way is to use windbreak mesh fabric. You can buy windbreak mesh in rolls from hardware stores, and it can be attached directly to wire fences using special clips, such as these.
This video by Cheaper Ways NZ (4:02) covers some of the challenges of this approach and offers some solutions.
For a more permanent solution, construct a framework of posts and rails and then attach the windbreak to the frame using thin strips of timber, similar to those used in trellis. Pull the netting as tight as possible when installing it, using the strips as a handle to pull on. Nail the uprights in place first and then install the top and bottom strips.
Upcycled pallet fence
If you have access to wooden pallets, an alternative to a windbreak fence is to make a temporary fence out of pallets. As well as being a low-cost option, pallet fences can be easily disassembled and moved if needed.
This video from Farm to Field (8:50) shows how simple it can be to assemble a pallet fence: How to make a fence from pallets!
For a more permanent solution, check out this pallet fence by Bama Backyard Farm in the following video.

If you’re lucky enough to have an old glass house or tunnel house, or have bought one second-hand, you’re onto a good thing! Even if it needs some work, it’ll be worth the investment if you want to grow plants early in the season, or even during winter (depending on where you live and what you plan to grow).
Alternatively, you could build your own structure. In this subtopic we’ll look at both building a small hoophouse, and some repairs you might need to do to existing polyhouses.
Building a hoophouse for a raised bed
In this video by Christopher Brandsdal (20:53), he shows how to build a hinged hoophouse for a for a timber sided raised bed: Easy DIY Hinged Hoophouse for Raised Bed
Repairing holes in polyhouse plastic
The following video from Tunnel Vision Hoops LLC (7:52) provides a clear demonstration of how to repair holes in polyhouse/greenhouse/tunnel house plastic. The greenhouse used in the demonstration is a large commercial one, but the techniques shown apply equally to smaller plastic-covered greenhouses.
To conclude this topic, the “better” the overall environment is, the more your plants will benefit, by having a diverse ecosystem that supports your plants in a variety of different ways. Hopefully, it will also mean your garden is an even more enjoyable place to spend your time.
We'll wrap up with an activity that will give you a chance to plan your resources.
Activity – Planning and resourcing
You have completed the learning materials! Once your assessments are complete, you’ve finished the programme.
Whakamihi! Congratulations!