When clients get a nail enhancement service, there can be issues that occur. When you use a reputable brand, they offer support when it comes to troubleshooting and offering solutions. The questions they tend to ask are
- Are you using all of our products as per manufacturer’s instructions?
- Have you been professionally trained in our products?
- Did you prepare the nails correctly?
- Is your client on any medication?
These are just a few questions which will help to hopefully resolve the issues you are facing.
The table following is a list of potential common issues that may occur when you are doing Nail Enhancement Services. Please remember this list is the most common issues and there will always be more to add to it.
Don’t be afraid to share issues you have with your trainer and classmates because it is about working together to find solutions.
|
Issue |
Brief description of how it may have occurred. |
Possible Solution |
Client Issue or Nail Technician |
Risk Analysis – How can you prevent this from happening in the future. |
|
Nail enhancement lifting after 5 weeks of wear |
Not following maintenance plan. Nail out of balance due to growth of enhancements. |
Regular backfill or rebalance. |
Client issue. Possibly technician if they have not correctly advised client. |
Homecare advice. Recommend client to have more regular backfills or rebalances. 5 weeks is too long. Usually 2-3 weeks. |
|
Nail enhancement lifting within 5-7 days |
Improper preparation. |
Better preparation of nails. Ensure nail is free from contaminants prior to applying enhancements |
Nail technician |
More training. |
|
Air pockets in nail enhancements |
Incorrect ratios when applying enhancement. |
Improved application. |
Nail technician |
More training. Ensuring the room temperature is correct (23oc). Practicing ball ratio prior to application. Discard acrylic ball if not correct. |
|
Broken nail at apex |
Incorrect placement of apex. Not thick enough to support length of structure |
Apply more product to the apex area. |
Nail Technician |
More practice, more attention to detail in the positioning of the apex. |
|
Most or all nails damaged or broken |
Too long for client’s lifestyle |
Shorten enhancements to a reasonable length that is appropriate for the client’s lifestyle. |
Nail technician |
Thorough consultation. Be confident in your knowledge of length that best suits client’s lifestyle. Use of cuticle oil. |
|
Nail enhancement completely removed, natural nail looking rough and dehydrated. |
Client picked or bit enhancement off. |
More regular maintenance. |
Client |
Educate client at the importance of not biting off enhancements. |
|
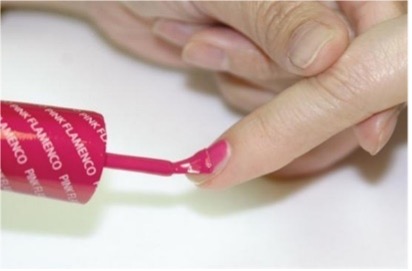
Gel polish wearing at the free edge |
Not properly capped during application. Filed after application. |
Completely redo the Gel polish on affected nails. |
Nail technician |
Remember to thoroughly cap the free edge with every layer of Gel polish. Do not file the free edge after application is complete. |
|
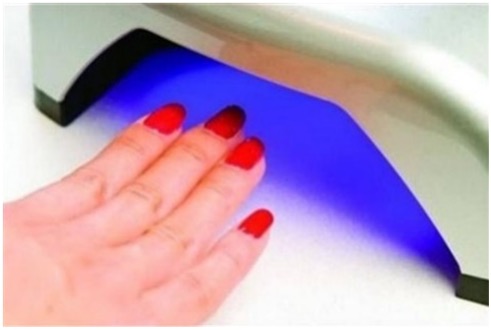
Gel bubbling and remains sticky and tacky |
Gel product not set properly. Application too thick. |
Check and replace bulbs in UV lamp if necessary. Make sure client’s hand/foot is placed correctly in the lamp. Ensure each gel layer is thin. |
Nail technician |
Regularly check light bulbs. Practice practice practice. |
The following is an article that was published in Nail Mag, a reputable nail industry magazine from America by Tracy Rubert, senior editor March 14, 2016.
10 Common Causes of Nail Service Breakdown
When it comes to service breakdown, a handful of common slip-ups and mistakes are often at the root of the problem. Here's a list of ten common application mishaps to share with your students to help them keep their nail enhancement applications flawless.
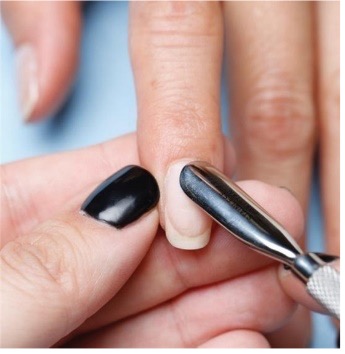
Whether applying an acrylic, gel, gel-polish or regular polish, it’s important the nail bed be free of dead skin or oils so product can adhere to the nail. Use a plastic, wooden or metal cuticle pusher when prepping the nail, and use smooth, gentle pressure on the nail plate to avoid damaging the natural nail. Cuticle solvents and removers are a must for cleaning the nail plate. With cuticle nippers and cutters, remember: Less is more.
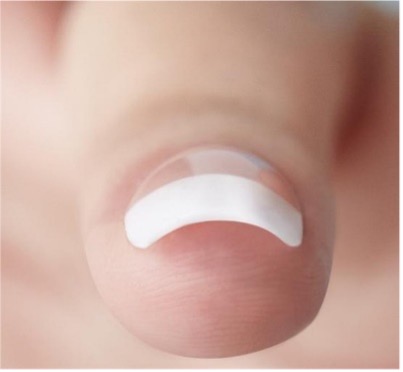
2. Unbalanced nail enhancements
The shape of the nail is very important to constructing a nail enhancement—especially a sculpted extension. For a nail extension to be structurally sound, it must have an apex located over the stress area and in proportion to the length of the extension. For short, natural nails, this is the center of the nail, and for longer extensions, the apex is just slightly down from the middle of the nail toward the cuticle. Angling your brush when applying acrylic at the cuticle area helps create a natural arch toward the apex.
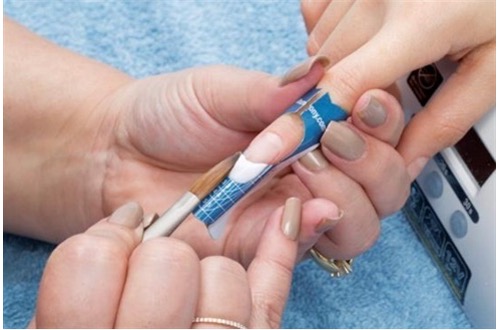
3. Forgetting to put on primer before acrylic
Nail enhancements lift and pop off the nails if primer isn’t used before acrylic application. Most acrylic doesn’t stick well to the natural nail, so a primer has a chemical makeup of monomers that bond to the nail as well as the acrylic so the bond is extra strong. One coat of primer is typically enough—applying too much can actually decrease adhesion.
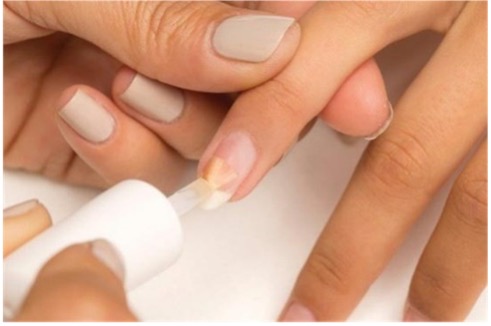
4. Applying gel-polish too thickly
When gel-polish is applied too thickly, the suggested manufacturer curing time might not be enough to create a full cure, which can lead to peeling. Most manufacturers will recommend two coats for solid color coverage, so use the three-stroke method to help keep applications thin: one fluid stroke down the center, then two on either side.
C-curves that are too at look unnatural and gawky. Pinching is usually done with ‑fingers or specially designed tweezers, where pressure is applied to the sidewalls of the nail to help bend the free edge of the extension into a nice C-shape. C-curves begin during the sculpting stage, so make sure the form ‑ is correctly underneath the nail and that it follows the nail’s natural curvature. Too tight a pinch will cause damage and can even break in the enhancement.
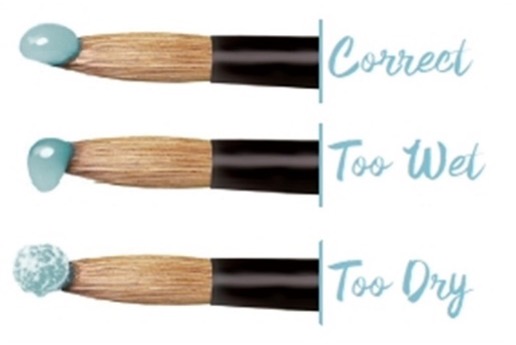
An easy way to spot an improper liquid-to-powder ratio is to look at how the bead appears on the brush. You want a minimal amount of the bead attached to the brush hairs to allow for a quick, easy release onto the nail. The ideal bead should be smooth, round, plump and suspended lightly on the brush hairs.
A telltale sign of bulb inefficiency is if you notice the tacky layer on your clients’ nails getting thicker or see small air pockets or cloudiness in the enhancement. If you have 30 to 40 gel clients per week, the bulbs should be changed every four to six months. For 20 clients a week, change bulbs six to eight months. Once a year is sufficient for fewer than 20 gel clients per week.
8. Not capping the free edge with gel-polish
When gels are cured, they shrink, so it is important that the product continues down over the free edge—but not underneath—so it does not recede back over the top of the nail. As you apply the gel-polish down one side of the nail and reach the free edge, turn the brush slightly and swipe the hairs across and down the free edge toward the center to seal it. Repeat on the other side of the nail, then make your final stroke down the center of the nail, swiping down over the free edge when you reach the end.
Excessive ‑filing leaves nail beds thin and weak—not a good platform for enhancements. A thin nail is more flexible and can cause enhancement product to bend more, sometimes creating hairline fractures that lead to breakage and tiny cracks that can get bigger over time. Thin nails also allow enhancement products to possibly seep through the plate and onto the nail bed, which can trigger allergic reactions.
Nail enhancements break down when products go bad. Keep all lids closed tightly and products stored in a cool, dry place when not in use. Gels should be stored away from sunlight because any light that seeps in will begin to harden gel. Acrylic powder lids need to be tightly closed so moisture in the air does not interact with the powder. Dispose of polish that becomes stringy and unworkable.