Take a moment to think about what the function of the core is.
It is not to create force "crunching" in and down, like an abdominal curl. You don't need to be able to create a high amount of force to go into trunk flexion. The way we're designed as humans, with gravity pulling us down, if we want to hunch over, we tip our heads forward and gravity does the rest. So our core never needs to be able to powerfully contract. It's not a muscle that needs to powerfully shorten rapidly to produce high amounts of force.
What it does need to be able to do is contract and hold a resting tension to protect and keep things still.

If we look at the stabilising muscles, like the rotator cuffs in the shoulders, they are there to keep the shoulder protected and stabilised when the arms are at different angles so the arms don't pop out. They also allow for rotation. The core is much the same in that it's not there to primarily create force or shorten, but it's often to limit extension.
Now apply that thinking to protect the spine. Most lower back injuries are due to too much compression or excessive extension lordosis through that lower back area. If you think generally, the core is on the opposite side of the lower back. If the core can hold a resting short tension, even when stress is applied to the body, it can inhibit your body from leaning or arching back. A strong core that can hold resting tension will decrease the chances of injuring the lower back.
So the core's primary role is not to promote trunk flexion, but rather to inhibit back extension, torso rotation, or lateral flexion while allowing the spine to flex, extend, laterally flex, and partially rotate. The core is there to minimise unwanted spinal movement when doing dynamic-based exercises.
With this in mind, when we look at training the core and core function, we should regress these kinds of tensions and apply them in a structured format to best mimic the function of the core. For example, planks where gravity is trying to make your back sink and you're stopping that from happening. It's all about creating intentional movement and then using your core to inhibit any additional unwanted movement.
What it comes down to is a strong core supports balance and stability.
In this topic, we concentrate on the core (trunk) body. You will learn how to perform and teach:
- Abdominal curls (crunches)
- Oblique curls
- Reverse curls
- Back extensions
- Plank
- Hollow holds
- Seated medicine ball rotations (Russian twists)
- Seated medicine ball slams (Russian slams)
- Pallof press
Each exercise has images, information on the major muscles, the equipment options, and the key coaching points and steps. Practice demonstrating every exercise, and explaining every exercise.
Davy and Mya demonstrate how to perform the core exercises throughout this topic.
Crunches are about decreasing the space between the front of the hip bones and your lower ribs. You can either come all the way up or partially.
For safety, we don't want clients using their necks, pulling their heads, and going into cervical flexion. This can be a common mistake, and it is not ideal. Instead, we want the hands just resting on the head. A useful cue for this is "light fingers".
Many people, especially overweight people, will struggle with crunches because there's little space to move. To mitigate this, you can regress the range.
You can make crunches harder by lying on a decline bench and having to curl a longer distance.
The images below show a standard abdominal curl without equipment and using a decline bench.
Major muscles, variations, and equipment options
| Major muscles | Variations/progressions | Equipment options |
|---|---|---|
| Rectus Abdominus |
Hands at side Hands crossed on chest One hand up Full sit up vs crunch Feet elevated |
Floor Machine Swiss ball BOS |
Key coaching points and steps
Ensure training posture is in place.
- For the crunch, just the shoulders and upper back leave the ground.
- Do not put your hands behind the head as you will pull with your arms and flex the neck. Instead, place fingers on the temples on the side of the head.
- For a full sit-up, with fingers on the temples, raise the upper body up away from the ground, fingers on temples, and aim to touch the thighs with the elbows.
- Ensure the spine leaves the floor, vertebrae by vertebrae rather than as one solid, straight-backed movement.
- Perform controlled movements up and down.
Notes
- Extending arms forward makes this easier for beginners.
- Having a partner hold feet makes this easier.
- Working on an incline bench makes this exercise harder.
Obliques are on the sides of the body, and you have internal and external obliques. It's a bit of a simplification, but let's say you're internal obliques, are more responsible for the stability function. The external obliques assist with stability as well, but arguably these are the ones you feel more when you isolate your obliques in a curl function.
Instead of lying on your front or your back, you're on your side because the obliques wrap around the sides of your torso and you're just shortening the space between the hip and the ribs, but laterally on the sides.
The images below show various formats for oblique curls.
Major muscles, variations, and equipment options
| Major muscles | Variations/progressions | Equipment options |
|---|---|---|
|
Rectus abdominis Internal obliques External obliques |
Hands on side of head Foot up on the opposite knee One arm on the floor Both feet raised |
N/A |
Key coaching points and steps
Oblique Curl (supine)
- In the supine position (laying face up) adopt training posture (shoulders back and down, core engaged, chin tuck, and feet hip-distance apart).
- Place hands on the side of the head (do not place them behind the head/neck at risk of pulling on the neck) with elbows bent.
- Inhale, raining the spine vertebra by vertebra (think of peeling the spine off the floor vertebra by vertebra or bone by bone).
- As you progress towards the seated position, take your right elbow toward the left knee (try and touch if possible).
- Exhale as you come to a seated position (or as close as possible).
- Lower the upper body, vertebra by vertebra, in a controlled movement back towards the floor.
- Review your training posture, and adjust as appropriate before the next repetition.
Variations of this exercise:
- A single elbow-to-knee touch per repetition
- A double elbow-to-knee touch per rep (right elbow to the left knee and left elbow to right knee)
- Holding a weight such as a medicine ball or barbell plate
- Performing the movement with legs raised (advanced)
Reverse curls are great at supporting the primary function of the core. With a reverse curl, you're effectively targeting the eccentric component of a curl. The focus on the eccentric component or lengthening of the core has a far more stability-based focus than a concentric curl. If you were only going to do one form of curl or crunch, and you want a functional core, reverse curls would be the one to go for.
Reverse curls may involve toe taps or straight legs. Think of the legs as a lever. Switching between straight legs and bent knees/toe taps, is changing the length of the lever. If the core is weak, and you increase the length of the lever (straight legs), it may be too much leverage for the core to maintain and the lower back may cave or arch to compensate. In a reverse curl, you shorten your legs to make it a regression. This can mean tapping the heels or putting a bench or group fitness step under somebody's heels if they cannot reach the floor, reducing the distance they have to cover.
Legs together or alternating?
One leg is half the weight of two so individually dropping one leg is easier on the core. There is also an argument that it's more functional as it's more in line with common movements like gait cycles. Increasingly, there is demand for exercises targeting improved coordination and core stabilisation. There's neural stimulation and thought and coordination in an exercise where you are alternating sides. This makes it more transferable to dynamic movement outside the gym.
The images below show various reverse curl options.
Major muscles, variations, and equipment options
| Major muscles | Variations/progressions | Equipment options |
|---|---|---|
|
Rectus abdominus Transverse Abdominus |
Up and twist Legs together and alternating Straight legs or knees bent |
N/A |
Key coaching points and steps
- Lie on your back with legs elevated straight up and arms supporting alongside your body.
- Adopt training posture.
- Lift only just the buttocks and lower back off the ground (aim to use hands/arms to balance not to push buttocks up off the floor.)
- Maintain training posture during exercise. Begin with this stage and when appropriate, attempt the more advanced version shown in the image where more of the torso leaves the floor.
- Review training posture and adjust where required before the next repetition.
An extension is the opposite of a crunch. You're lying prone and shortening your lower back muscles to lift your chest off the ground. A back extension targets the lower back muscles and the top of the glutes. The glutes are a synergist to back extension if back extension is what you're trying to isolate.
It is a great exercise for rehab and priming, including a warming exercise for the posterior chain.
Where the hands and arms are will impact the difficulty. Hands down by the side will be easier because there's more weight relative to where the joint is moving. If you take your hands further away and put them on your head and arched up, it will be harder because the lever where the weight is from where the joint is moving is further away.
The images below show various options for back extensions.
Major muscles, variations, and equipment options
| Major muscles | Variations/progressions | Equipment options |
|---|---|---|
|
Erector spinae |
On the floor (hands on head or by sides), alternate arm and leg. |
Bench Swiss ball or BOSU Barbell plate, dumbbell, or medicine ball |
Key coaching points and steps
- Adopt training posture, including hands on the side of the head or across the chest where applicable (typically bench-based extension exercises).
- Inhale and lift your chest away from the surface (bench or floor). Begin with shoulders first, then vertebra by vertebra lift the remainder of your torso.
- Exhale as you gently and steadily raise your torso as far as comfortably possible.
- Gently and steadily lower your torso back towards the floor, vertebra by vertebra, in the opposite order (that is, the lumbar region of the torso to the thoracic).
- Review training posture and adjust where required before the next repetition.
The plank is about not moving. A static plank involves propping yourself up against gravity. Over time, gravity will want to make you sink and you'll need to brace to stop that from happening.
If a client was very, very weak in a plank and could do it for less than 10 seconds, that indicates that there are a lot of exercises you shouldn't programme or need to programme regressions for. If a client can't hold their spinal torso structure for 10 seconds against gravity it indicates that their functional core strength is weak.
On the flip side is the law of diminishing returns. If someone can do a static plank for longer than 3 to 5 minutes, they probably don't need to do more planks. Think about how much value is coming out of that session. The client might use it as a challenge or fitness target, which can be motivating. But generally, you're better off putting in variety with progressions.
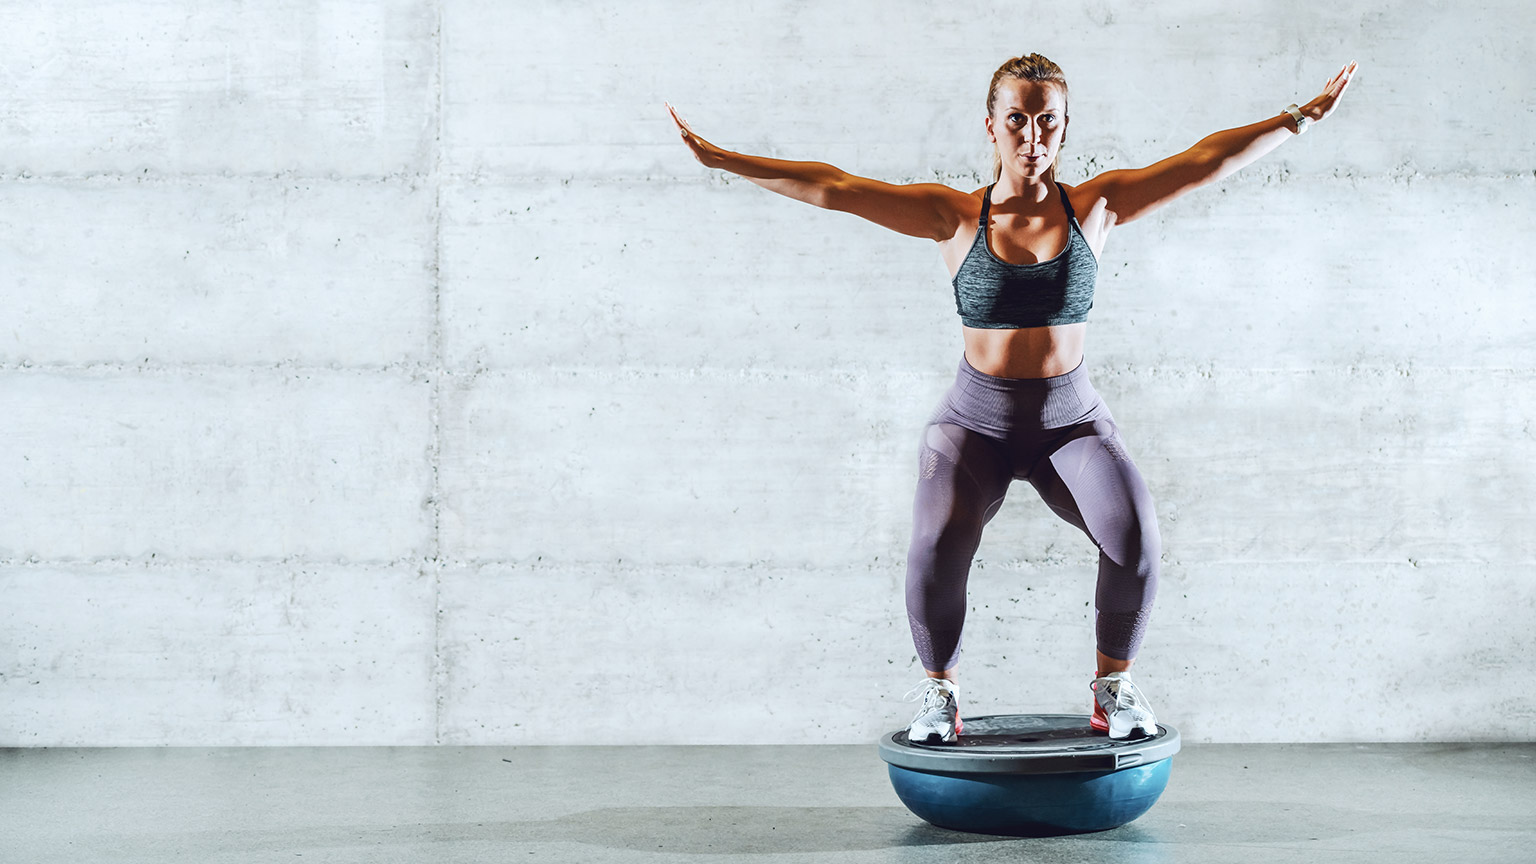
BOSU balls can be used to create a platform of instability and a requirement to try harder to be stable. If we do that enough, stability will improve.
The image below illustrates a basic plank, also known as a front hold, hover, or abdominal bridge.

These are also called banana boat planks and it's essentially a plank where you're lying on your back, but you've got your arms and legs out and trying to keep your back flat. Your body ends up making almost a banana boat shape.
Hollow holds are effectively supine planks, lying on your back, but with maximal leverage out each way. You've made your body as tall as possible, and with your arms and legs fully out, there's enough weight against gravity to make the torso want to come up and the lower back extend. You have to hold that down or drive your naval down into the floor whilst gravity acts on the long levers of your arms and legs.
Also called Russian twists, seated medicine ball rotations are about twisting effectively and are a really good function of the core.
With the exception of the obliques and the lateral movements, all the core exercises have been predominantly sagittal or front and back. But the core also works on the transverse plane, which is the twisting plane, and it needs to stabilise the transverse plane.
Sit on your buttocks with your feet slightly out to counterbalance and lean back slightly. You don't want your shoulders directly over your hips. by leaning back slightly, your torso weight is somewhat against gravity, and then you're taking a ball and twisting to one side and then twisting to the other.
The idea is that this movement will throw you off balance. The ball's weight causes your hips to want to raise and twist. A good cue for any twisting base motion is to keep both butt cheeks down because you don't want to raise or lift to one side. If one side of your body is shortening to twist, your obliques are contracting to twist one way, and the other obliques on the other side have to lengthen to allow that to happen, and they need to control that lengthening as well.
A slam is just adding in more power to the seated medicine ball twist. Instead of just twisting and placing the ball, you're twisting and then either overhead or from a neutral position slamming the ball down. If it's a bouncy ball and the floor allows it to bounce, you can let it bounce, otherwise, slam it and pick it up again.
This exercise is about creating more intensity by applying force while still trying to control the movement.
This is one of the most important ones to get good at for any general population who wants to play sports or become more athletic.
A pallof press can be done standing, kneeling, in a lunge pattern, or with a cable machine. The cables come out from the machine, and you hold the rope or handle in front of you. You push out and come back and push out and come back. The cable is coming across from the side, so the length is not getting longer or shorter. It's staying the same.
The weight attached to the cable is trying to pull you towards it and you are trying to resist that motion. The hardest part of the exercise is when the lever is the longest - when you are bringing the cable back from a fully out position.
Performing the pallof press from a lunge position is good because you get one of the glutes fired up as part of the core function. This exercise focuses on and inhibits unwanted movement through the midsection.
Perform each core exercise, including progressions and regressions where possible. Talk through the cues and what muscles are being targeted. Consider how each exercise supports health and skill-based fitness components, and training principles.
Complete the self-assessment on demonstrating core exercises. If you would like feedback, post in the forum.
Complete the self-assessment on explaining core exercises. If you would like feedback, post in the forum.