In this topic, you will be taught the foundation skills to start your journey to become an ethical hacker. It is important that you complete these lab series prior to undertaking your first Assessment for this course.
Throughout this lab, we will dig deeper into cybercrimes, specifically WannaCry. Using interactive charts and free-to-use programs we will visualize all of the data collected from WannaCry around the world. We will then take a look at how we can keep tabs on security incidents happening around the world right now.
| Milestones | Estimated Time to Complete | Dependencies | Objectives | Tools Required |
|---|---|---|---|---|
| 1 | 45 mins | N/A | Monitor Global Attacks in real time with X-Force Exchange | X-Force Exchange (accessed via internet browser) |
Tools Required
Only one tool is required to complete Lab 1.

X-Force Exchange
IBM X-Force Exchange is a threat intelligence sharing platform enabling research on security threats, aggregation of intelligence, and collaboration with peers. X-Force Exchange can be crucial for Cybersecurity and cyber awareness. With X-Force Exchange, we can monitor the online environment, in real-time, and actively follow known security issues. Security concerns can be investigated to not only tell us where the problem originated, but who has been affected and what type of systems are under threat. Access X-Force Exchange here
Access the instructions for Lab 1 HERE
To begin this lab, we are going to discover, first-hand, some of the information anyone can pull from your IP address using centralops.net. We will then dive into our personal computers' Command Line Interface (CLI) in order to use further commands revolving around our IP Address and security. Cyber threats are always out there; we will utilize Nmap and Wireshark to showcase ways that criminals scan for weaknesses. We will then end the lab with Network Security Best Practices.
| Milestones | Estimated Time to Complete | Dependencies | Objectives | Tools Required |
|---|---|---|---|---|
| 4 | 60 mins | Students should have completed the topic '10.3 Cybersecurity' Attacks prior to undertaking this lab. |
|
Zenmap Wireshark |
Tools Required
There are two tools required to complete Lab 2.

Zenmap
Zenmap is the official cross-platform GUI for the Nmap Security Scanner. It is a multi-platform free and open-source application which aims to make Nmap easy for beginners to use while providing advanced features for experienced Nmap users.
- Step 1 - Navigate to nmap.org
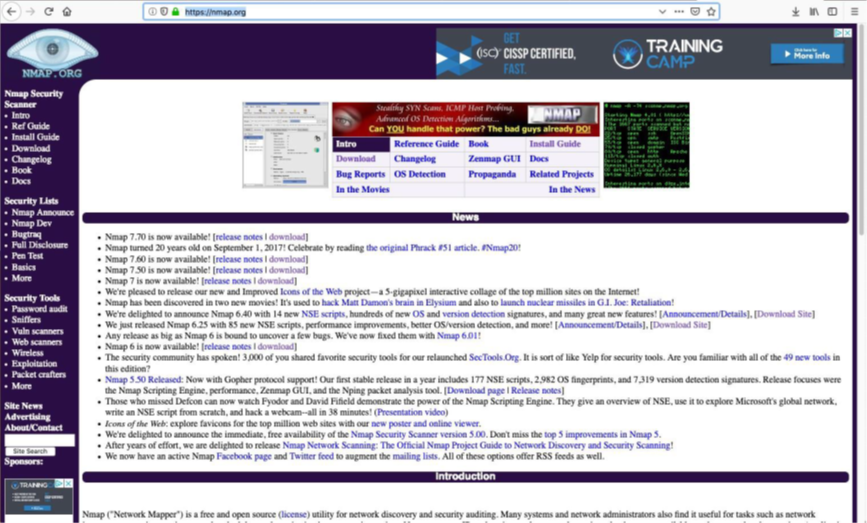
Nmap Webpage
- Step 2 - Click on the “download” link next to Nmap 7.7
- Step 3 - Scroll down to the download file for your operating system. Windows users will click on the “Latest stable release self-installer”
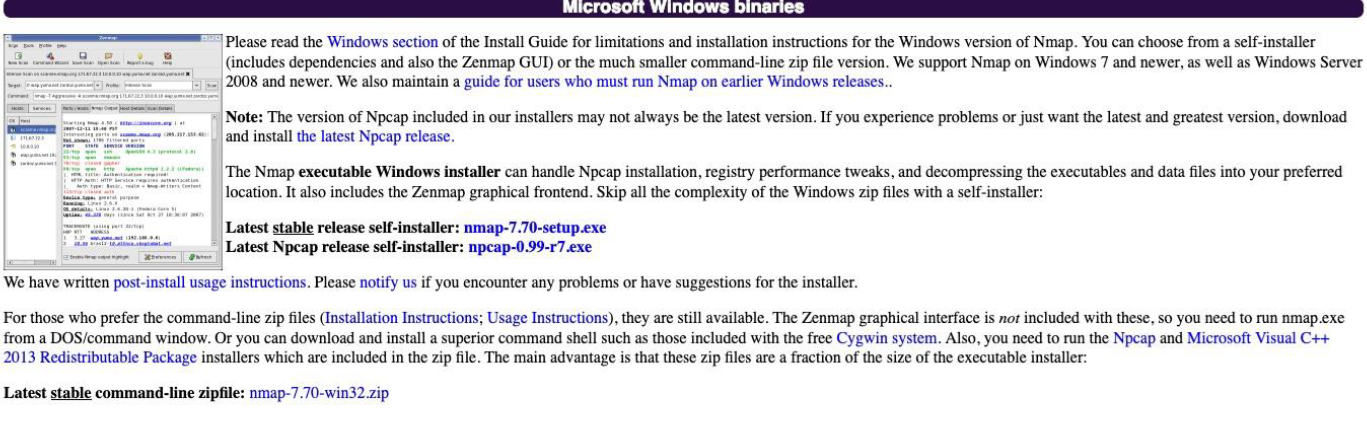
Nmap Windows Download

Nmap Mac Download (Mac users will click on the "latest stable release"
- Step 4 - Follow the directions of the installer, and once finished, open Zenmap
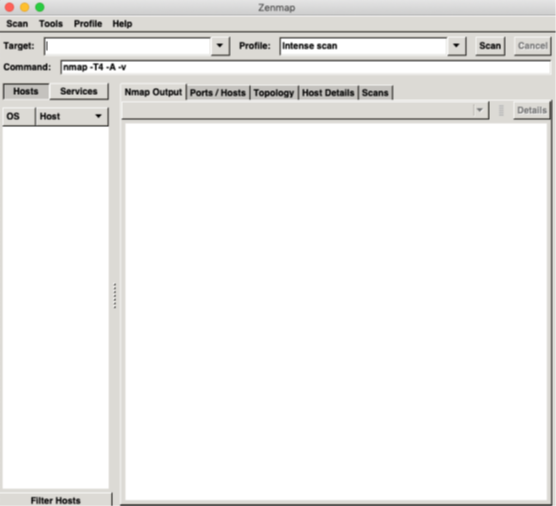
Zenmap
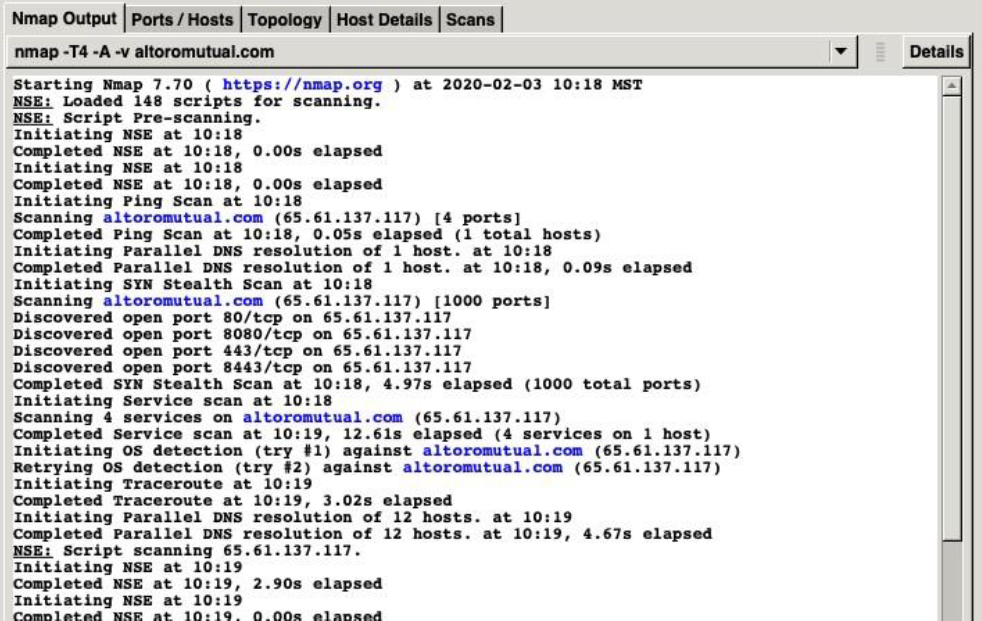
- Inside the target box input either a domain or IP Address (we will be using altoromutual.com) and hit scan

- Watch as Zenmap starts its scan and goes through multiple CLI commands such as Ping and Traceroute
- The report may have been generated to fast to follow but scroll up and check if Zenmap found any open ports
![]()
Wireshark
Wireshark is a free and open-source packet analyser; often referred to as a “sniffer”. It is used for network troubleshooting analysis, software and communications protocol development, and education. Wireshark is used to examine the details of traffic as data is sent from one connection to the other.
- Navigate to wireshark.org
- Scroll down the page to find 'Stable Release'
- Download the appropriate version based on your operating system
- Run the fi;e and click through the installation process
Access the instructions for Lab 2 HERE
In this lab, we are going to put ourselves into the shoes of the attacker, and Footprint a network. We will then implant ourselves as new users in the system to begin taking control. In the latter half of the lab, we will cover some defences and industry best practices that can keep us safe.
| Milestones | Estimated Time to Complete | Dependencies | Objectives | Tools Required |
|---|---|---|---|---|
| 6 | 120 mins | Students should have completed the topic '10.3 Cybersecurity' Attacks prior to undertaking this lab. |
|
Zenmap Wireshark PuTTY |
Tools Required
There are three tools required to complete Lab 3, you should have already accessed two of the three.
PuTTY
Windows does not have a built-in Secure Shell so we will need to download a third-party program. For this lab, we recommend PuTTY, however, if you do not have access to a separate device you can complete Milestone 5 'Network Protection Practices' utilising the IBM Virtual Machine in the IBM KeySkills platform.
- Navigate to the PuTTY download link found here
- Scroll down the page to find the correct download package for your operating system
- Download and run the installer
- Click through the installer and read through the ReadMe.
Access the instructions for Lab 3 HERE
In this lab, we are going to put ourselves in the role of a penetration tester. We have recently been hired by a banking company, Altoro Mutual, to go through their website and test its application security. To do this we will go through the three main sections: Footprinting, Gaining Access, and Attack the System. As we go through these sections and find corresponding weaknesses, we will add them to a report and categorize them based on OWASP error codes.
| Milestones | Estimated Time to Complete | Dependencies | Objectives | Tools Required |
|---|---|---|---|---|
| 3 | 120 mins | Students should have completed the topic '10.3 Cybersecurity' Attacks prior to undertaking this lab. |
|
OWSAP Report Mozilla Firefox Zenmap Wireshark |
Tools Required
There are two tools required to complete Lab 2.
Before beginning this lab, it is recommended that you take some time to review the OWASP report in order to better understand the vulnerabilities you will be looking for as a Penetration Tester.
Access the OWSAP Report HERE.
Access the instructions for Lab 4 HERE.
